Handbrake video transcode 1.2.1 was released a few days ago with numerous bug-fixes and improvements.
Handbrake 1.2.1 release highlights:
- Fixed potential crashes due to use of uninitialized variables
- Improved minimum duration to only apply to DVD and BD sources
- Fixed incorrect video rotation where rotation flagged as none
- Fixed yadif deinterlace filter not properly deinterlacing all frames
- Fixed missing frame at the end of encodes from m2ts sources
- Fixed detection of MPEG-1 video in program streams
- Fixed decoding of MPEG-1 video in DVD sources
- Fixed Apple VideoToolbox encoding issues related to pyramidal B-frames
- Fixed lapsharp filter corrupting frame edges
- Improved NLMeans performance
- Improved AMD VCE encoding to enable placing key frames at chapter markers
- Improved calculation of final frame duration
- Improved support for BT.2020 color space
- Fixed channel mapping for AAC 5.1 encoding
- Fixed display of special characters in preset names
- Fixed exporting presets to sanitize system reserved characters
- Miscellaneous bug fixes and improvements
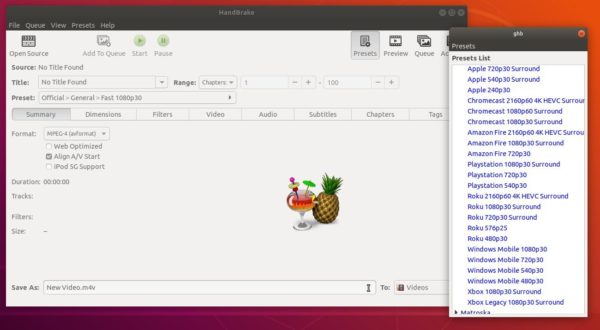
How to Install Handbrake in Ubuntu:
Handbrake Ubuntu packages will be available in two or three days. CHECK the official HandBrake PPA before doing following steps.
The official HandBrake PPA offers the latest packages for Ubuntu 18.04, Ubuntu 18.10, and Linux Mint 19.x.
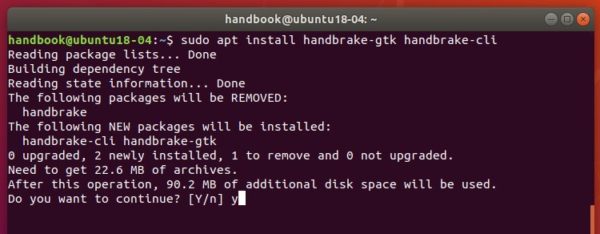
1. Open terminal either via Ctrl+Alt+T keyboard shortcut or by searching for ‘terminal’ from application menu. When it opens, run command:
sudo add-apt-repository ppa:stebbins/handbrake-releases
Type user password (no asterisks feedback) when it asks for sudo command and hit Enter to add PPA.

2. Then install the video transcoder via command:
sudo apt install handbrake-gtk handbrake-cli
Linux Mint needs to run command sudo apt update first to refresh system package cache.
Uninstall:
To remove the software, open terminal and run command:
sudo apt remove --autoremove handbrake-gtk handbrke-cli
To remove the PPA, launch Software & Updates and navigate to Other Software tab.