The Ubuntu Team has announced the release of Ubuntu 14.04.5 LTS. It’s the fifth and final point release that includes new hardware enablement stack (HWE) from Ubuntu 16.04 LTS.
The Ubuntu team is pleased to announce the release of Ubuntu 14.04.5 LTS (Long-Term Support) for its Desktop, Server, Cloud, and Core products, as well as other flavours of Ubuntu with long-term support.
We have expanded our hardware enablement offering since 12.04, and with 14.04.5, this point release contains an updated kernel and X stack for new installations to support new hardware across all our supported architectures, not just x86.
As usual, this point release includes many updates, and updated installation media has been provided so that fewer updates will need to be downloaded after installation. These include security updates and corrections for other high-impact bugs, with a focus on maintaining stability and compatibility with Ubuntu 14.04 LTS.
Upgrade to Ubuntu 14.04.5:
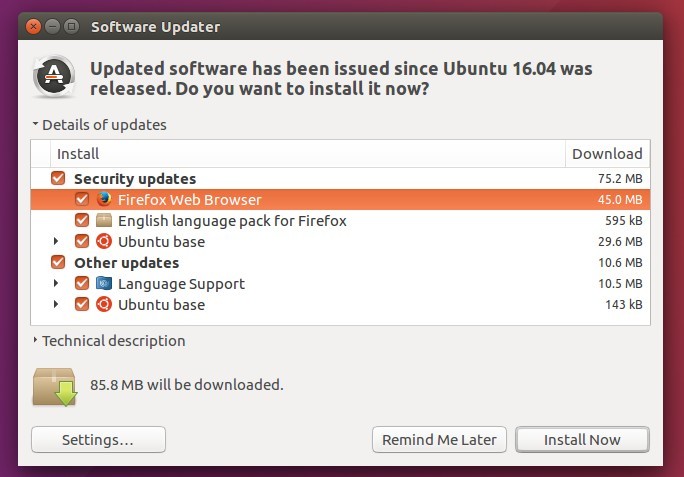
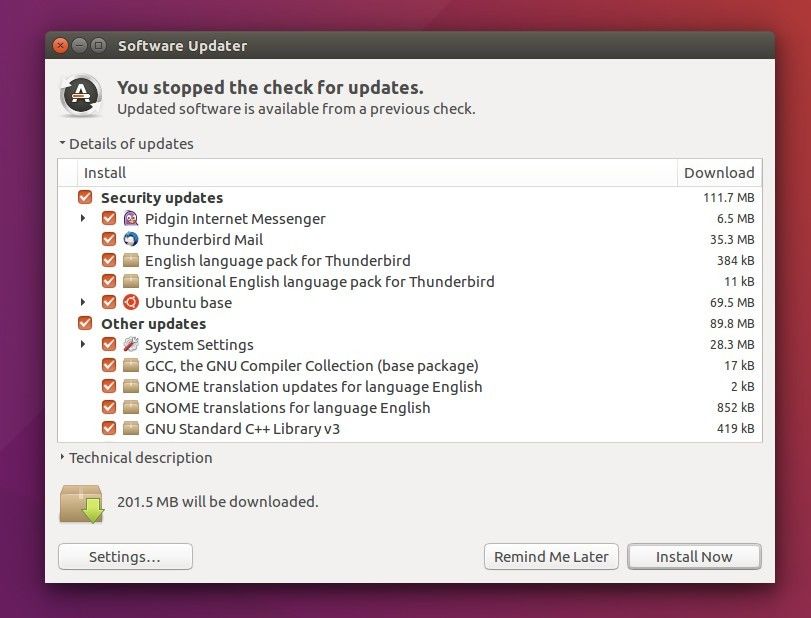
Ubuntu 14.04 users can easily upgrade to the 14.04.5 point release by running a regular system update via Software Updater.
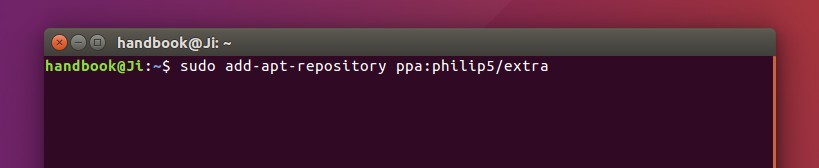
Or run the commands in terminal:
sudo apt-get update && sudo apt-get upgrade
Note that the updated hardware enablement stack, Kernel 4.4 and X graphics stack from 16.04, will be available through the update only for those who installed Ubuntu 14.04 using the 14.04.2 or newer disc image.
Those who installed Ubuntu 14.04 from the original or 14.04.1 disc image will keep the original Trusty stack. Anyone wishing to opt into the new Kernel and X graphics stack may do so by running the command below in terminal:
sudo apt-get install --install-recommends linux-generic-lts-xenial xserver-xorg-core-lts-xenial xserver-xorg-lts-xenial xserver-xorg-video-all-lts-xenial xserver-xorg-input-all-lts-xenial libwayland-egl1-mesa-lts-xenial
For Sever edition, run this command instead:
sudo apt-get install --install-recommends linux-generic-lts-xenial