


![]()
Darktable, the popular free open-source photography and RAW developer, released new 5.0.0 version yesterday. PPA updated for Ubuntu 22.04, Ubuntu 24.04, and Ubuntu 24.10.
Darktable 5.0.0 is a new major feature release. It now shows a splash screen at startup, including app loading process bar, which is useful for the user who has a large library. For choice, it can be disabled in the Preferences dialog, under miscellaneous tab.
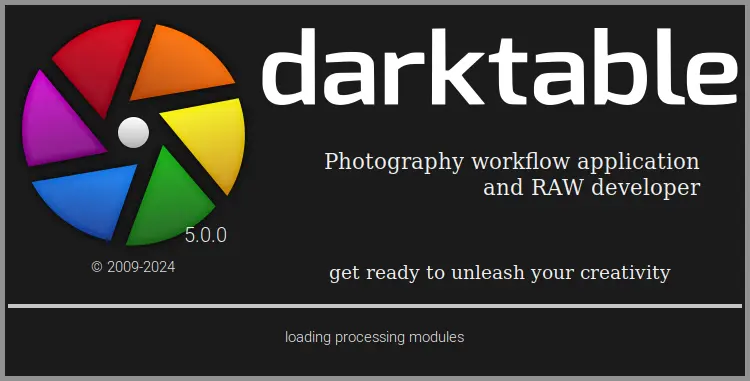
Darktable startup splash screen


