![]()
Wine 5.0 stable was released 2 days ago with a large number of improvements. Here’s how to install it in Ubuntu 18.04, Ubuntu 19.10 (fix dependenices).
“Wine 5.0 is dedicated to the memory of Józef Kucia, who passed away in August 2019 at the young age of 30. Józef was a major contributor to Wine’s Direct3D implementation, and the lead developer of the vkd3d project. His skills and his kindness are sorely missed by all of us.”
UPDATE 2024: THIS TUTORIAL IS OUTDATED! Please see this new one instead of current Ubuntu releases!
Wine 5.0 features:
- Builtin modules in PE format.
- Multi-monitor support.
- XAudio2 reimplementation.
- Vulkan 1.1 support.
How to Install Wine 5.0 in Ubuntu:
The official wine apt repository has made the packages for Ubuntu 16.04, Ubuntu 18.04, Ubuntu 19.04, and Ubuntu 19.10.
I’ve successfully installed Wine 5.0 in Ubuntu 19.10 via following steps without any dependency issue.
Ubuntu 18.04 however run into unmet dependencies issue even after purging graphics drivers PPA, kisak-mesa PPA, etc. And sudo aptitude install wine-stable command output hundreds of package conflicts with no workaround.
THANKS to lutris, I’ve finally got out of the Wine Dependency hell in Ubuntu 18.04 by running command:
sudo apt-get install libgnutls30:i386 libldap-2.4-2:i386 libgpg-error0:i386 libxml2:i386 libasound2-plugins:i386 libsdl2-2.0-0:i386 libfreetype6:i386 libdbus-1-3:i386 libsqlite3-0:i386
Open terminal either by pressing Ctrl+Alt+T on keyboard, or by searching for ‘terminal’ from application menu. When it opens, run following commands one by one.
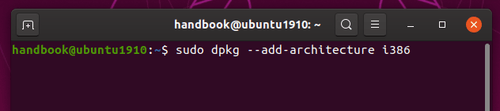
1.) Run command to enable 32 bit architecture:
sudo dpkg --add-architecture i386
Type user password (no asterisk feedback) when it prompts and hit Enter to continue.
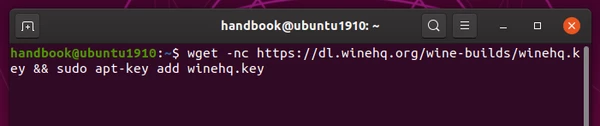
2.) Download and install the repository key via command:
wget -nc https://dl.winehq.org/wine-builds/winehq.key; sudo apt-key add winehq.key
3.) Add wine repository via command (for Ubuntu 19.10):
sudo apt-add-repository 'deb https://dl.winehq.org/wine-builds/ubuntu/ eoan main'
NOTE: You may replace eoan in the code with:
- bionic for Ubuntu 18.04 and Linux Mint 19.x
- xenial for Ubuntu 16.04 and Linux Mint 18.x

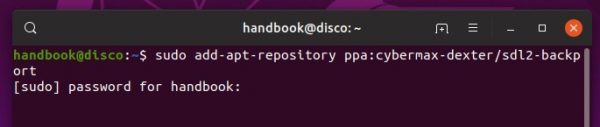
4.) Add PPA for the required libfaudio0 library:
For Ubuntu 18.04, Linux Mint 19.x, and Ubuntu 19.04 only, as higher Ubuntu releases already have libfaudio0 in the main repositories.
sudo add-apt-repository ppa:cybermax-dexter/sdl2-backport
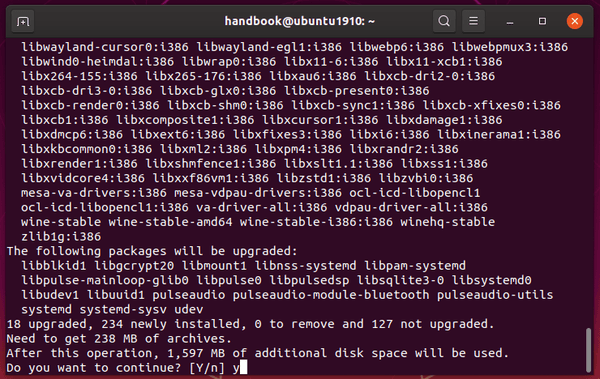
5.) Finally install Wine 5.0 stable via command:
sudo apt update && sudo apt install --install-recommends winehq-stable
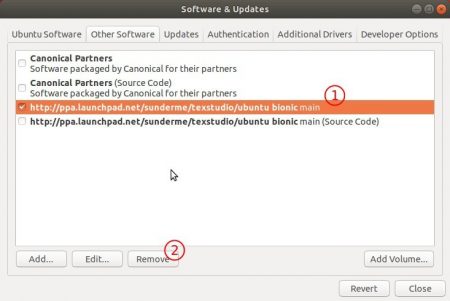
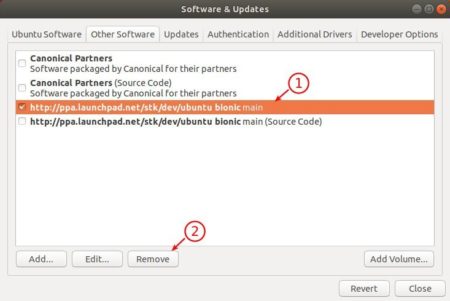
(Optional) After successfully installed Wine 5.0, you may remove the PPAs by launching Software & Updates utility and navigating to Other Software tab.