![]()
Libreoffice, Ubuntu’s default office suite, released version 6.3 a few days ago. Here’s how to upgrade it in Ubuntu 18.04 and/or Ubuntu 19.04 via PPA.
LibreOffice 6.3 release highlights:
- New ‘Tabbed Compact UI’
- improved PDF export
- improved Microsfot office file formats support.
- Redact documents to remove/hide sensitive information
- New ‘Tip-Of-The-Day’ dialog on startup
Although LibreOffice offers the latest snap package (runs in sandbox) in Ubuntu Software utility, you can choose upgrade the pre-installed LibreOffice package using the Fresh PPA.
1. Open terminal either via Ctrl+Alt+T keyboard shortcuts, or by searching for “terminal” from application launcher. When it opens, run command to add the LibreOffice PPA:
sudo add-apt-repository ppa:libreoffice/ppa
Type user password (no asterisk feedback while typing) when it prompts, and read terminal output for PPA description and hit Enter to continue.

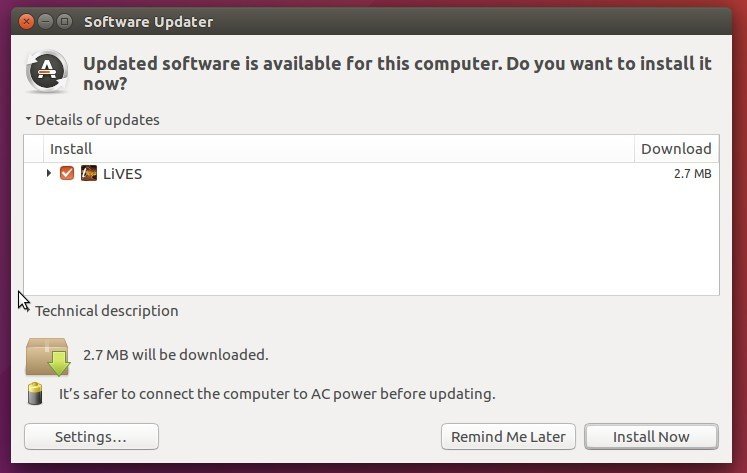
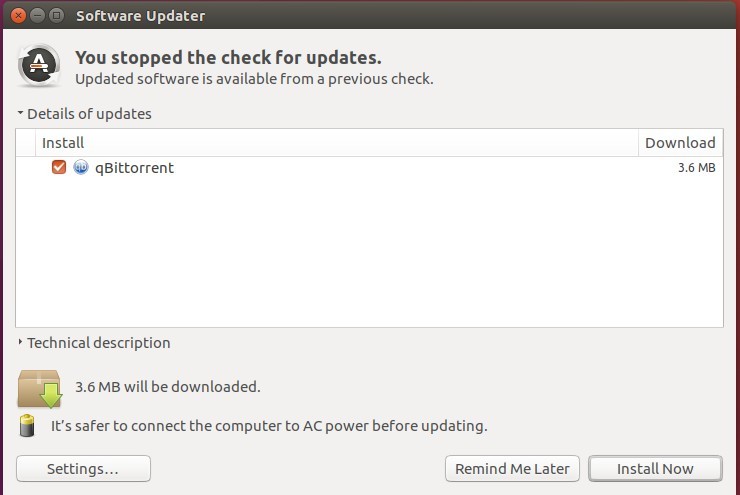
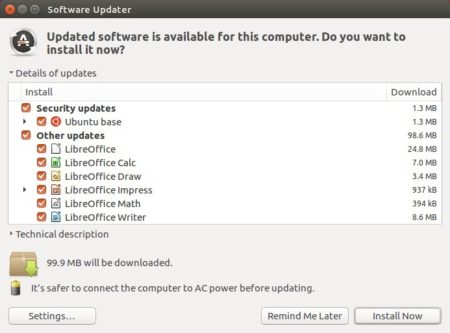
2. Then you’ll see the upgrade available in Software Updater after checking for updates.
Or run commands in terminal to install LibreOffice:
sudo apt update

sudo apt install libreoffice
For Ubuntu 18.04 and higher, you can skip sudo apt update as it’s done while adding PPA.
Uninstall:
You can restore to stock version of LibreOffice in Ubuntu main archive by running command in terminal:
sudo apt-get install ppa-purge && sudo ppa-purge ppa:libreoffice/ppa