Free-software planetarium Stellarium 0.19.1 was released today with numerous bug-fixes, updates, and improvements.
Changes in Stellarium 0.19.1 include:
- Allow to search an inactive meteor showers in Search Tool/Lists tool
- Added ‘Azimuth vs. Time’ graph into AstroCalc/Graphs tool
- Added feature to show tracks for latest several selected planets
- Added tools for jumping to the next or previous time of rising, transit or setting for selected object.
- Added hour angle and sidereal time to infomap.
- Updated DSO textures, planetary nomenclature, list of asterisms.
- Numerous fixes and other updates.
How to Install Stellarium 0.19.0 in Ubuntu:
The official Stellarium Ubuntu PPA has made the new release packages for Ubuntu 16.04, Ubuntu 18.04, Ubuntu 18.10, Ubuntu 19.04.
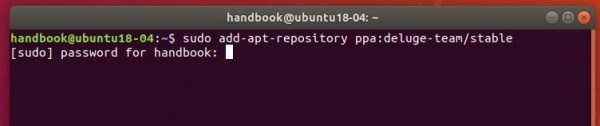
1. Open terminal either via Ctrl+Alt+T keyboard shortcut or by searching ‘terminal’ from app launcher. When it opens, run command to add the PPA:
sudo add-apt-repository ppa:stellarium/stellarium-releases
Type user password (no asterisk feedback while typing) when it prompts and hit Enter.

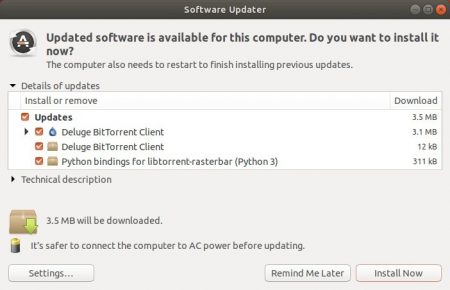
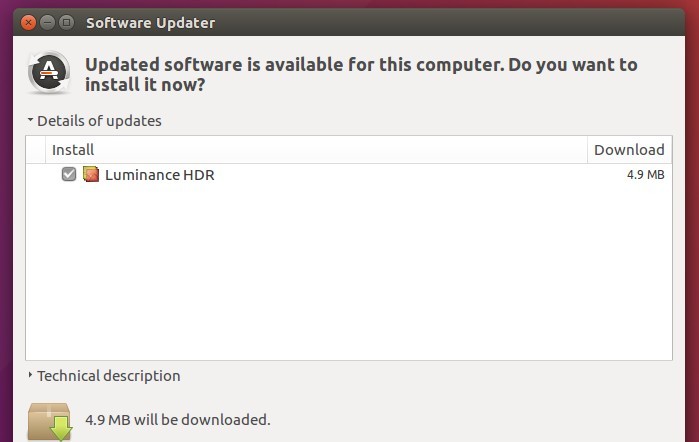
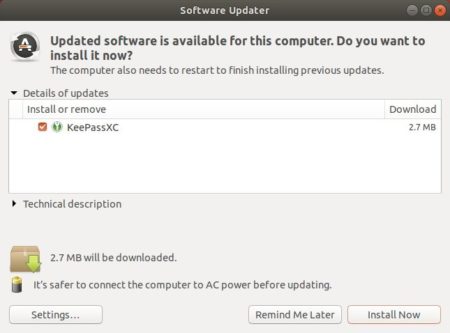
2. Then upgrade Stellarium from an existing release with Software Updater utility:

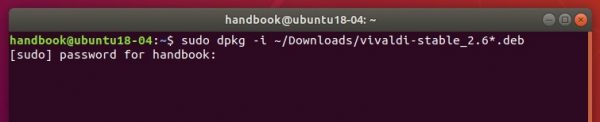
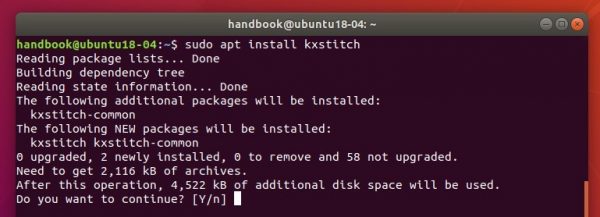
Or run following commands to install the software for the first time:
sudo apt-get update

sudo apt-get install stellarium
Uninstall:
To remove the software, either use your system package manager or run command:
sudo apt-get remove --autoremove stellarium
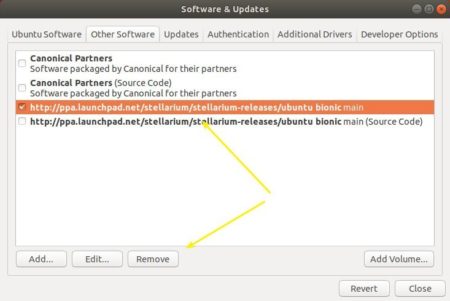
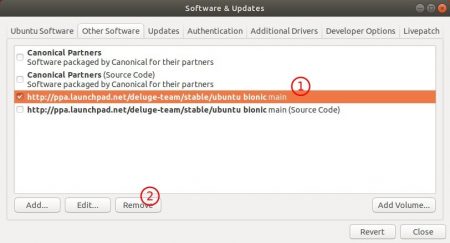
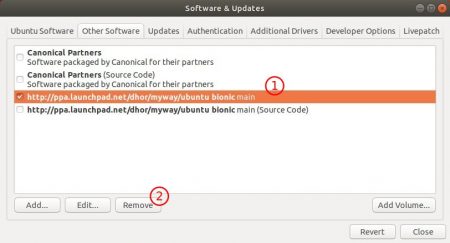
And remove the PPA via “Software & Updates” utility under Other Software tab.