![]()
For those who prefer the classic .deb package format, I’ve revived the Ubuntu PPA for the latest Audacity audio editor packages.
I was previously maintaining a PPA for the Audacity packages. It was however discontinued. Because, the project depended on its own fork of wxWidget library, that is hard to maintain. And, Debian/Ubuntu upstream even stopped updating (now revived) the software package due to policy changes.
Now, Audacity can be built with the wxWidget 3.2 library from Ubuntu’s system repositories. And, Debian/Ubuntu again keep updating the software package (v3.2.4 at the moment) in the new Distro releases.
So I decide to continue the PPA with the latest Audacity packages built against the rules from Debian upstream. And, now it’s updated to Audacity 3.7.7.
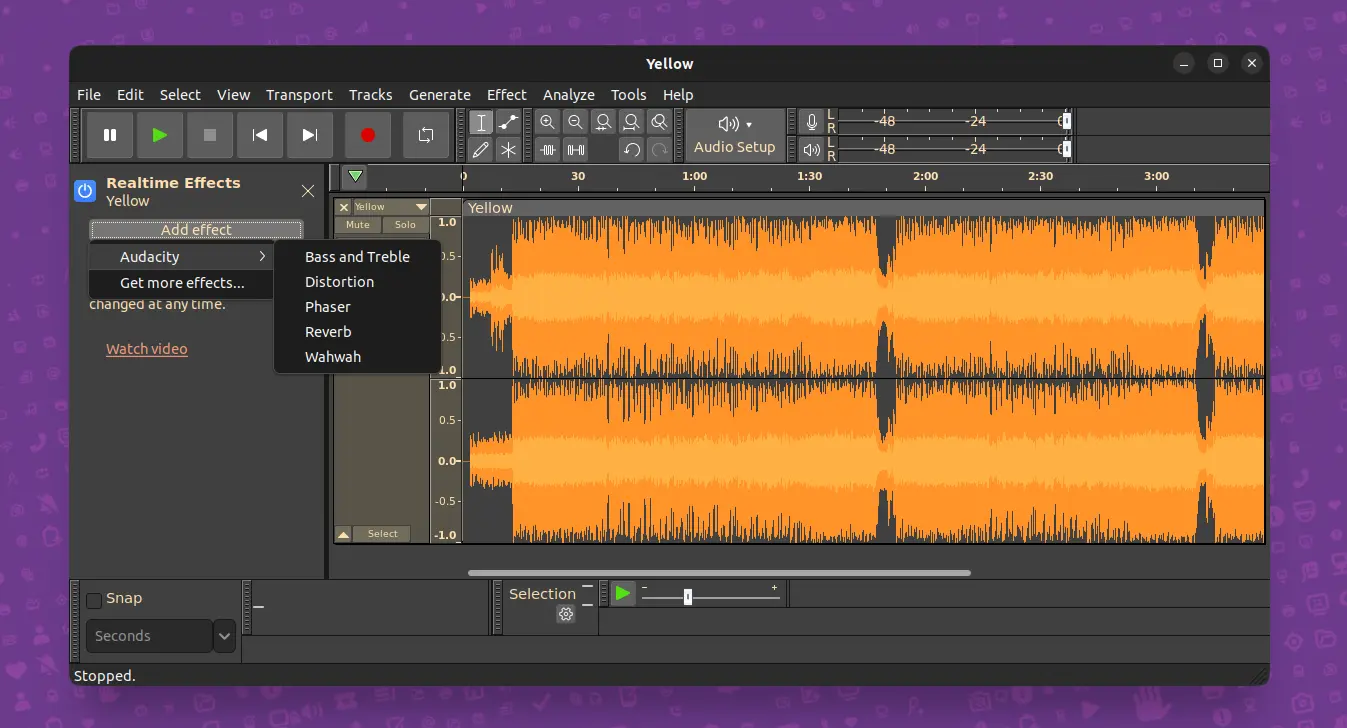
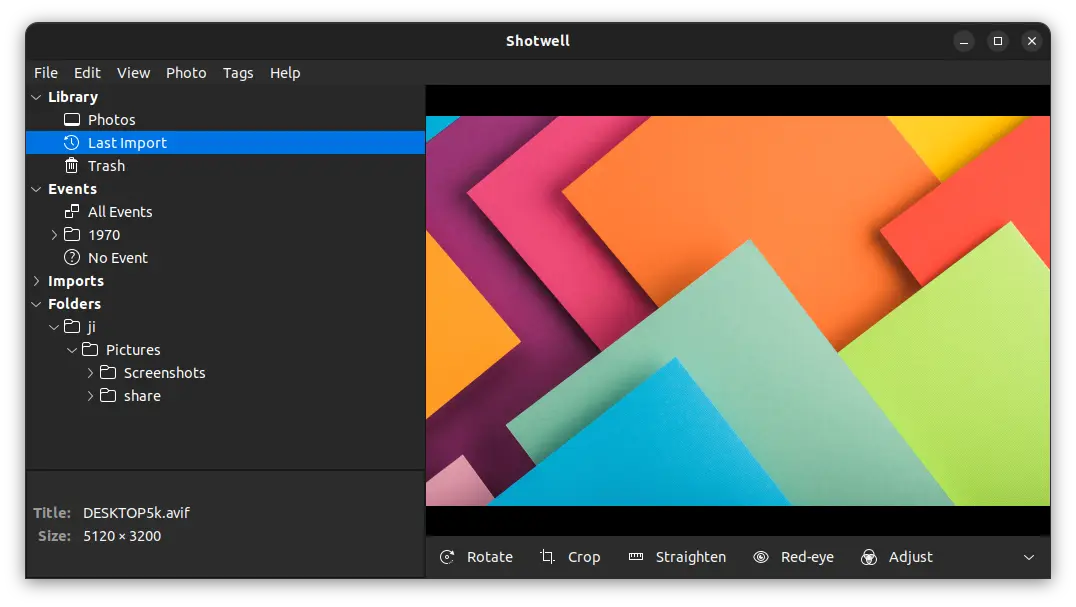
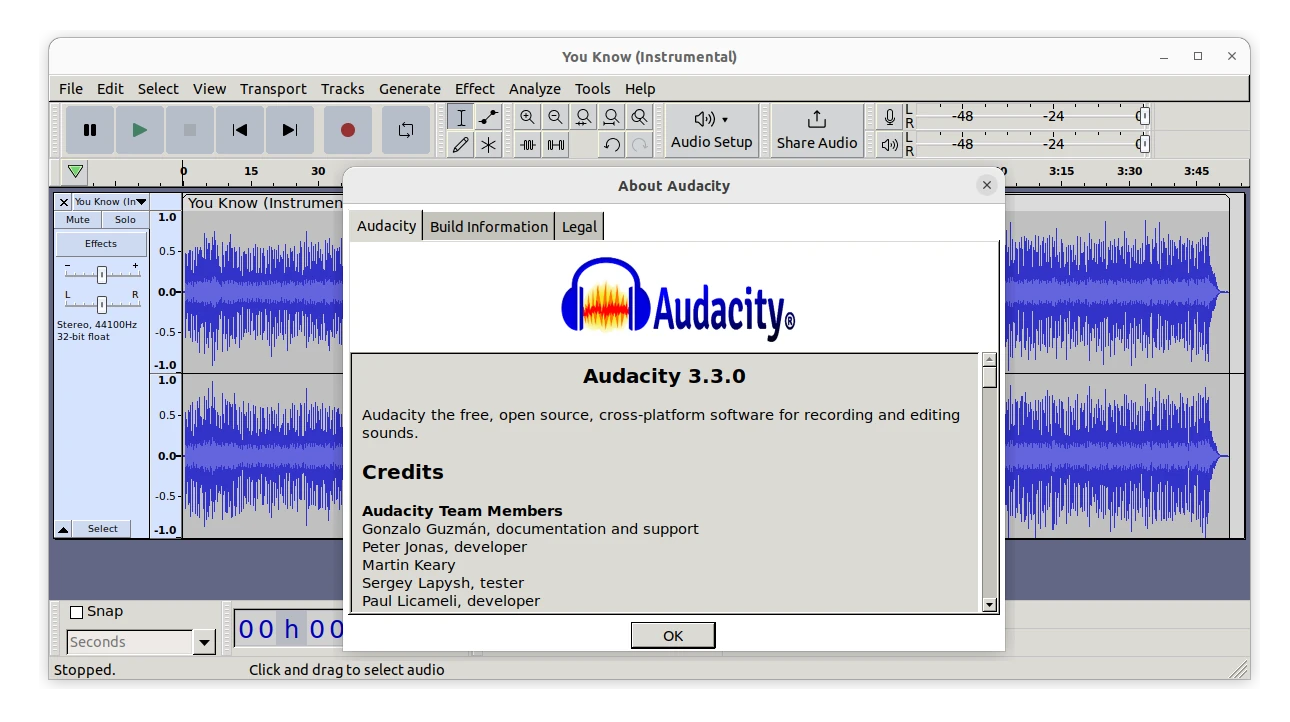
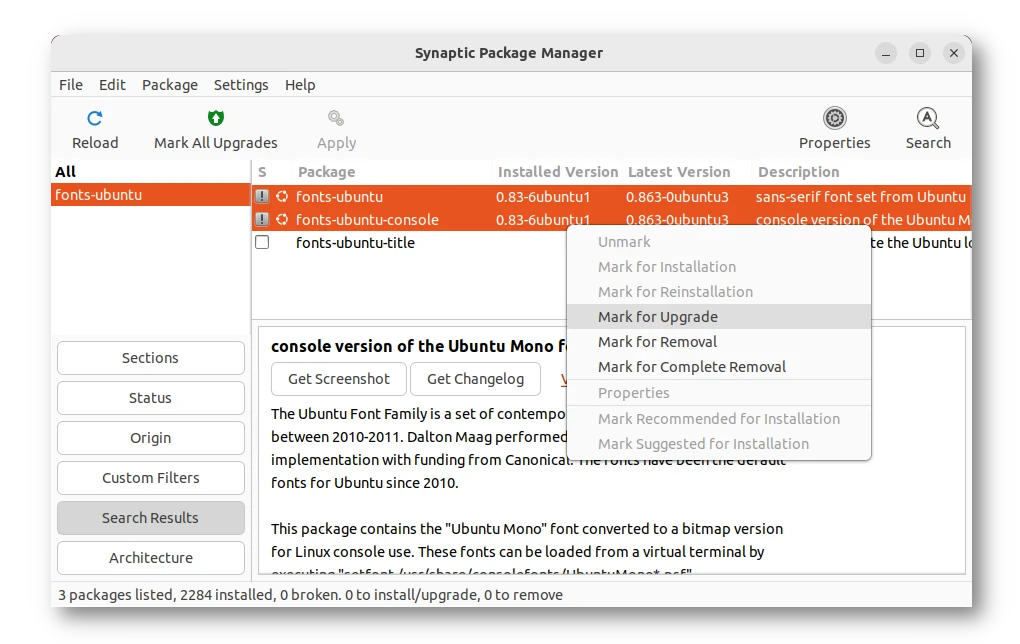
Audacity 3.3 installed as .deb package
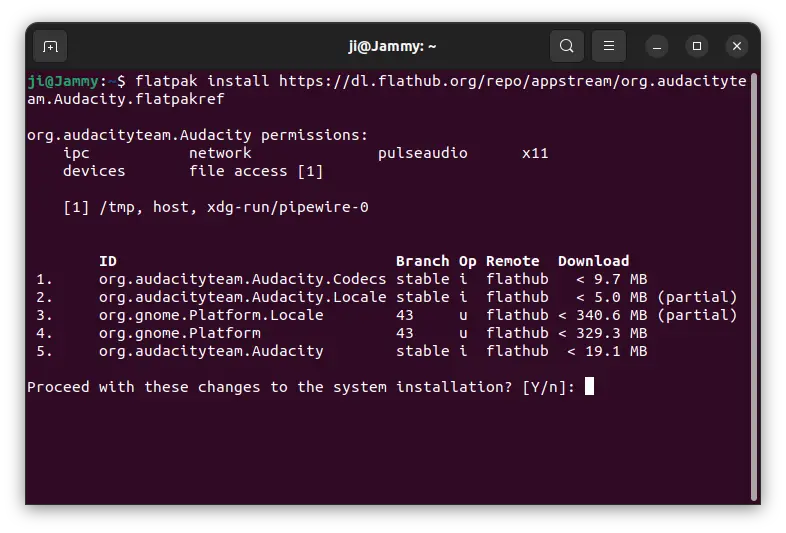
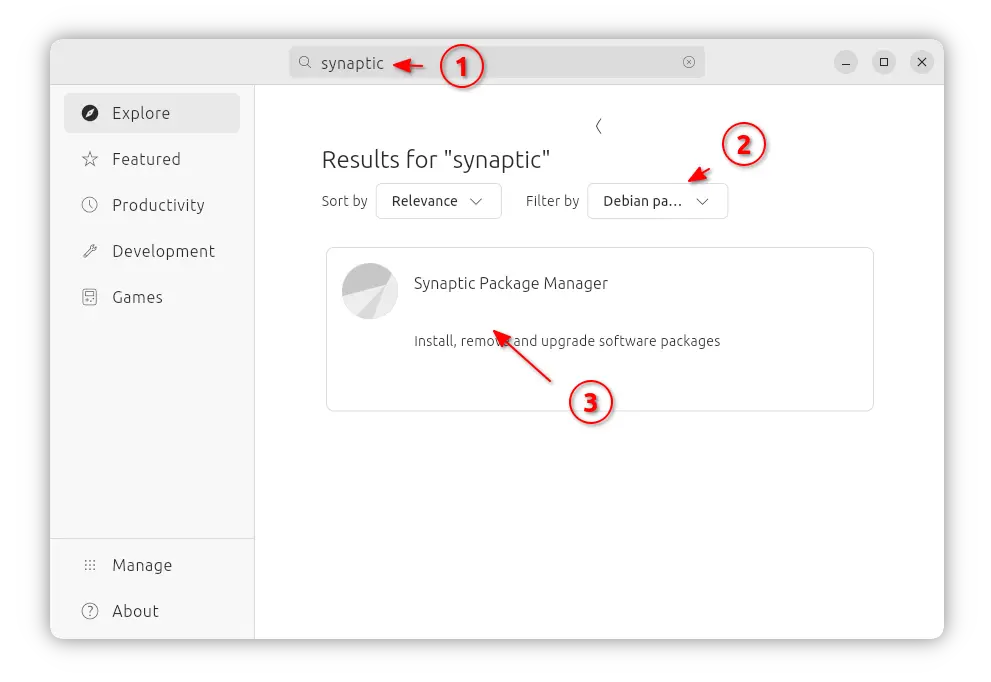
Install Audacity 3.7.7 via PPA in Ubuntu
For the release note, and the official AppImage package, see the Github Release page.
The PPA so far supports for Ubuntu 22.04, Ubuntu 24.04, Ubuntu 25.04 and Ubuntu 25.10 on both x86_86 and ARM CPU platforms.
1. First, open terminal either by pressing Ctrl+Alt+T on keyboard, or by searching from start menu ‘Activities’ overview depends on your DE.

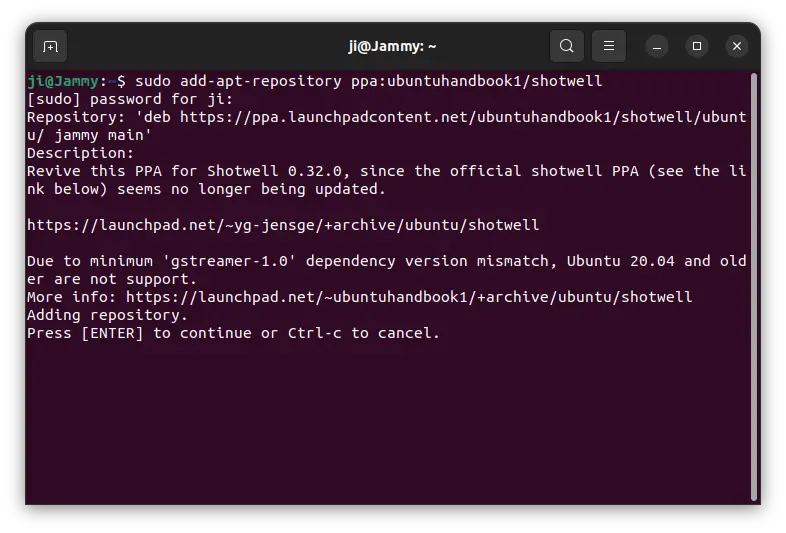
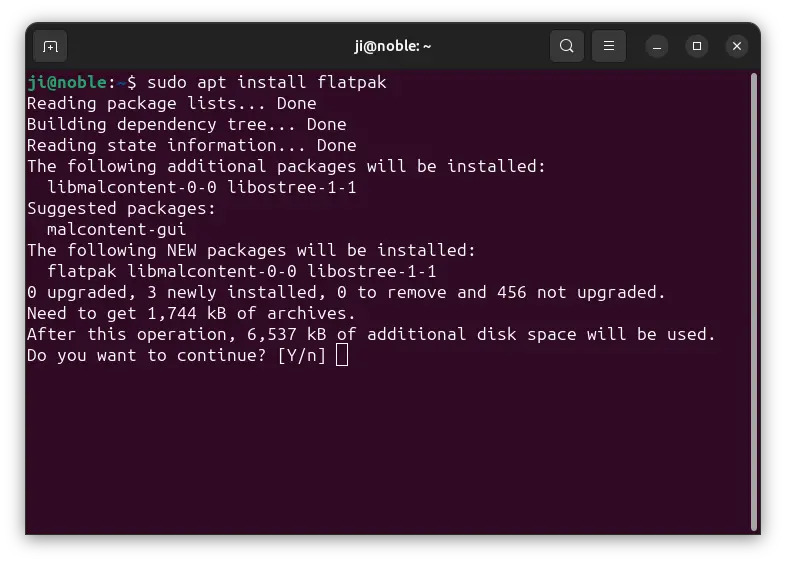
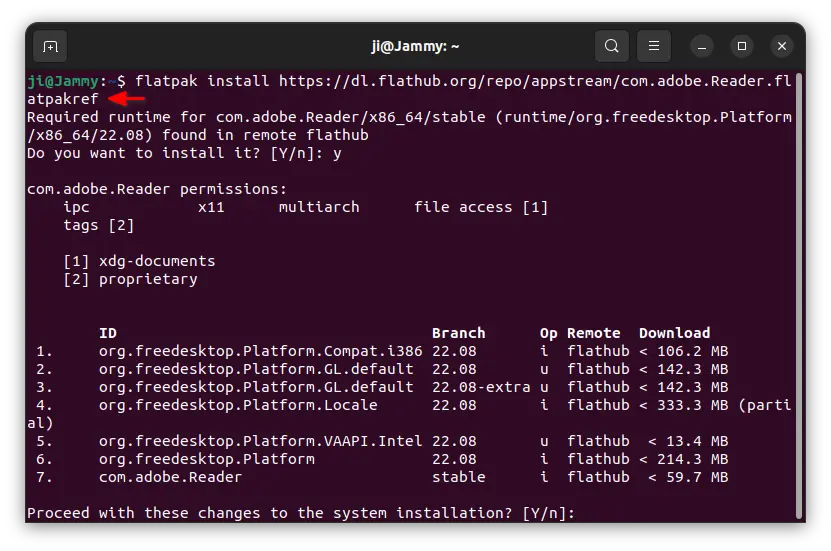
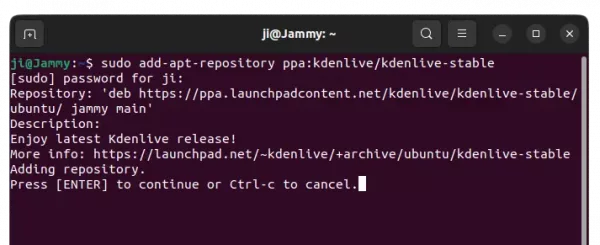
2. When terminal opens, paste the command below and hit run to add the PPA.
sudo add-apt-repository ppa:ubuntuhandbook1/audacity
Type user password when it asks (no asterisk feedback) and hit Enter to continue.

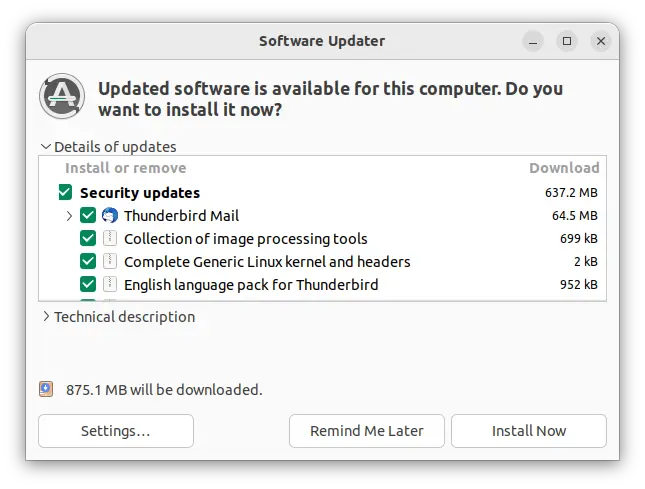
3. If an earlier version was installed via apt install command, you can then upgrade the package using Software Updater (Update Manager).
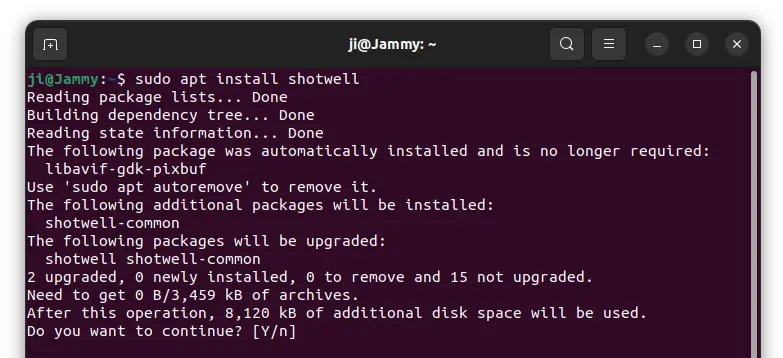
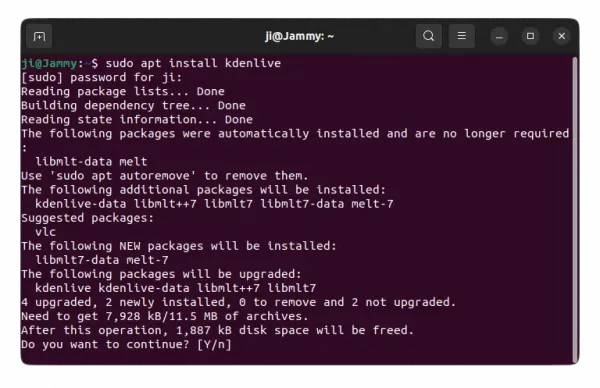
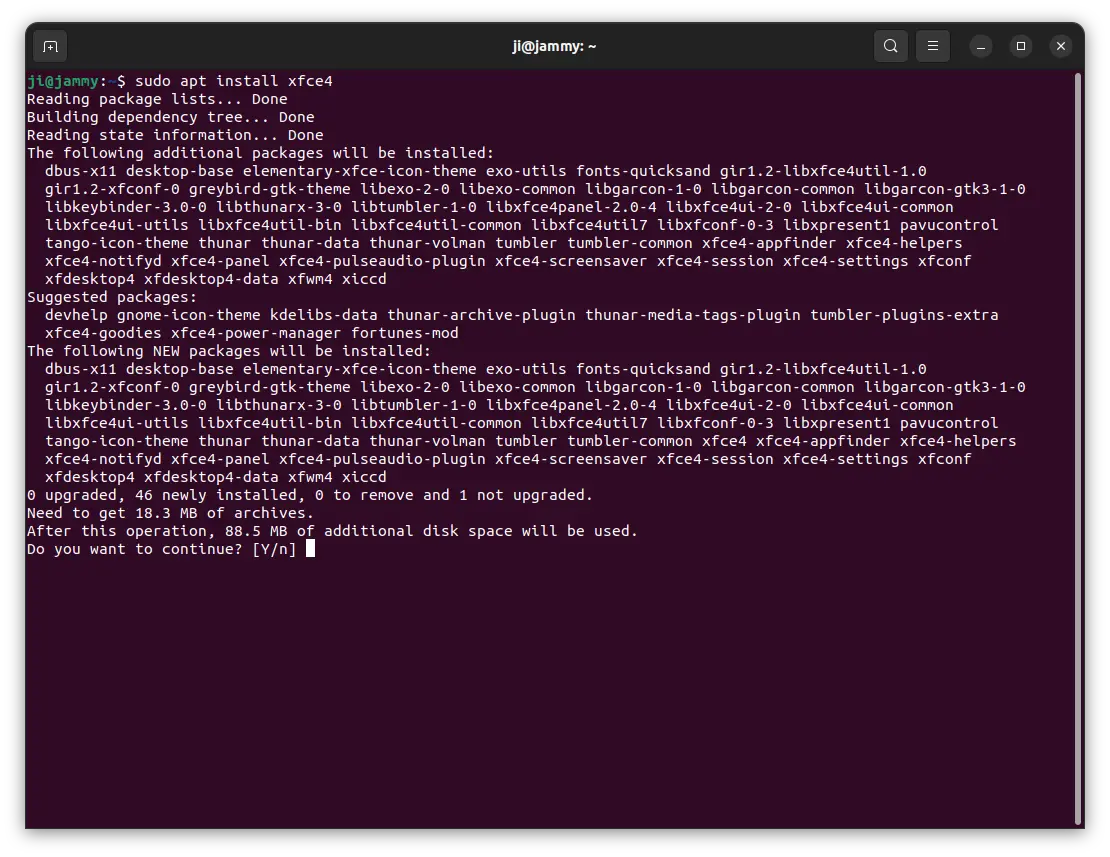
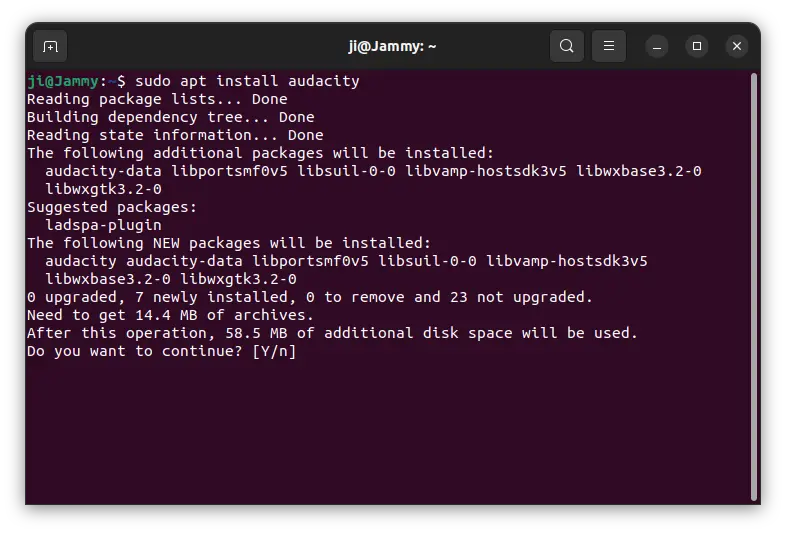
Or, just run command in terminal to install/update the Audacity .deb package:
sudo apt install audacity
NOTE: Linux Mint may need to run sudo apt update first.
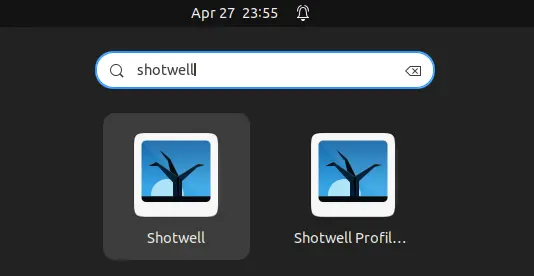
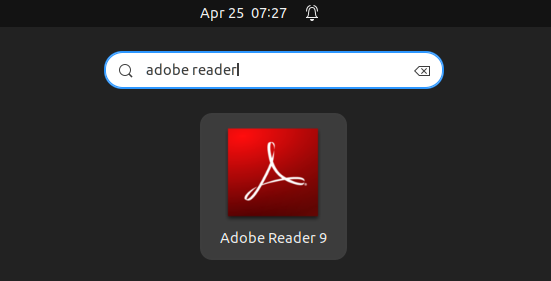
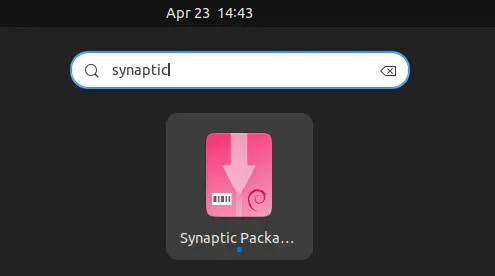
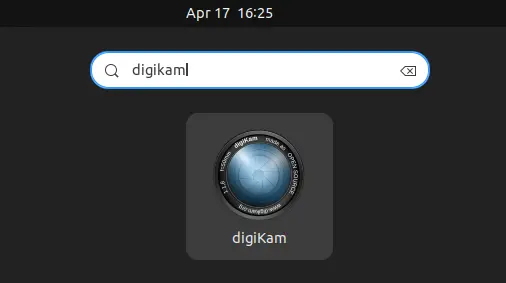
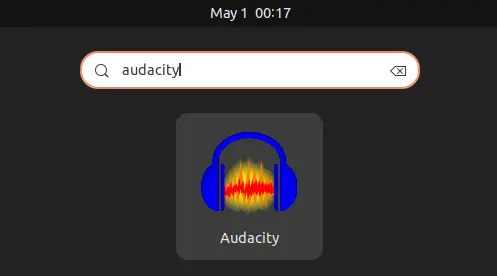
Once installed, search for and open it from start menu or ‘Activities’ overview and enjoy!
If you also installed Audacity as Flatpak, or create a shortcut for official AppImage, you may then have duplicated app icons. You can choose to either remove the other package, or start the .deb version from command line:
/usr/bin/audacity
Uninstall:
To uninstall the Audacity software packages, simply open terminal and run command:
sudo apt remove audacity audacity-data
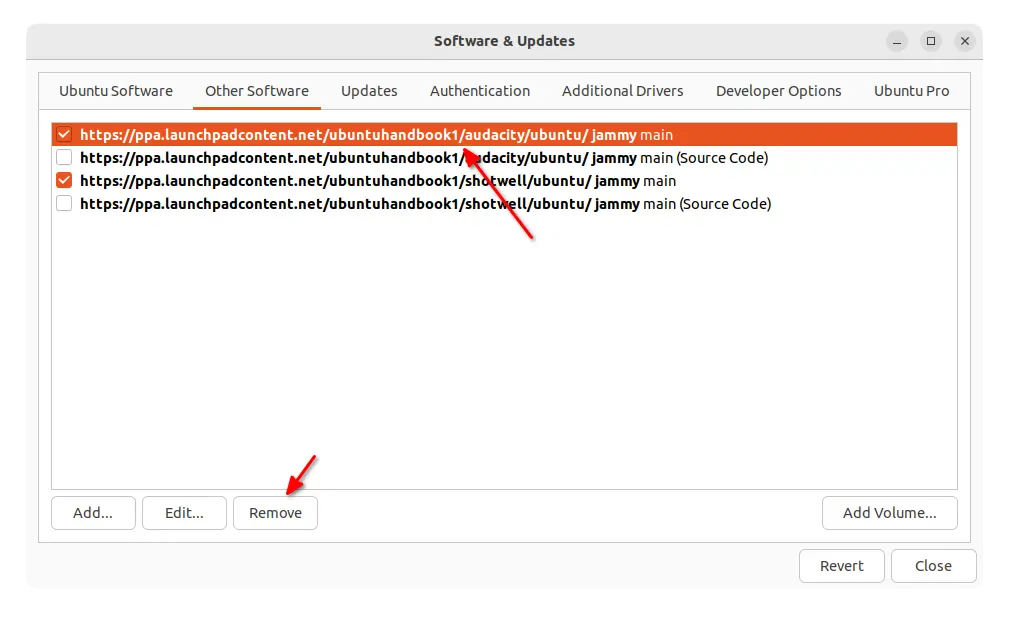
Also, remove the Ubuntu PPA either by running command:
sudo add-apt-repository --remove ppa:ubuntuhandbook1/audacity
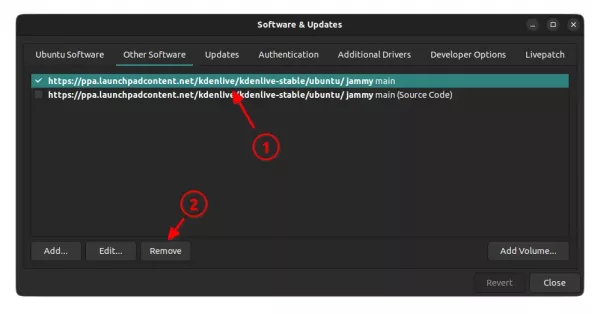
or by launching “Software & Updates” and removing source line under “other software” tab.
That’s all. Enjoy!