Archives For blender

Blender, the popular free open-source 3D creation software, released new 4.5 version few days ago!

The new Blender 4.5 is a long term support (LTS) release since v4.2 with 2 years of support, which features full Vulkan graphics API support!

Blender 4.5 Splash

Continue Reading…

Blender, the popular free open-source 3D computer graphics software, announced new 4.4 release few days ago.

The new release added many exciting new features, improved performances, and fixed over 700 issues.

Continue Reading…

Blender, the popular free open-source 3D creation software, announced new major 4.3 release this Tuesday with many exciting new features and performance improvements.

In the new release, the real-time renderer EEVEE now supports Light Linking and Shadow Linking, which was previously available only in Cycles. It now has a new Metallic BSDF node in shader editor, and, new texture node that can create procedural Gabor noise for random interleaved bands with controllable direction and width.

Continue Reading…

Blender, the popular free open-source 3D animation software, announced new 4.2 release few days ago this Tuesday!

Blender 4.2 is a Long Term Support (LTS) release with 2 years support for critical fixes. It introduced new EEVEE render engine, which is completely rewritten from scratch.

The new engine features screen space global illumination, real displacement, better Subsurface Scattering, much more stable Dithered volumetrics result while navigating the scene, motion blur in 3D viewport, as well as:

  • Virtual Shadow maps,
  • unlimited BSDFs and unlimited number of lights,
  • New Transparent Shadows option,
  • multi-trheaded shader compilation,
  • Shadow Map Raytracing and more.


Continue Reading…

This is a step by step guide shows how to install the latest Blender app (v4.5 so far) in Ubuntu 20.04, Ubuntu 22.04, Ubuntu 24.04, and Ubuntu 24.10 Desktop.

Blender is a popular free open-source 3D graphics software works in Linux, Windows, and MacOS.

Ubuntu includes the software package in system repository, but always old as you know. The upside is that it supports all platforms, including x86_64 (AMD/Intel), arm64 (e.g., Raspberry Pi), ppc64el (IBM Power platform), RISC-V 64, and s390x (IBM zSystems and LinuxONE).

For Ubuntu user on x86_64 (AMD/Intel) computers, the latest version can be installed through following packages:

  • Official Linux Tarball.
  • Official Snap package (runs in sandbox).
  • Flatpak package (Community maintained and runs in sandbox).

Continue Reading…

Blender, the popular free open-source 3D creation software, announced new 4.1 major release this Tuesday.

Blender 4.1 introduced new geometry nodes, including Index Switch, Musgrave, Split to Instance, Sort Elements, Rotate Rotation, Active Camera. It replaces mesh “Auto Smooth” option with a modifier node group asset, adds support for Blackbody shader node, new Manage panel in Geometry Nodes modifier.
Continue Reading…

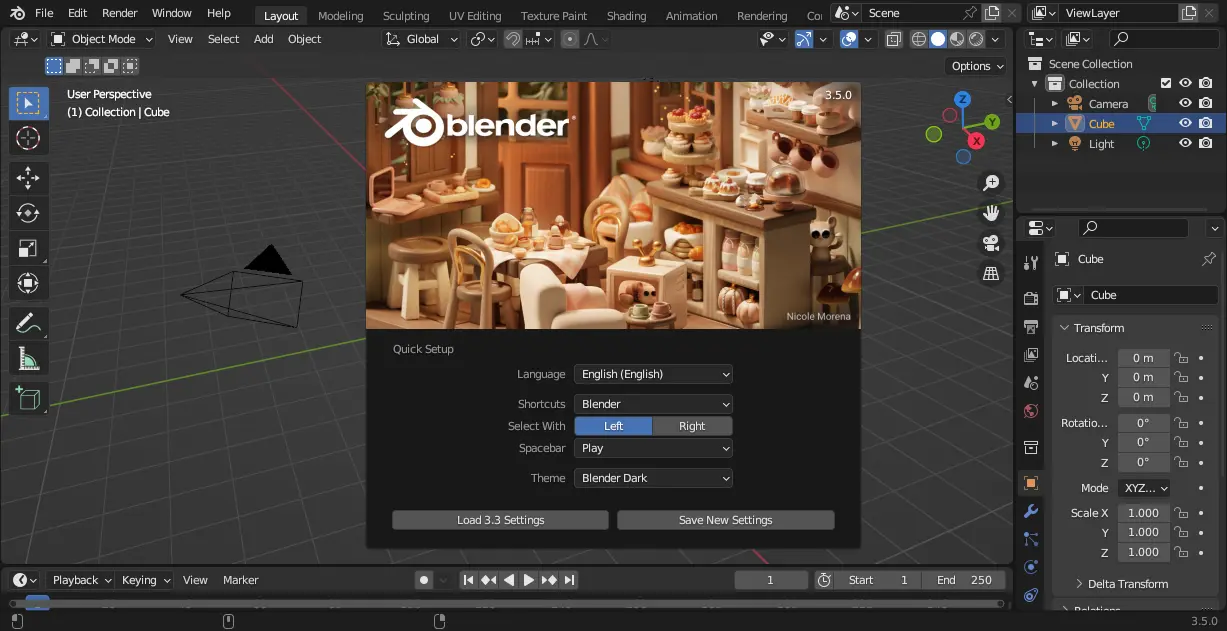
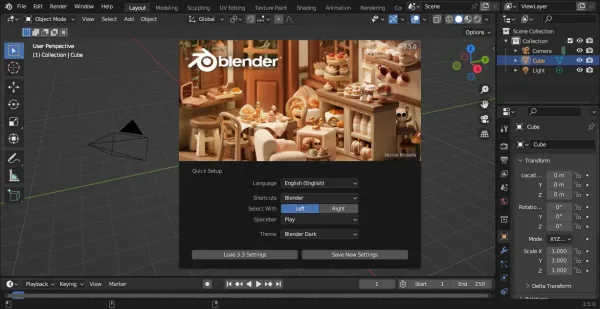
Blender 3.5, the popular 3D creation software, was released few days ago. Here are the new features and how to install guide for Ubuntu users.

The new release features 26 built-in hair assets, allows to drag and drop to use onto your setups. As well, it allows to do many actions on hair curves, such as generate, duplicate, deform, trim, rotate, roll up, and more.

It also added support for Vector Displacement Maps (VDM) brushes, new GPU-based 3D viewport compositor, many lights sampling for Cycles.

Other changes in Blender 3.5 include:

  • Use native Metal in macOS for 3D viewport.
  • New options and shortcuts for Pose Library.
  • New Ease operator in the Graph Editor
  • New Natural Drawing Speed timing mode in the Build modifier
  • Support for Importing and exporting USDZ files.

How to Install Blender 3.5 in Ubuntu

Option 1: Install Blender as Snap

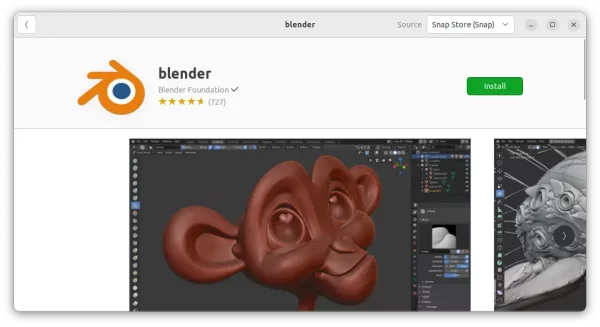
For Ubuntu 20.04 and higher, it’s super easy to install the latest Blender package through the official Snap package.

Simply open Ubuntu Software, search for ‘Blender’ and click install it.

I’m not sure if Ubuntu software in 18.04 has added support for Snap, but user can just press Ctrl+Alt+T on keyboard to open terminal and run command to install the daemon & Blender as snap:

sudo apt install snapd && sudo snap install blender --classic

Option 2: Install Blender via the Linux tarball

Some users do not like the snap package that runs in sandbox. For choice, Blender website offers the portable Linux tarball:

And here’s a step by step guide shows how to create app shortcut for the portable package.

Blender is also available to install as Flatpak package. For those prefer the classic .deb package, there’s a third-party PPA, though not updated at the moment of writing.

The free open-source 3D creation software Blender 3.2.0 was released! Finally, it adds support for AMD GPU rendering for Linux!

Blender 3.2.0 introduced a new type of Cycles render pass that contains only the lighting from a subset of light sources. It’s ‘Light Groups’ which can be used to modify the color and/or intensity of light sources in the compositor without re-rendering.

Cycles now supports selective rendering of caustics in shadows of refractive objects. Paint is now available in Sculpt mode. New paint brush comes with a bunch of new settings like tip shape, wet mixing, flow and density.

And there are many other changes including:

  • Using the voxel remesher all color attributes will be preserved.
  • Masking, auto-masking and face sets are fully supported with color attribute painting.
  • Duplicate Elements Node that can duplicate points, edges, faces, instances, and curves
  • Asset collections (no longer experimental)
  • Curve pen tool to quickly add, delete, and tweak control points
  • New Envelope modifier.
  • Manage video sequencer channels by giving channels a name, as well as mute and lock options
  • Webp image import/export support.
  • OpenColorIO color space aliases support
  • And much more.

How to Install Blender 3.2.0 in Ubuntu

It’s quite easy to install Blender in Ubuntu, since the official Snap package is available in Ubuntu Software. You just need to keep an eye on the source info in the header bar, and make sure it’s from Snap Store.

Don’t like the sandbox applications? Blender website also provides 64-bit Linux tarball for downloading:

Just extract, and run the executable file from extracted folder will launch the software. Or, you may follow this guide to create app shortcut for it.

The free open-source 3d modeling software, Blender released new major 3.1.0 version a day ago.

Blender 3.1.0 introduced new Metal GPU backend for the Cycles renderer, contributed by Apple. It currently works on M1 computers running macOS 12.2+, and Apple computers with AMD graphics cards running macOS 12.3 or newer.

The release also has big performance improvements to Geometry Nodes. Many nodes are now multi-threaded. Medium loads up to 10x faster. Memory usage reduced up to 100x in large fields.

Other features include:

  • Instances can now have own dynamic attributes!
  • Support for Pixar OpenSubDiv
  • Copy Global Transform add-on
  • The Fill tool now allows negative values.
  • GPU acceleration support for Subdivision modifier.
  • Faster OBJ, FBX export.
  • Image editor now handle much larger images
  • See release note for more.

How to Install Blender 3.1.0 in Ubuntu:

Method 1: Blender Snap.

The easiest way to install the latest Blender is using the Snap package. It’s official, and can be installed directly from Ubuntu Software:

Ubuntu Software sucks. It may not load apps sometimes. To workaround it, press Ctrl+Alt+T on keyboard to open terminal and run command to install the Snap package:

sudo snap install blender --classic

Method 2: Blender Linux Tarball.

For those don’t like the universal Snap package, Blender website also provides the ‘.tar.xz‘ Linux tarball.

After download the ‘Blender-3.1.0-linux-x64.tar.xz’ package, just extract and run the executable to launch the software. Or, you may follow this step by step guide to add app shortcut.

For those don’t like the Snap package, this is a step by step guide shows how to install latest Blender via its official Linux tarball in Ubuntu.

The latest Blender is quite easy to install in Ubuntu since it’s available in Ubuntu Software. However, it’s Snap package!

For choice, the Blender foundation provides the portable Linux tarball, but it lacks app shortcut for launching from system start menu. So, I’m writing this how to tutorial to deal with it.

NOTE: This tutorial should work on most Linux (e.g., Debian, Fedora, Linux Mint) that support .desktop file, though the title said for Ubuntu.

Install Blender via Linux Tarball:

1. Download Linux Tarball

First, go to the official download page. Click download Blender for Linux. It’s a 64-bit tarball ‘blender-x.x.x-linux-x64.tar.xz‘ for modern PC/laptop:

After downloading the package, extract, and finally click run the executable file from extracted folder will launch the 3D creation software.

If you want to make it show in system start menu (Activities overview search results), you need to do following more steps.

2. Extract Tarball to /opt for global use:

Here I’m going to extract the tarball to /opt directory and create app shortcut for Blender.

1.) Press Ctrl+Alt+T on keyboard to open terminal. When it opens, run command to backup old blender folder under ‘/opt’ if any:

sudo mv /opt/blender /opt/blender.back

Ignore ‘No such file or directory’ output. It means you don’t have old file to backup.

2.) Create new blender folder under /opt:

sudo mkdir -p /opt/blender

3.) Extract Blender tarball from Downloads folder to the new created folder:

sudo tar -Jxf ~/Downloads/blender-*-linux-x64.tar.xz --strip-components=1 -C /opt/blender

NOTE: Instead of running the commands above in terminal, user may decompress the tarball in file manager and move source folder to the desired location. However, moving to /opt needs root permission. So, open file manager via sudo nautilus ~/Downloads command is required

3. Verify if the Blender executable works:

After extracting the Linux tarball into /opt/blender. User may run command to list that directory to verify:

ls /opt/blender

And, run this command should launch the software:

/opt/blender/blender

Sometimes, app may refuse to launch due to missing shared library. If so, copy the library name and search in packages.ubuntu.com under ‘Search the contents of packages’ to find out the required package and install it.

4. Create app shortcut for Blender:

The Linux tarball includes the shortcut file by default, though it won’t work since PATH to executable varies depend where you put the folder. Run command in terminal to open the file via gedit text editor:

sudo gnome-text-editor /opt/blender/blender.desktop

For Ubuntu 22.04 and earlier, replace gnome-text-editor with gedit in command. For non-GNOME desktop, use mousepad for XFCE, xed for cinnamon, or nano command line editor works for most cases.

When it opens, change the ‘Exec’ and ‘Icon’ lines into:

Exec=/opt/blender/blender %f
Icon=/opt/blender/blender.svg

Then, save the file. For nano text editor, press ctrl+x, hit y and then Enter to save it.

Finally, copy the file to either ‘.local/share/applications’ for single user use, or ‘/usr/share/applications’ for global use:

sudo cp /opt/blender/blender.desktop ~/.local/share/applications/

Here I copied the app shortcut file to local folder for single user use. And, the app icon shows in ‘Activities’ overview search result few moments later. Though, it’s better to change the ownership to yourself.

sudo chown $USER:$USER ~/.local/share/applications/blender.desktop

NOTE: If you still have old Blender package in system, there may be duplicated app icons.

Remove Blender:

To uninstall Blender installed via previous steps, simply remove the folder under /opt directory via command:

sudo rm -R /opt/blender

And remove the app shortcut file via:

rm ~/.local/share/applications/blender.desktop

In case you didn’t change the ownership, add sudo at the beginning to get pass permission issue.