![]()
Firefox 141.0, a new monthly release of Mozilla’s web browser, is available to download!
The official release note, as usual, is not ready yet. While the official pre-build packages are out along with the source tarball.
News, Tutorials, Howtos for Ubuntu Linux
![]()
Firefox 141.0, a new monthly release of Mozilla’s web browser, is available to download!
The official release note, as usual, is not ready yet. While the official pre-build packages are out along with the source tarball.

![]()
The new 139.0 release of Firefox web browser is finally available to download after 10 beta testing releases.
The official release note for this version is not ready at the moment of writing. According to its Github releases page, it includes some exciting new features.
![]()
Mozilla Firefox 138.0 is available to download today after 9 beta releases. Here are the new features in this monthly release.
The Firefox 138.0 announcement is not ready at the moment of writing, though the download link is out. According to the Github releases page, the new Firefox release enhanced profile management support.
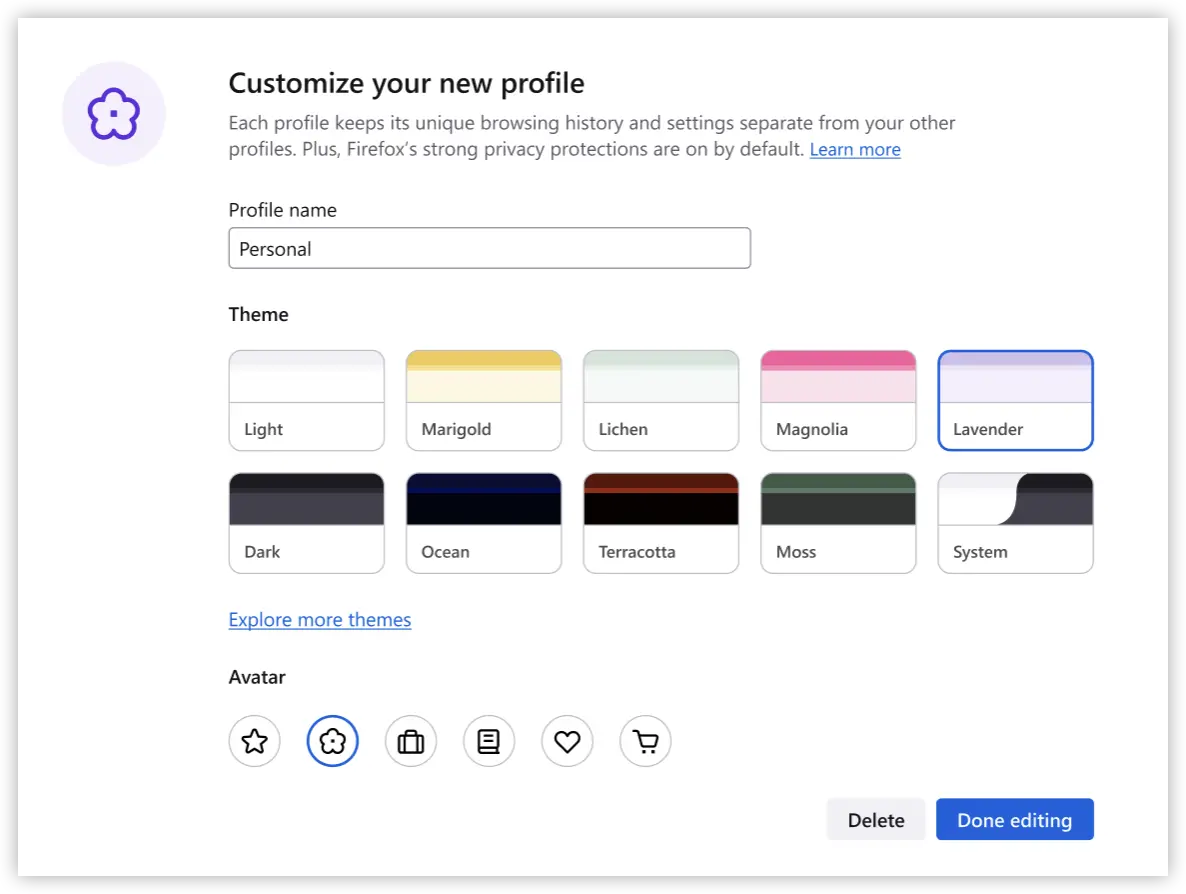
image from mozilla.org
![]()
A new monthly release of Mozilla Firefox web browser is out. It’s Firefox 137.0!
The official announcement is not ready at the moment of writing. But according to the Github release notes page, Firefox 137.0 introduced new experimental tab group feature, allowing to group open tabs together with unique name, color code, which are always saved and can be closed then reopen later.
![]()
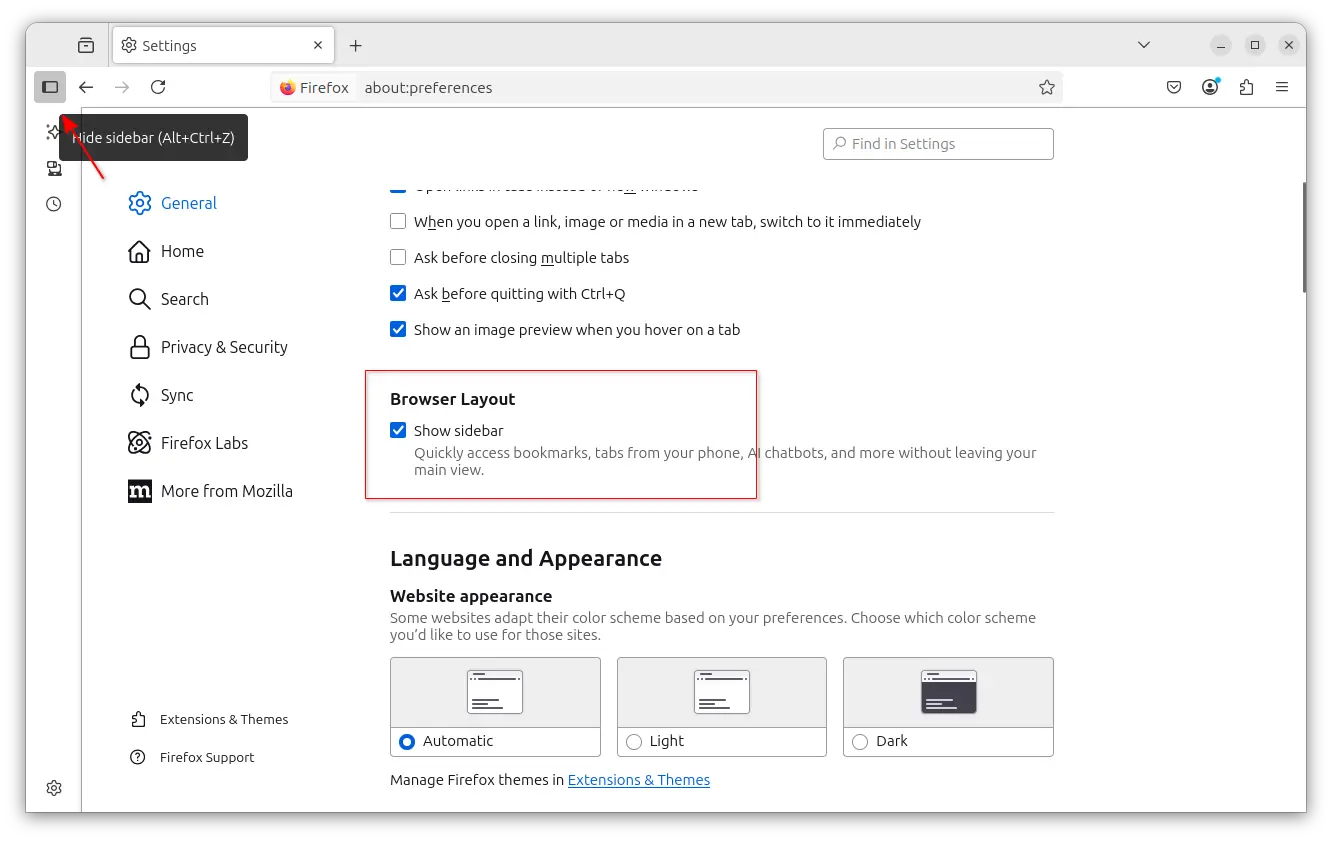
Firefox web browser 136.0 is out today with many new features!
The new release introduced a new setting option, allowing to add sidebar toggle button in top-left, to quickly show/hide the side-bar. Where, you can quickly access the AI chatbox, history, tabs from other devices, and settings.
![]()
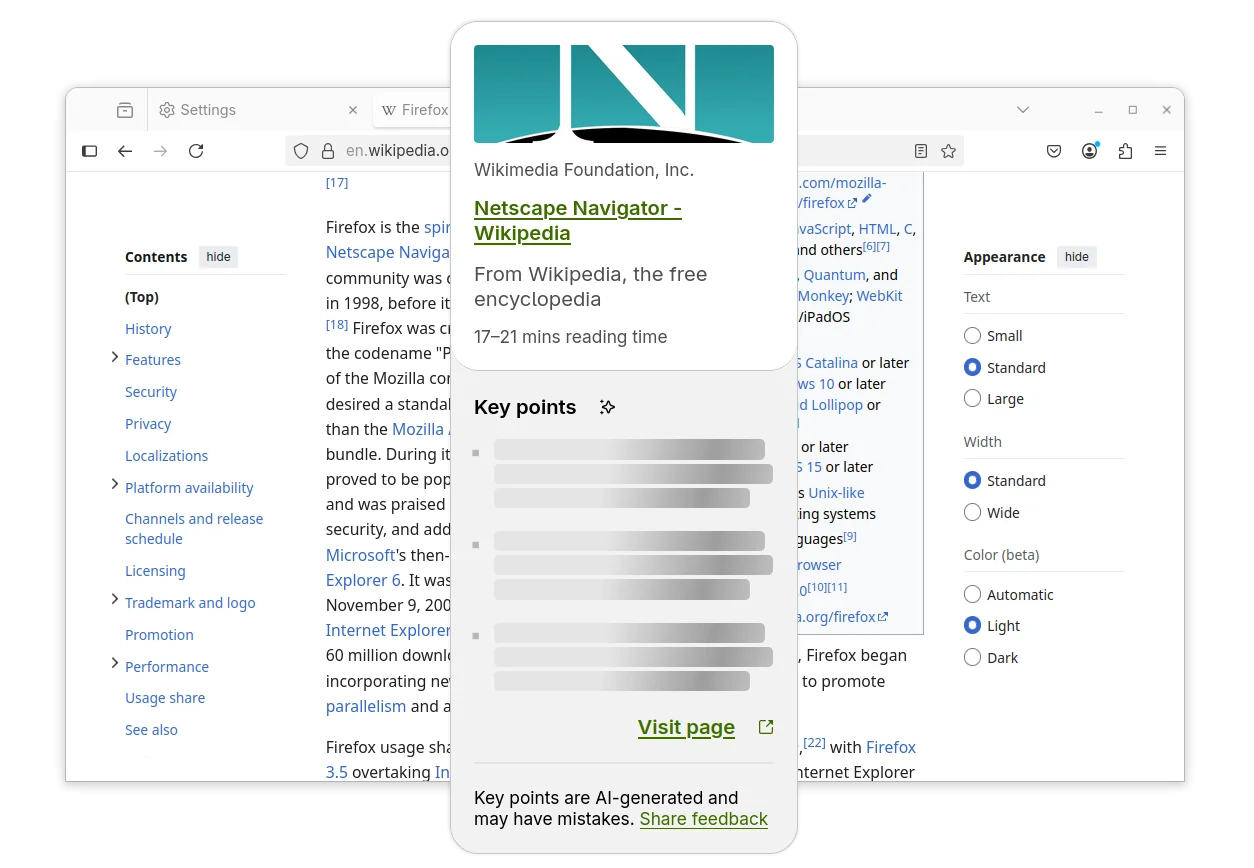
Mozilla Firefox announced new 135.0 release on Tuesday. See what’s new in this monthly release.
The new release enhanced some features to make them work for all users. AI Chatbot, the experimental feature that’s introduced since Firefox 130, now is available to all users.
Just go to Settings -> Firefox Labs, then select AI between Anthropic Claude, ChatGPT, Google Gemini, HuggingChat, Le Chat Mistral, then you may chat with AI in sidebar after login.
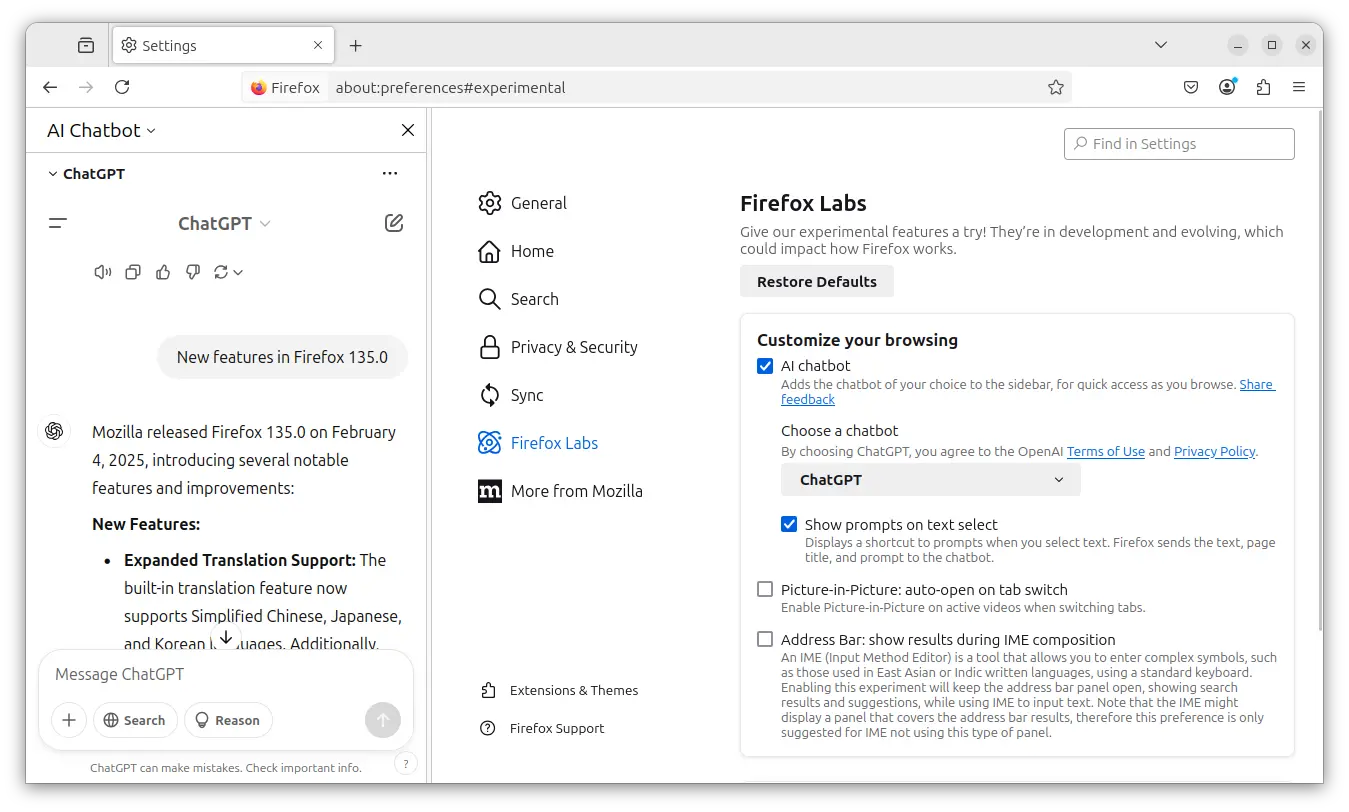
Firefox AI Chatbot made available to all users
Besides AI, the new browser release also extended the credit card autofill feature to all users globally, made the refreshed New Tab layout to users in all countries where Stories are available.
And, the built-in translations now support translating Simplified Chinese, Japanese, and Korean. While Russian is now available as a target language to translated into.

New Tab layout now works in all countries support Stories
Firefox 135 includes safeguards to prevent sites from abusing the history API by generating excessive history entries. Which however make navigating back and forward buttons difficult by cluttering the history.
Other changes in the new browser release include:
The release also includes some web development changes. It introduced a new console command $$$ allows to search the page including within shadow roots. It added support for the WebAuthn getClientCapabilities() method, and a post-quantum key exchange mechanism (mlkem768x25519) for HTTP/3.
The release note and official packages are available at the link below:
For Ubuntu 22.04+ users with default Firefox Snap package, it will automatically update to the latest, though user may manually check updates via command:
sudo snap refresh firefox
For native DEB package, user can choose either the official apt repository or MozillaTeam PPA, and here’s a step by step tutorial talking about it.
![]()
This is a step by step beginner’s guide shows how to configure Nginx to block certain IPs or IP range from accessing your website, and block all others while only you (and specified IPs) can access the wordpress login pages.
This site was under attack a few days ago. Someone made tens of thousands of constant requests that slowed down the server response. And, here’s what I did to manually block attacker’s IPs and restrict access to the login page.
Continue Reading…

Midori web browser announced new 11.5 release recently with some exciting new features.
Midori was a popular lightweight web browser that was default in elementary OS and Bodhi Linux. It’s now a free open-source Firefox derived browser developed by Astian Foundation, and licensed under the Mozilla Public License (MPL).
The browser released new 11.5 recently, changed its app icon from a green lizard to new flat design logo that IMO feels better.

![]()
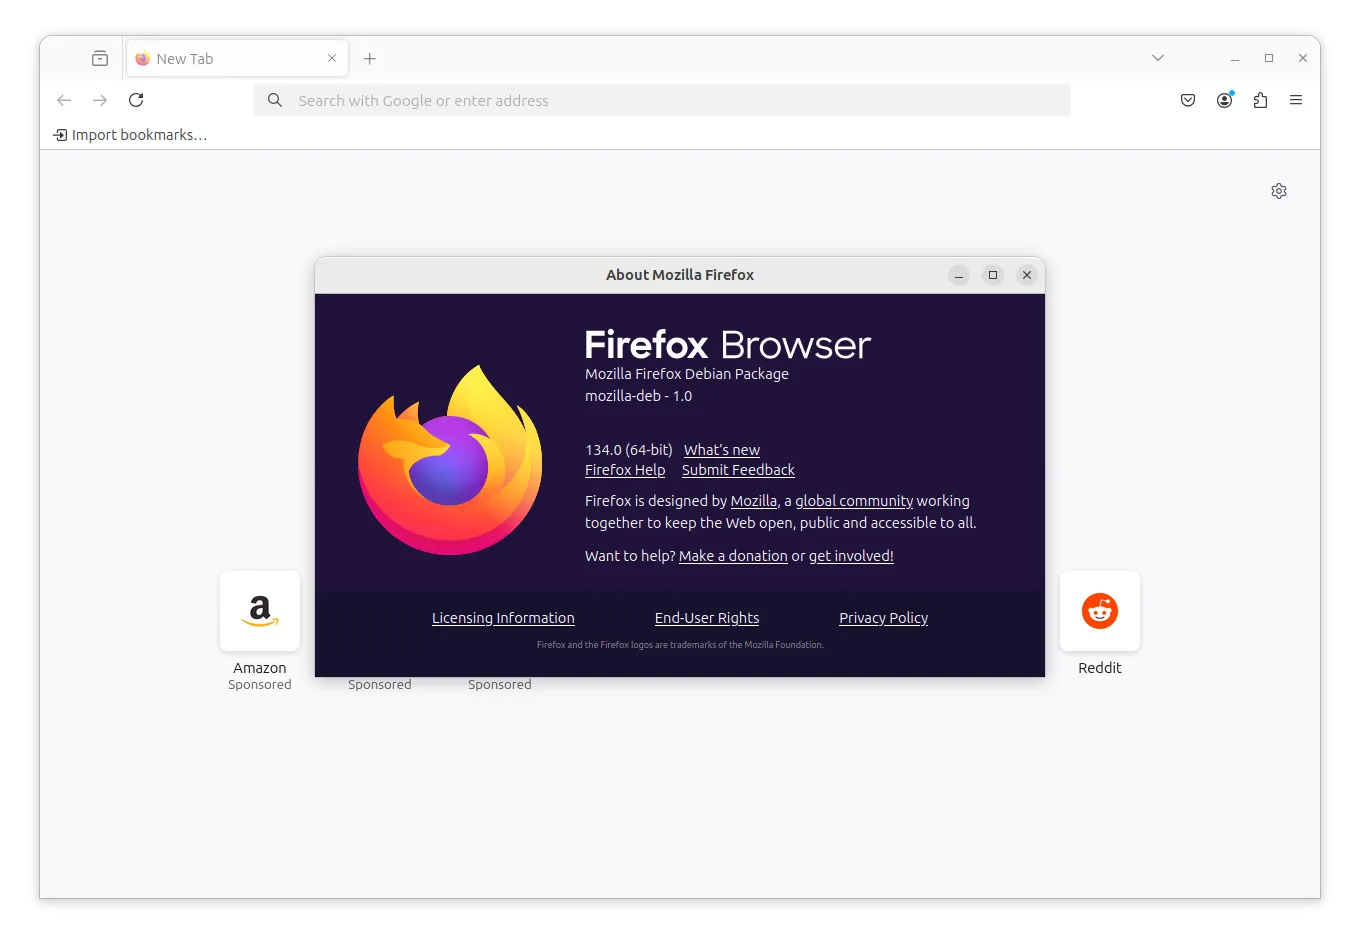
A new monthly release of Mozilla Firefox web browser, version 134.0, is out today! Though, it’s not yet officially announced at the moment of writing.
According to the Mozilla Github releases page, the new Firefox release added support for touchpad hold gestures for Linux.
Meaning kinetic scrolling (aka momentum scrolling or inertia scrolling), the continuous scrolling after lifted fingers from touchpad, can be interrupted by placing two fingers on the touchpad.
![]()
PHP, the popular scripting language for web development, announced new 8.5 release few days ago. Here’s how to install or upgrade to Php 8.5 in Ubuntu 22.04 or Ubuntu 24.04 to work with Apache2 or Nginx web server.
PHP 8.5 introduced a number of new features such as new “URI” extension, new pipe operator (|>), new #[\NoDiscard] attribute, support for closures, casts, and first class callables in constant expressions, and much more. See the release page for more.