Unlike Windows, Ubuntu so far does not have real-time GPU usage info displayed in its system monitor application. If you want to check how much your graphic card is in use, then this simple tutorial may help!
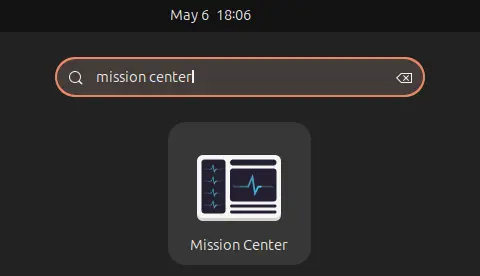
Method 1: Use Mission Center (Graphical App)
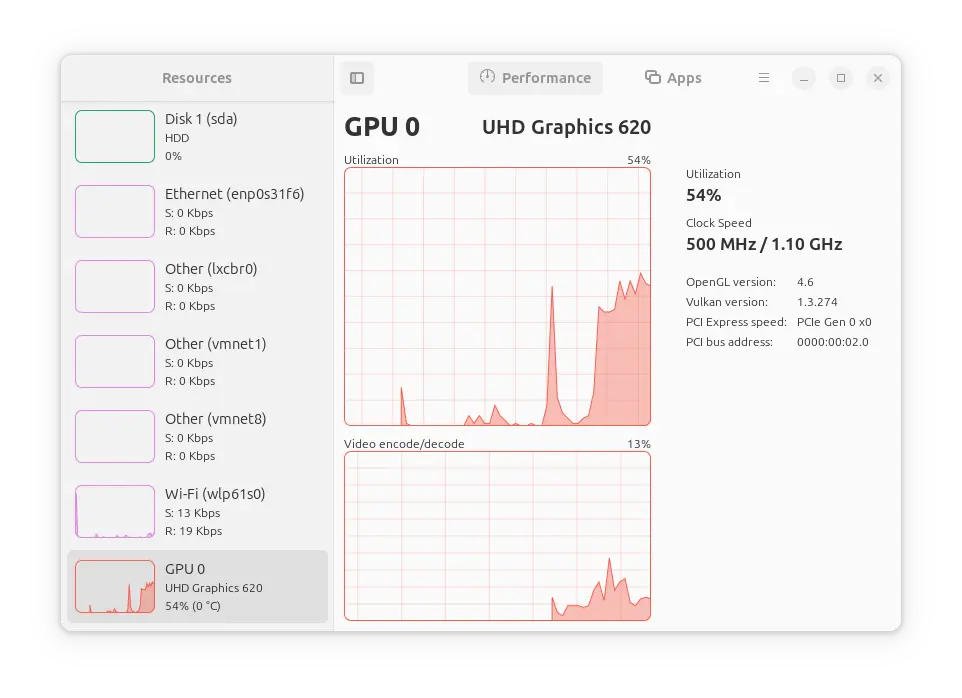
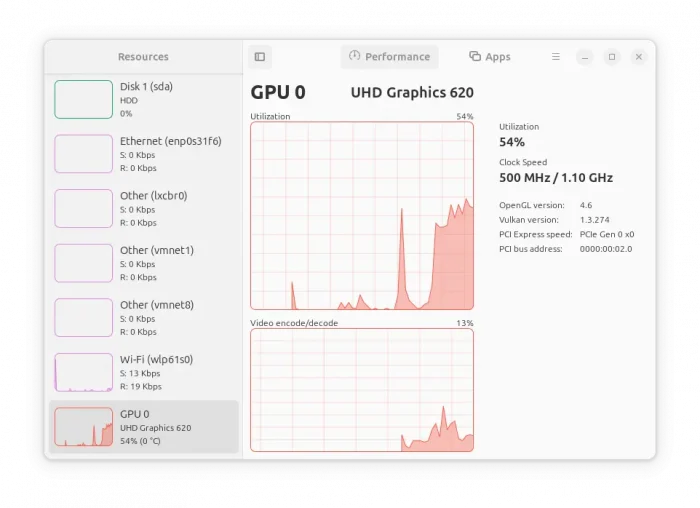
A graphical app is always good choice for beginners. And, Mission Center is the one that provides a Windows Task Manager look like interface for monitoring system resource usage.
It supports monitoring overall GPU usage, video encoder and decoder usage, memory usage and power consumption. With the power of nvtop, it supports AMD, Apple, Huawei, Intel, NVIDIA and Qualcomm GPUs.
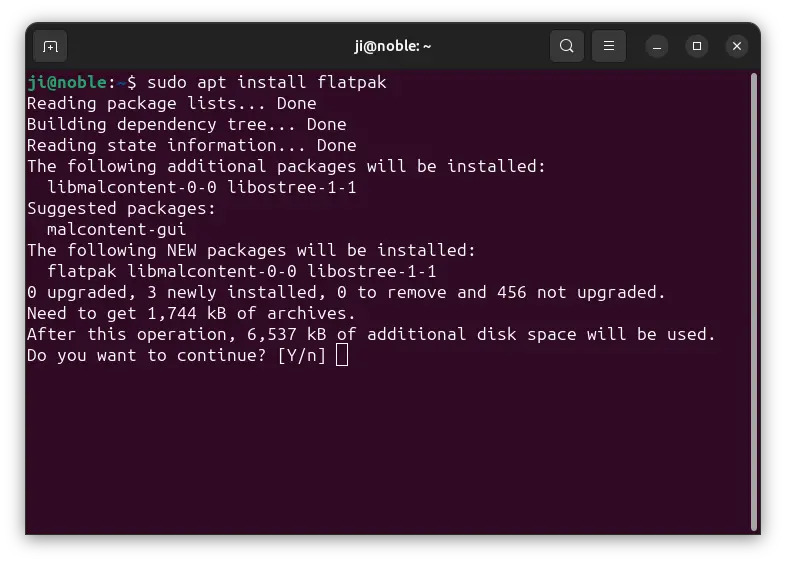
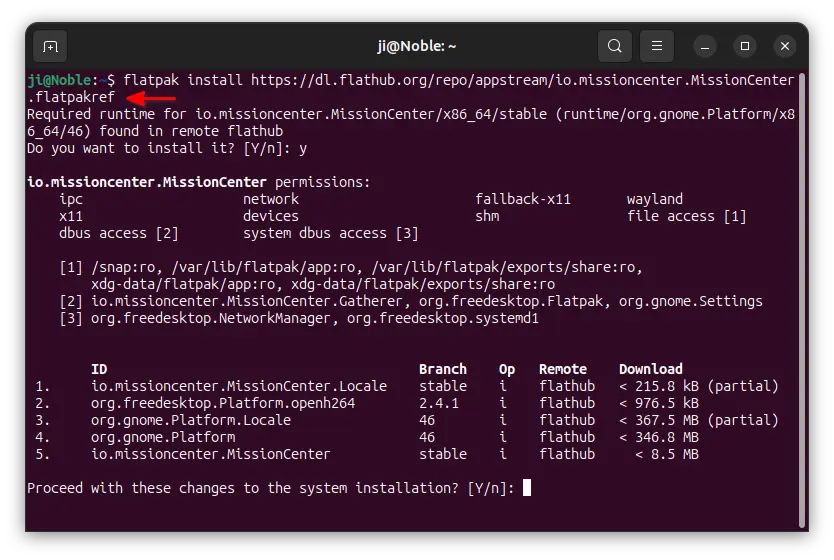
To install Mission Center, press Ctrl+Alt+T on keyboard to open up a terminal window. Then, run the commands below one by one to install the Flatpak package.
If this is the first app installed as Flatpak package, you may need to log out and back in to make app icon visible in start menu (or Gnome app grid).
(Optional) To uninstall Mission Center, open terminal and run command:
flatpak uninstall --delete-data io.missioncenter.MissionCenter
Also run flatpak uninstall --unused to clear useless runtime libraries.
Method 2: Monitor GPU usage from Command Line
For Ubuntu server and those who prefer to the job from command line, there are few tools can do the job. They include intel-gpu-tools for Intel GPU, and nvtop for Intel, AMD, and NVIDIA.
Check Intel GPU usage in Ubuntu:
For the integrated Intel graphics card, there’s a command line tool intel_gpu_top can do the job.
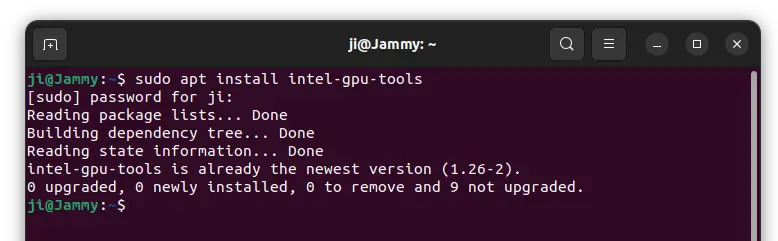
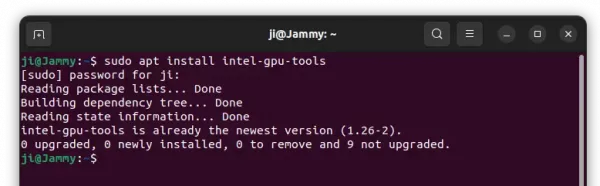
1. First, press Ctrl+Alt+T on terminal to open a terminal window. When it opens, run command to install the package:
sudo apt install intel-gpu-tools
Type user password when it asks (no asterisk feedback) and hit Enter.
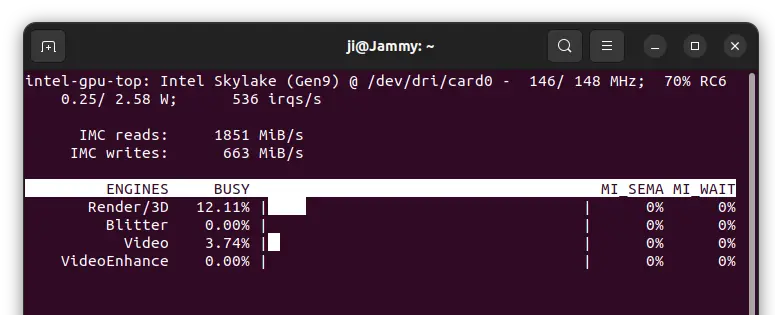
2. Then, run command to start it:
sudo intel_gpu_top
As you can see, it shows real-time IMC read and write speed, power usage, as well as percentage usage of 3D/Render, Blitter, Video, and VideoEnhance.

Monitor AMD/NVIDIA GPU usage in Ubuntu
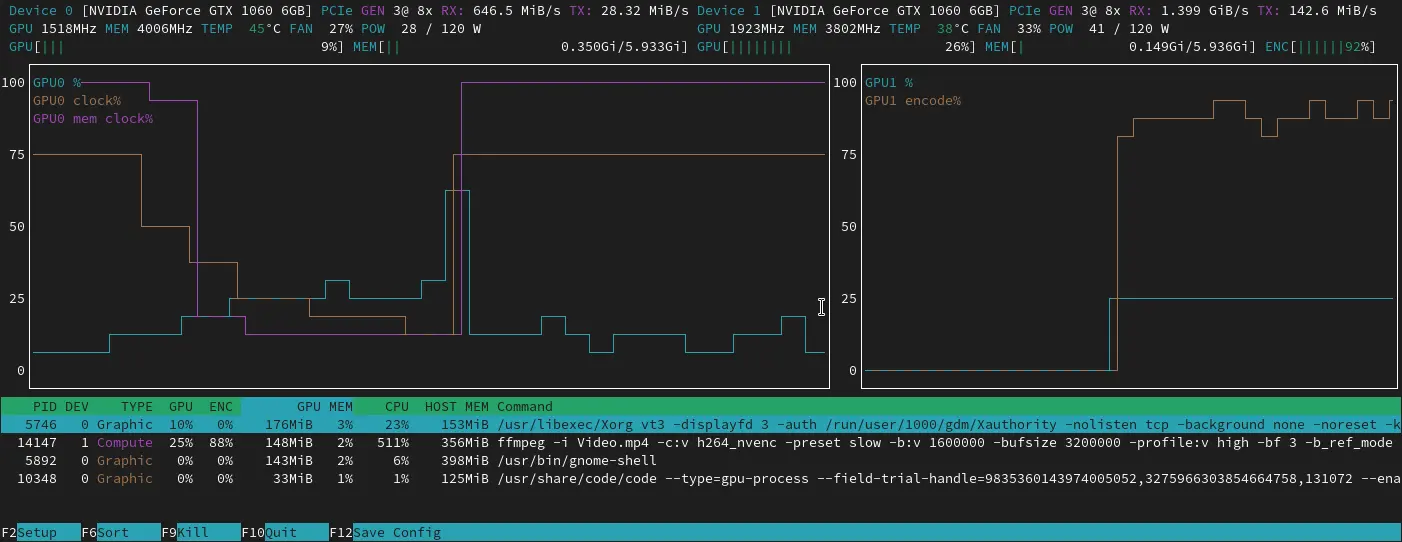
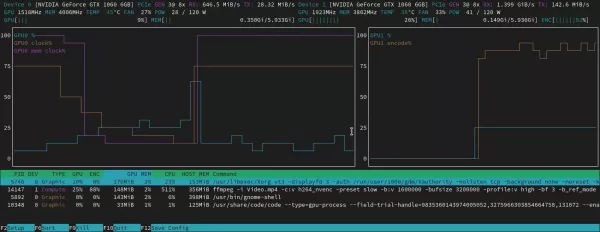
For NVIDIA and AMD graphics card, there’s a htop like task monitor called nvtop (Neat Videocard TOP).
It shows real-time GPU and GPU Memory usage in both total and per process basis, along with temperature, power usage, and graph information.
nvtop, image from https://github.com/Syllo/nvtop
nvtop also supports Intel GPU, however, it does not work in my case with i5-4590 (HD4600), and i3-6006U (HD 520).
Install nvtop in Ubuntu:
The tool is available in Ubuntu system repository, but old for Ubuntu 22.04 and Ubuntu 20.04. For the latest version, it has an official PPA contains the most recent package.
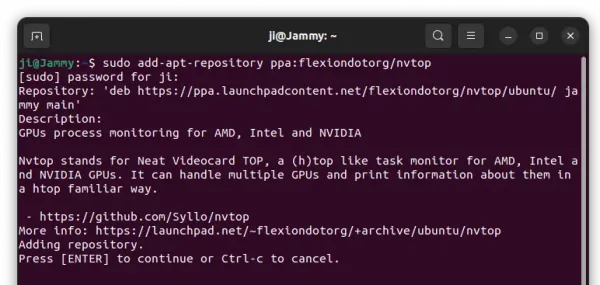
1. First, press Ctrl+Alt+T on keyboard to open terminal. Then, run command to add the PPA:
sudo add-apt-repository ppa:flexiondotorg/nvtop
For Ubuntu 24.04, skip the PPA, just the command below to install. Type user password (no asterisk feedback) when it asks and hit Enter to continue.
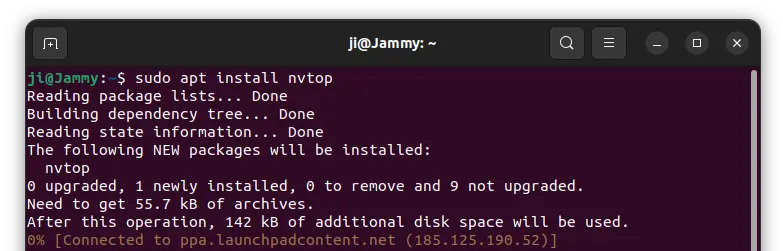
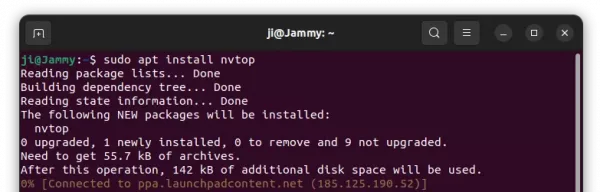
2. Then, run command to install the tool:
sudo apt install nvtop
For Linux Mint, run sudo apt update first to refresh package cache.
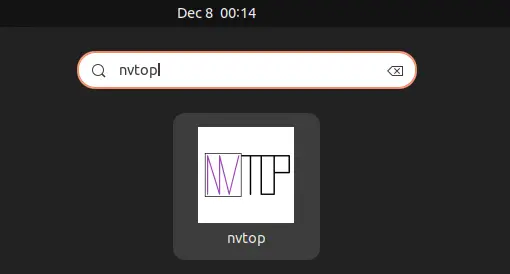
Finally, either search for and launch it from ‘Activities’ overview (or start menu), or run nvtop command to start monitoring your GPU.
(Optional) Remove nvtop
To remove the PPA repository, open terminal and run command:
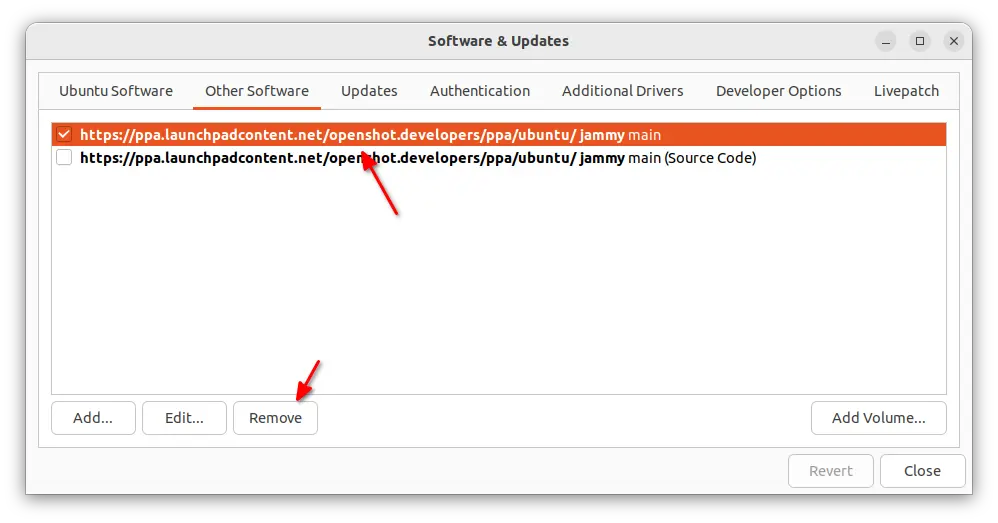
sudo add-apt-repository --remove ppa:flexiondotorg/nvtop
And remove nvtop if you want via command:
sudo apt remove nvtop