The free open-source 3d modeling software, Blender released new major 3.1.0 version a day ago.
Blender 3.1.0 introduced new Metal GPU backend for the Cycles renderer, contributed by Apple. It currently works on M1 computers running macOS 12.2+, and Apple computers with AMD graphics cards running macOS 12.3 or newer.
The release also has big performance improvements to Geometry Nodes. Many nodes are now multi-threaded. Medium loads up to 10x faster. Memory usage reduced up to 100x in large fields.
Other features include:
- Instances can now have own dynamic attributes!
- Support for Pixar OpenSubDiv
- Copy Global Transform add-on
- The Fill tool now allows negative values.
- GPU acceleration support for Subdivision modifier.
- Faster OBJ, FBX export.
- Image editor now handle much larger images
- See release note for more.
How to Install Blender 3.1.0 in Ubuntu:
Method 1: Blender Snap.
The easiest way to install the latest Blender is using the Snap package. It’s official, and can be installed directly from Ubuntu Software:

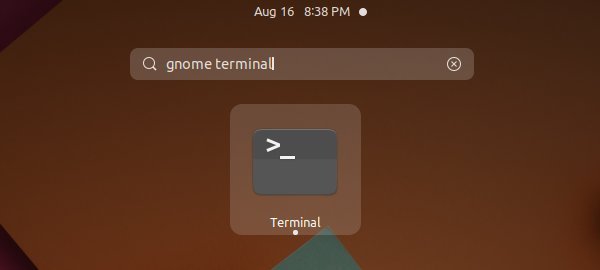
Ubuntu Software sucks. It may not load apps sometimes. To workaround it, press Ctrl+Alt+T on keyboard to open terminal and run command to install the Snap package:
sudo snap install blender --classic
Method 2: Blender Linux Tarball.
For those don’t like the universal Snap package, Blender website also provides the ‘.tar.xz‘ Linux tarball.
After download the ‘Blender-3.1.0-linux-x64.tar.xz’ package, just extract and run the executable to launch the software. Or, you may follow this step by step guide to add app shortcut.