qBittorrent, free and open-source Qt5 based Bittorrent client, released version 4.3.5 a few days ago.
qBittorrent 4.3.5 is the last release in the 4.3.x series. And it’s going to drop support for Ubuntu 20.04 in the next release since it has an outdated Qt5 libraries.
Users who prefer qBittorrent can still get updates for Ubuntu 20.04 through the Flatpak package, since it’s a containerised package format bundle with most run-time libraries.

Changes in qBittorrent 4.3.5 include:
- Move cursor to the end when autofilling URL/hash in “Download from URLs” dialog
- Sort invalid QDateTime values after valid values
- Fix tabChangesFocus attribute in “Edit trackers” dialog
- Update DynDNS register url
- Handle “not enough disk space” error more graciously
- Correctly draw progress background with stylesheet
- WEBUI: Fix magnet url from the search facility
- WEBUI: Revise folder monitoring functions
- WEBUI: Fix magnet url from the browser
- WEBUI: Allow to specify file indexes in torrents/files API
- WINDOWS: NSIS: Allow more strings to translated
- WINDOWS: NSIS: Update Italian, German, Estonian, Russian, PortugueseBR translations.
- LINUX: Fix D-Bus Notification desktop-entry field
- MACOS: Don’t use executable name as CFBundleName value
- Lower Qt requirement to 5.11
- Clarify that the license is GPLv2+
How to Install qBittorrent 4.3.5 via PPA:
The official qBittorrent PPA has built the new release packages for Ubuntu 20.04, Ubuntu 20.10, and Ubuntu 21.04.
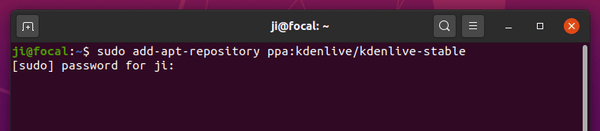
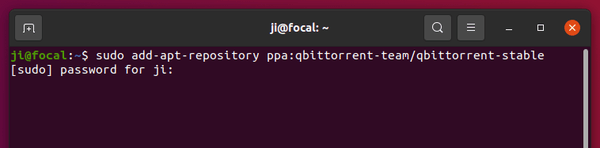
1. To add the PPA, open terminal by either pressing Ctrl+Alt+T on keyboard or searching for “Terminal” from application menu. When it opens, run command:
sudo add-apt-repository ppa:qbittorrent-team/qbittorrent-stable
Type user password (no asterisk feedback) when it prompts and hit Enter to continue.
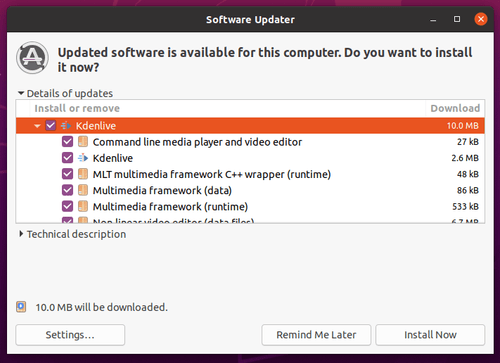
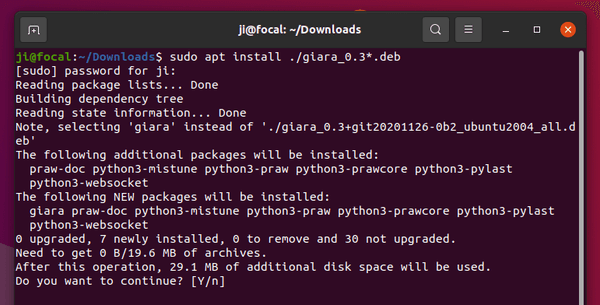
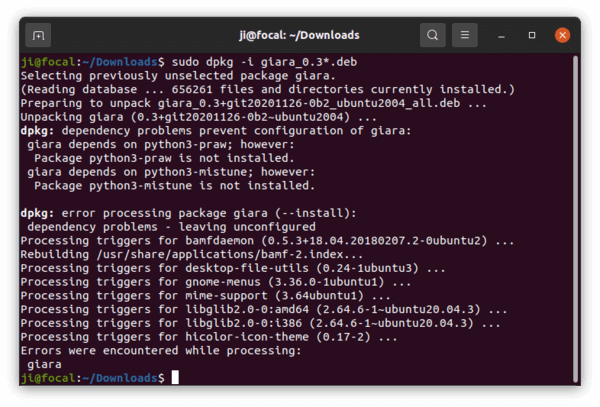
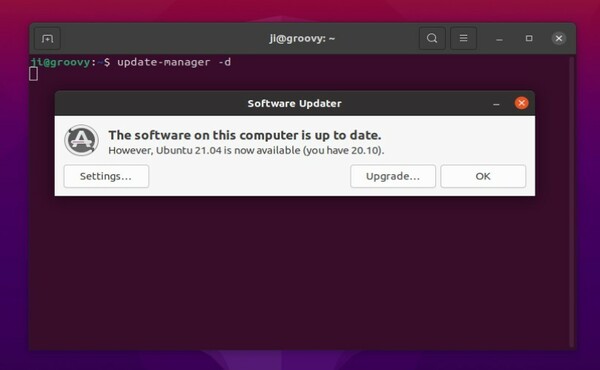
2. If an old version was installed on your system, upgrade it via Software Updater,
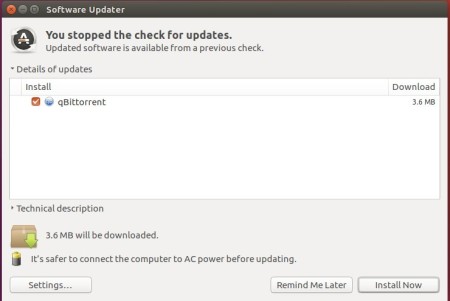
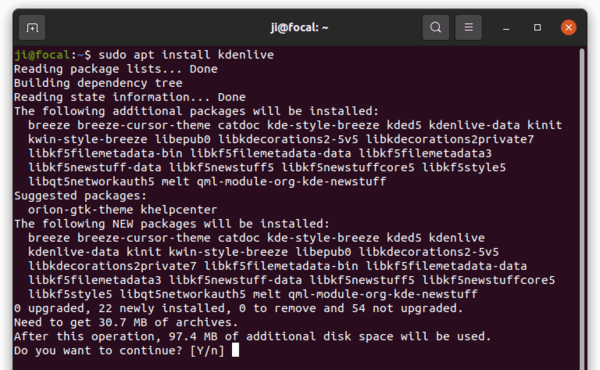
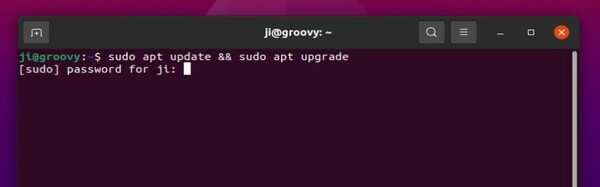
or run following commands to install /upgrade qBittorrent in terminal:
sudo apt update

sudo apt install qbittorrent
Uninstall:
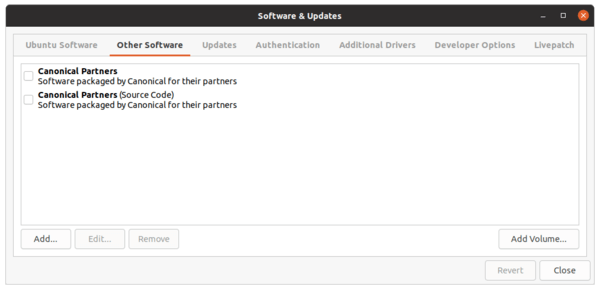
To remove qBittorrent PPA, either go to Software & Updates -> Other Software, or run command in terminal:
sudo add-apt-repository --remove ppa:qbittorrent-team/qbittorrent-stable
To remove the bittorrent client, either use your system package manager or run command:
sudo apt-get remove --autoremove qbittorrent