![]()
SMPlayer, complete front-end for MPlayer and mpv, released version 20.6.0 a day ago. Here’s how to install it in Ubuntu 16.04, Ubuntu 18.04, Ubuntu 19.10, and Ubuntu 20.04.
SMPlayer 20.6.0 is a small release contains following changes:
- The internal YouTube code has been removed. Now SMPlayer uses an external application to get the video URLs.
- The shuffle option in the playlist does shuffle the items of the playlist.
How to Install the latest SMPlayer via PPA in Ubuntu:
The official SMPlayer PPA contains the latest packages for all current Ubuntu releases, as well as Ubuntu 12.04, Ubuntu 14.04.
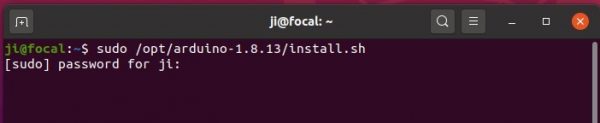
1. Search for and launch “terminal” from ‘Show Applications’ menu. When it opens, run command to add the PPA:
sudo add-apt-repository ppa:rvm/smplayer
Type user password (no asterisk feedback while typing) when it asks and hit Enter.

2. Then upgrade SMPlayer using Software Updater (or Update Manager):

or run commands in terminal to install (or upgrade) the media player:
sudo apt-get update

sudo apt-get install smplayer smtube smplayer-themes
Uninstall:
To remove SMPlayer, run command in terminal:
sudo apt-get remove --autoremove smplayer smtube smplayer-*
And remove the PPA via “Software & Updates” utility under “Other Software” tab.