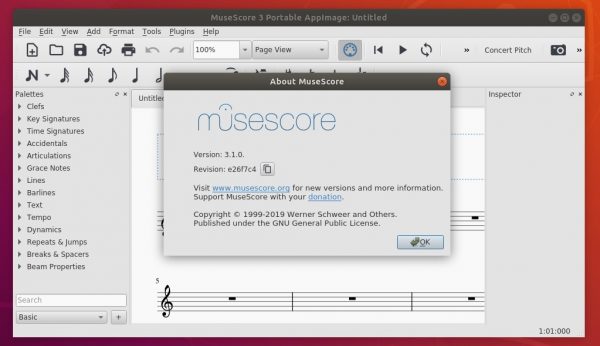
Many popular applications (e.g., PyCharm, Blender and even Firefox) provide Linux tarball that include executable files can be run directly to launch the apps.
However, we need to manually create app launcher, to make it possible to launch them by searching the apps from start menu (‘Activities‘ overview). And, ‘Arronax’ is the app to do the job easily.
The .desktop files
App launchers in Linux are handled by files via .desktop extension. Each app you can see in system start menu has an associated .desktop file in either ‘/usr/share/applications‘ or ‘.local/share/applications‘ directory.
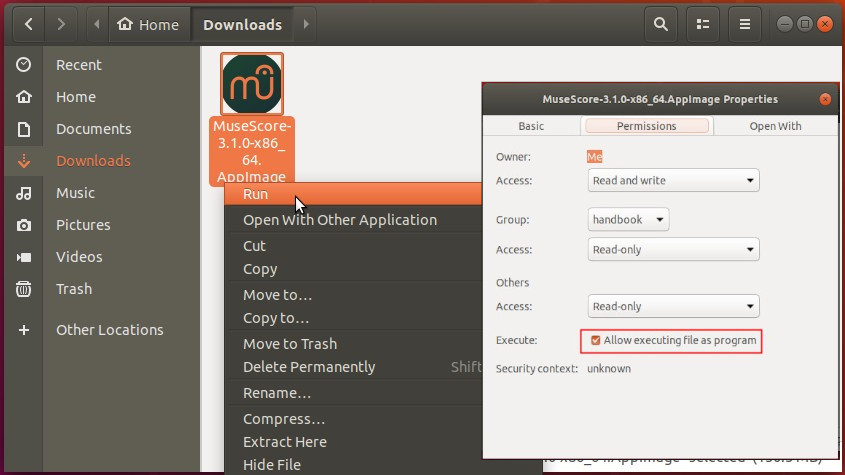
For portable Linux tarball, or appimage that does not have an app launcher, user may manually create a .desktop file in either directory to link app into system start menu.
Arronax:
KDE, Cinnamon, and XFCE now have built-in utility to create desktop app launcher. But, GNOME does not!
Arronax is the simple tool started almost 10 years ago, with ability to create and edit .desktop file.
With it, user may either right-click on the executable file and select ‘Create a Starter’, or open the app by searching from start menu (‘Activities’ overview):
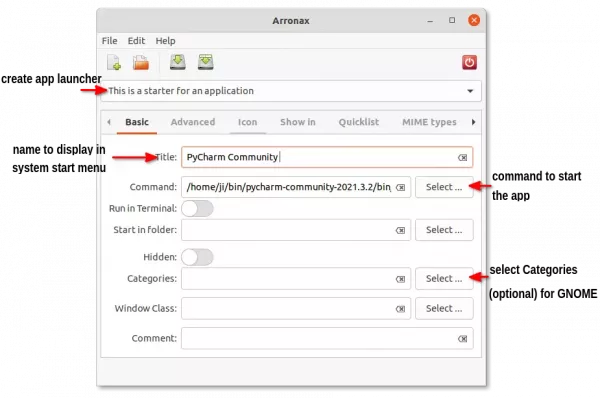
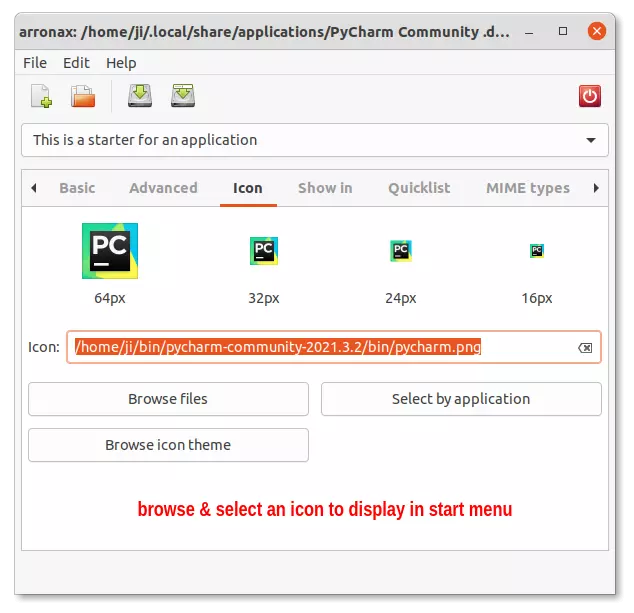
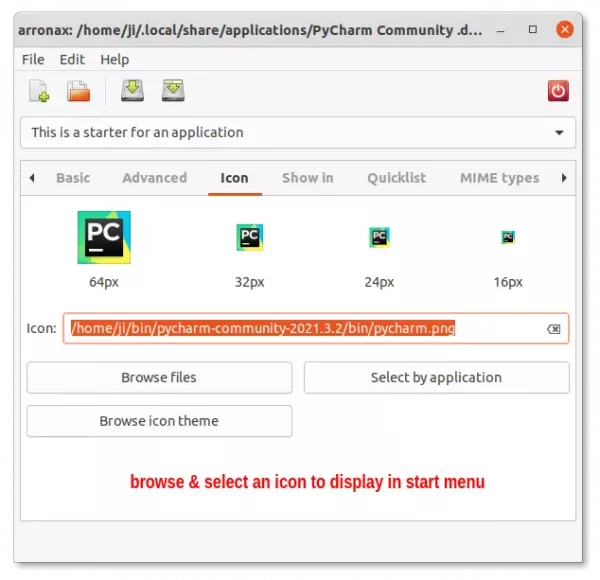
For basic function, just type name to display in start menu, select executable file for ‘Command’ box, and choose an icon! Save it to the right location, and that’s all!!
All other options are optional! Though, you may move cursor over an option to get tool-tip tells what it does, and enable it as need.
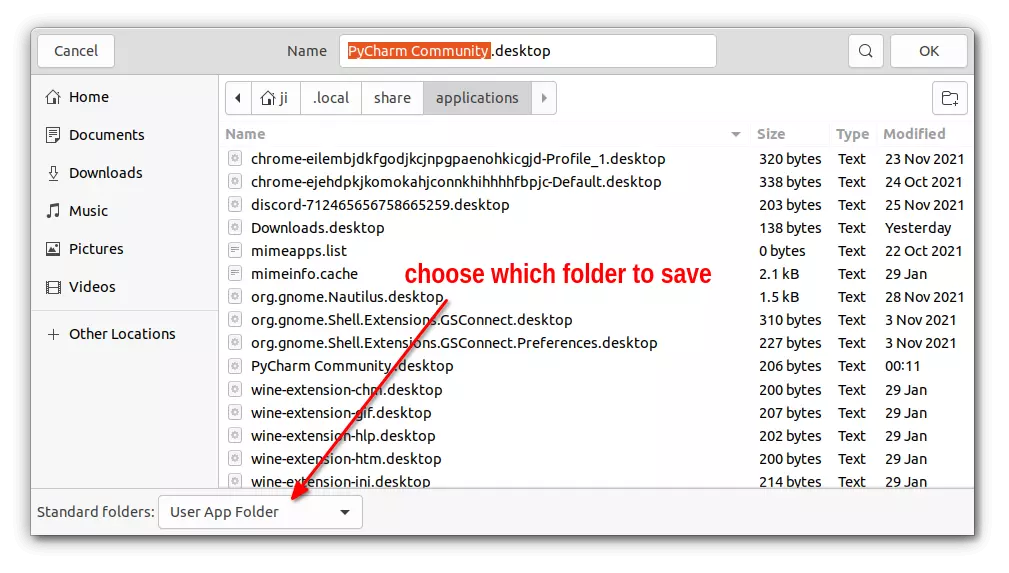
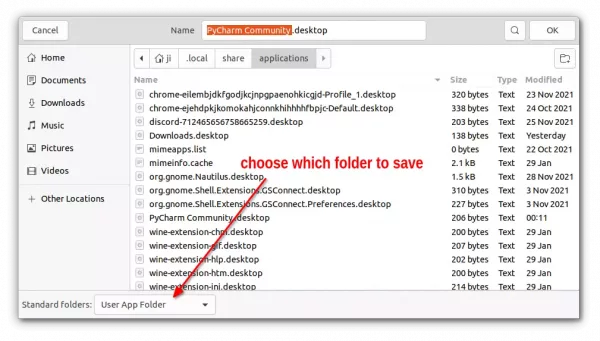
Finally, click on “Save” button. In the bottom of file save dialog, user may choose the standard location to save the .desktop file.
- “User app folder” – stores app launcher files for current user only.
- “System app folder” – stores app launcher files for all system user.
- “User / System Autostart folder” – store app launchers start automatically on start up.
NOTE: save to system folder needs to run Arronax as root (run sudo arronax in terminal).
How to Install Arronax in Ubuntu:
The app is available to install via an official PPA for all current Ubuntu releases, including Ubuntu 18.04, Ubuntu 20.04, Ubuntu 21.10, and Ubuntu 22.04.
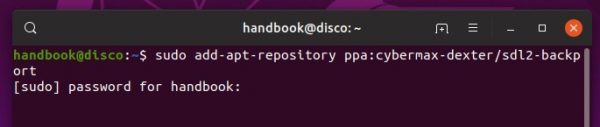
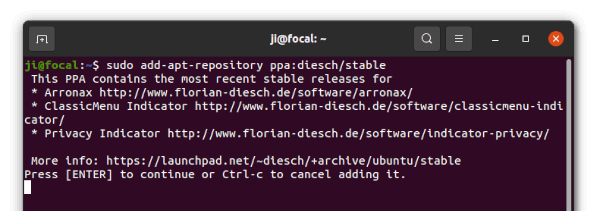
1. Firstly, open terminal (Ctrl+Alt+T) and run command to add the software PPA:
sudo add-apt-repository ppa:diesch/stable
Type user password (no asterisk feedback) when it prompts and hit Enter to continue.
UPDATE for Ubuntu 23.10: the app seems to be no longer updated! If you do need it, run command to add this unofficial PPA instead of 23.10.
sudo add-apt-repository ppa:ubuntuhandbook1/arronax
2. Then install the tool as well as file manager integration via command:
sudo apt update

sudo apt install arronax arronax-nautilus
You may replace arronax-nautilus with arronax-nemo, arronax-caja for other file manager integration.

Once installed, either launch Arronax via system application menu, or by right-clicking on executable file in file browser.
Uninstall:
To remove the software, open terminal and run command:
sudo apt remove --auto-remove arronax
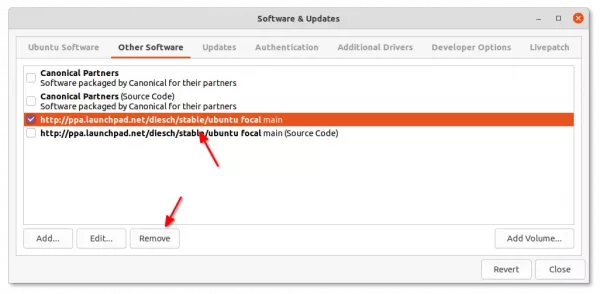
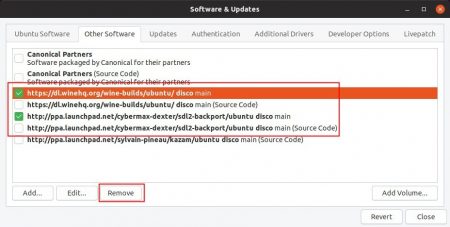
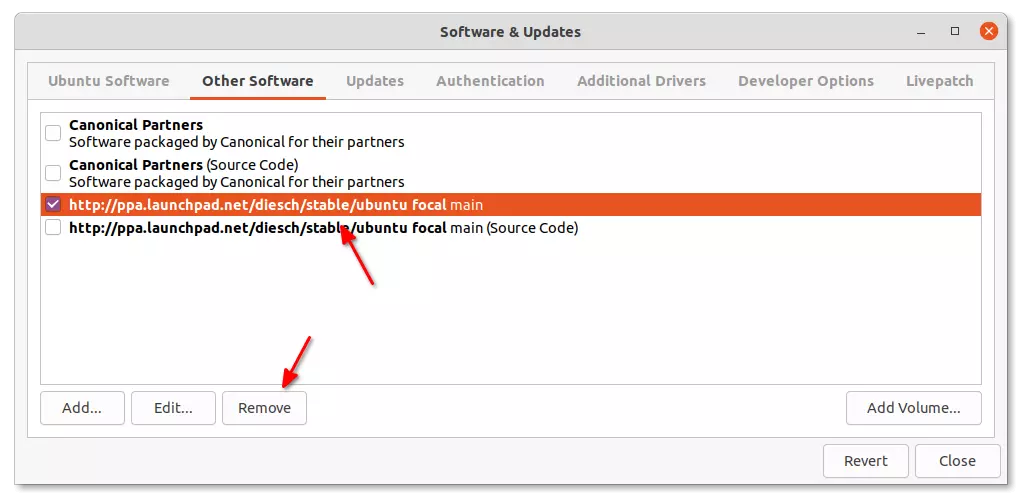
And remove the PPA via Software & Updates -> Other Software tab.