This tutorial is a quick fix for HP laptops that wireless does not work on Ubuntu 18.04 Gnome desktop.
On my cheap laptop HP 246 G6 I found that the wireless network does not work out-of-box after installed Ubuntu 18.04. No wifi option in system tray menu, and System Settings says ‘No Wifi adapter found‘.
This happens on many HP devices including HP 15-bs000, 15-bs100, 15g-br000, 15q-bu000, and Pavilion 15-br000, HP 280 G3, 290 G1, and more. And the reason is Ubuntu does not support RTL8723de wifi driver.
UPDATE Jan-2021, IMPORTANT NOTE:
1. Ubuntu 18.04.5 comes with Linux Kernel 5.4 which makes rtl8723de device work out-of-the-box.
If kernel doesn’t update to v5.4.0, run command:
sudo apt install linux-generic-hwe-18.04
2. For other RealTek WiFi drivers, e.g., rtl8188fu, rtl8192fu, rtl8723ds, rtl8723du, and more. See this how to guide.
Here’s what I did to fix no wifi adapter issue in Ubuntu 18.04:
1. Reboot and go to BIOS to make sure wireless network are enabled. And plug laptop into a wired connection.
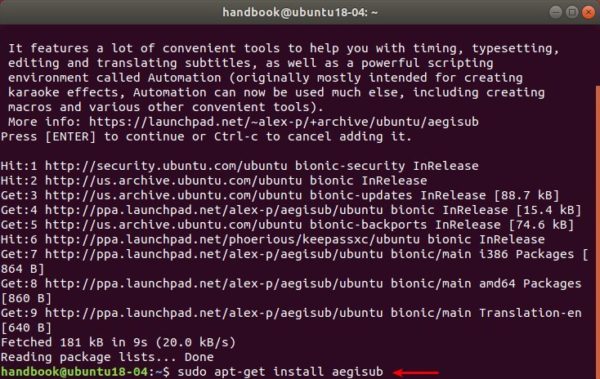
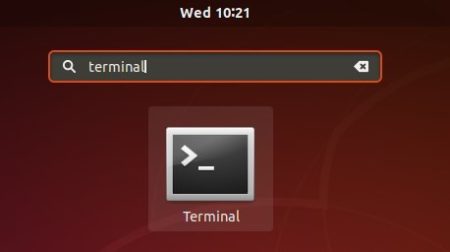
2. Open terminal either via Ctrl+Alt+T shortcut key or by searching for ‘terminal’ from software launcher.
3.1 You may first install the building tools first via command:
sudo apt-get install linux-headers-$(uname -r) build-essential git
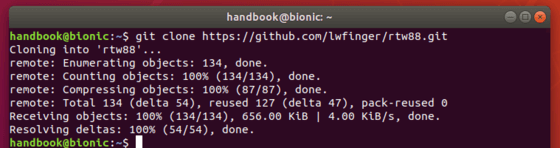
3.2 Run command to get the Realtek rtlwifi codes that includes rtl8192ce, rtl8192cu, rtl8192se, rtl8192de, rtl8188ee, rtl8192ee, rtl8723ae, rtl8723be, and rtl8821ae.:
git clone https://github.com/lwfinger/rtw88.git
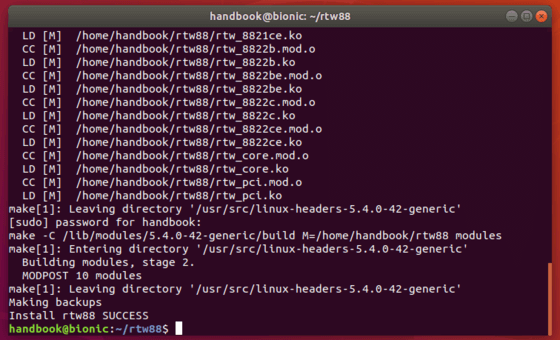
4. In this terminal window, install the drivers via command:
cd rtw88/ && make && sudo make install
Type your password (no asterisk feedback) when it prompts and hit Enter.
5. If the installation success, run 2 commands load the new driver:
sudo modprobe -r rtl8723de

sudo modprobe rtl8723de
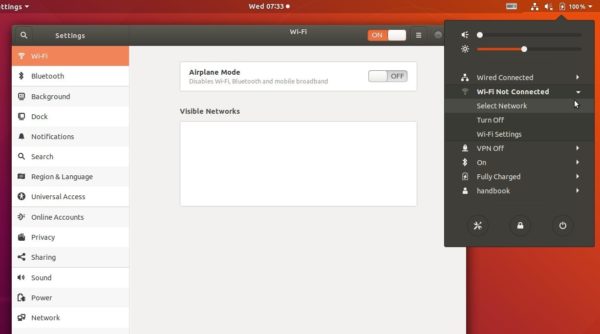
Wireless network starts working in my case:
6. If that does not work, you may remove and blacklist the broadcom drivers and restart:
sudo apt purge bcmwl-kernel-source

sudo sed -i '/blacklist bcma/ d' /etc/modprobe.d/blacklist.conf

sudo sed -i '/blacklist brcmsmac/ d' /etc/modprobe.d/blacklist.conf
In addition, (thanks to jeremy31) if you notice weak signal try command:
sudo modprobe -r rtl8723de && sleep 5 && sudo modprobe rtl8723de ant_sel=1
and see if it is better, if not run:
sudo modprobe -r rtl8723de && sleep 5 && sudo modprobe rtl8723de ant_sel=2
(REQUIRED) Or write the rule into configuration. REPLACE X with whatever setting (1, 2, or 3) worked best.
echo "options rtl8723de ant_sel=X" | sudo tee /etc/modprobe.d/rtl8723de.conf