CopyQ clipboard manager 3.7.0 was released a few hours ago with enhancements and many bug-fixes. Here’s how to install it in Ubuntu 18.04, Ubuntu 16.04, Ubuntu 18.10.
CopyQ 3.7.0 release highlights:
- New option to show notes beside item content
- Removed option to show icon instead of notes
- Only plain text is Copied/Pasted from menu if Shift key is pressed
- Customizable shortcut for Item context menu
- Remove unmaintained Data plugin (can be replaced with a script)
- Allow to set icon to tab groups in tree view
- Allow export even if a tab group or an unloaded tab is selected
- Automatic commands are no longer run in clipboard monitor context
- Omit aborting monitor by calling abort() from automatic commands
- Omit aborting automatic commands by changing configuration
- Updated icons (Font Awesome 5.4.2)
- Various bug-fixes
- X11: Faster and safer clipboard checking and synchronization
- X11: Prioritize checking clipboard before selection
Install Copyq 3.7.0 in Ubuntu:
The official PPA repository has made the latest packages for all current Ubuntu releases and their derivatives.
1. To add the PPA, open terminal (Ctrl+Alt+T) from application launcher and run command:
sudo add-apt-repository ppa:hluk/copyq
Input your password (no asterisks feedback while typing) when it prompts and hit Enter to continue.

2. After added the PPA repository, install CopyQ either via Synaptic package manager or by running commands in terminal:
sudo apt-get update

sudo apt-get install copyq
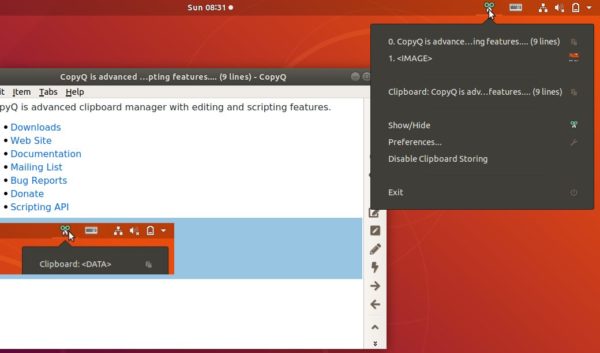
Once installed, start the clipboard manager from application launcher and you’ll see the icon in system tray area.
Uninstall:
To remove the software, either use Synaptic package manager or run command:
sudo apt-get remove --autoremove copyq
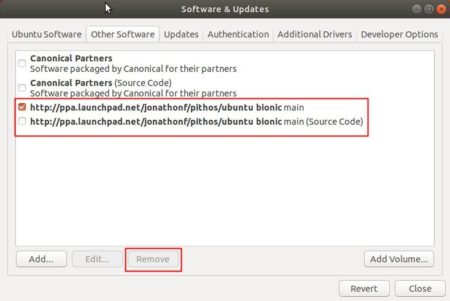
To remove PPA repositories, launch Software & Updates and navigate to Other Software tab.