![]()
Darktable, the popular free open-source photography app and raw developer, released new 5.2.0 version few days ago!
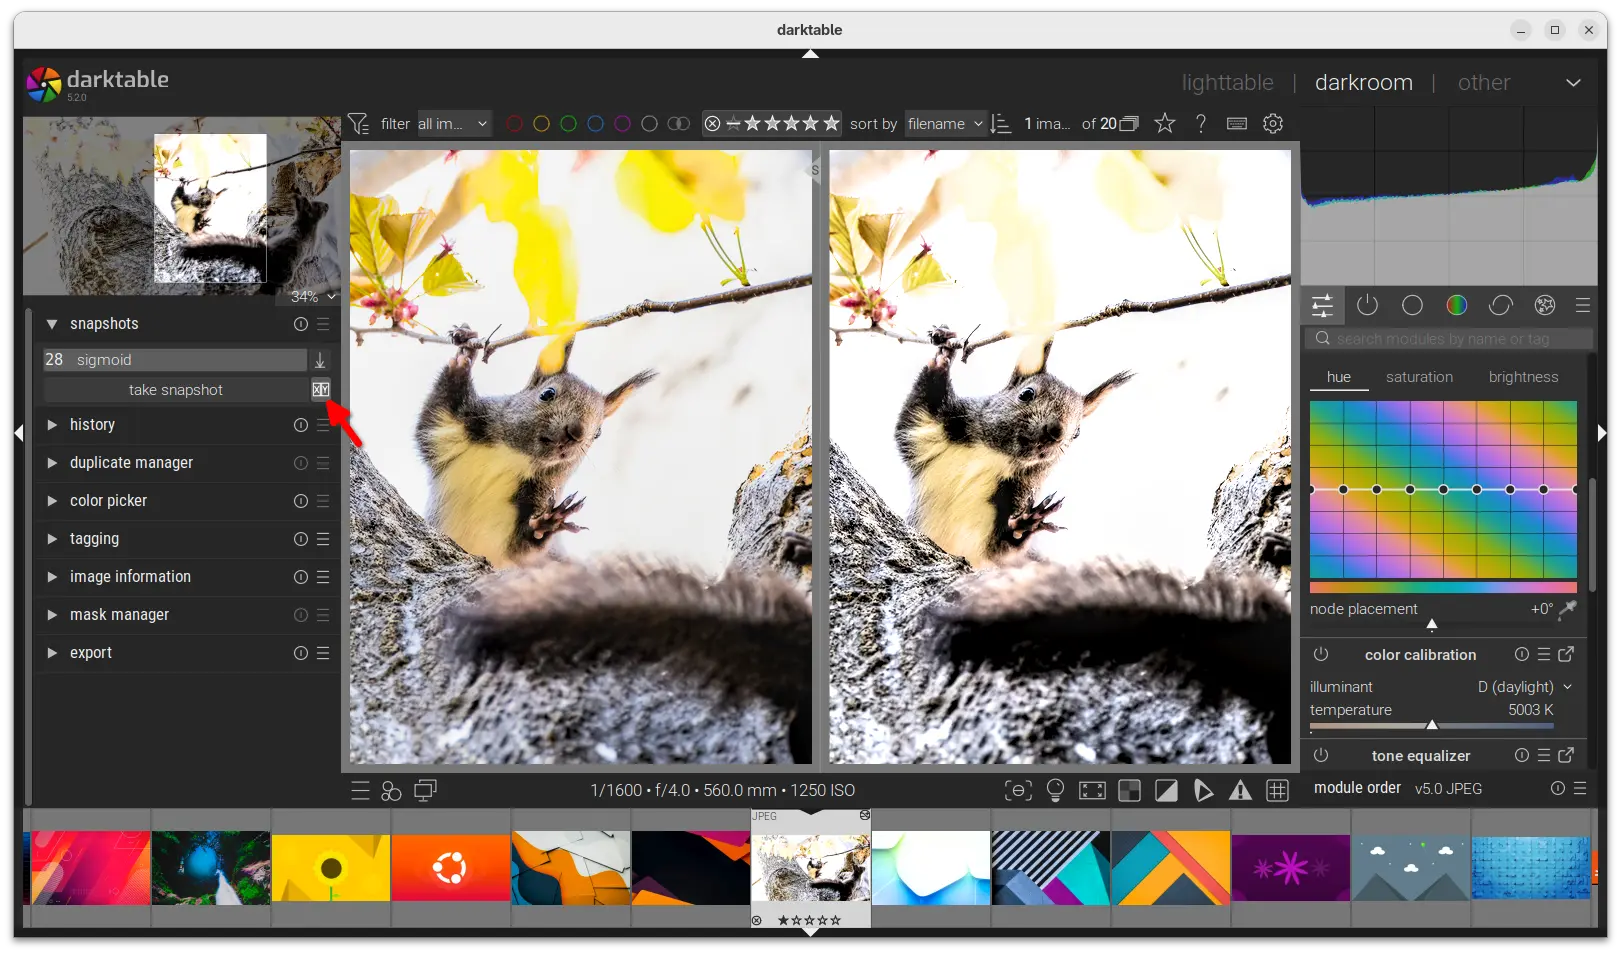
The new release introduced side-by-side view (aka split view) to preview the different between snapshot and current images. And, it can be enabled by clicking on the “X|Y” icon next to “take snapshot” button.