![]()
The Sigil epub editor has reached the 0.9.8 release yesterday. Here’s how to install it in Ubuntu 16.04, Ubuntu 16.10, Linux Mint 18 via PPA.
Sigil 0.9.8 release highlights:
- PyQt5 support for plugins.
- New preferences menu to adjust the size of Sigil’s main icons to your liking.
- An important fix for temp_folder issues on Windows
- Add manifest properties to Book Browser tooltips and to All Files Reports Widget for epub3
- Make Sigil’s UI and spellchecker language settings available to plugins
- Various bug-fixes, read the announcement for details.
Sigil Adjust menu icons’ size
How to Install Sigil 0.9.8 in Ubuntu / Linux Mint:
Sigil does not offer official Linux binaries. Besides building from the source tarball, you may install Sigil 0.9.8 via my personal PPA.
1. Open terminal by pressing Ctrl+Alt+T or searching for “Terminal” from start menu. When it opens, run command to add the PPA:
sudo add-apt-repository ppa:ubuntuhandbook1/sigil
Type in your password (no visual feedback due to security reason) and hit Enter.

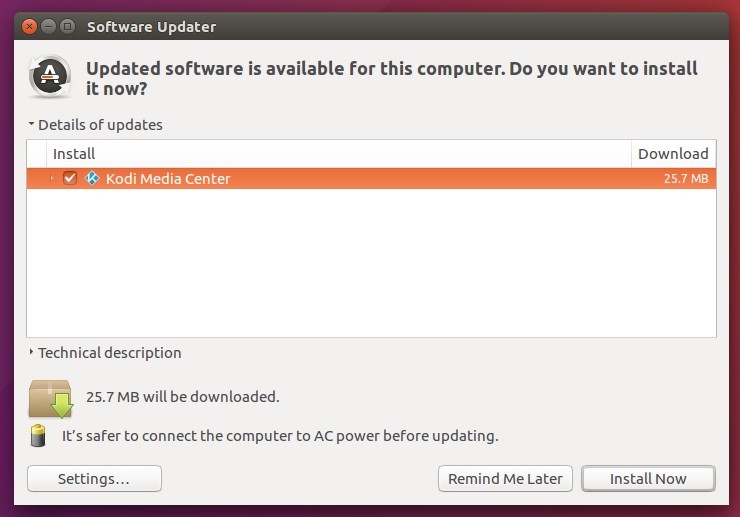
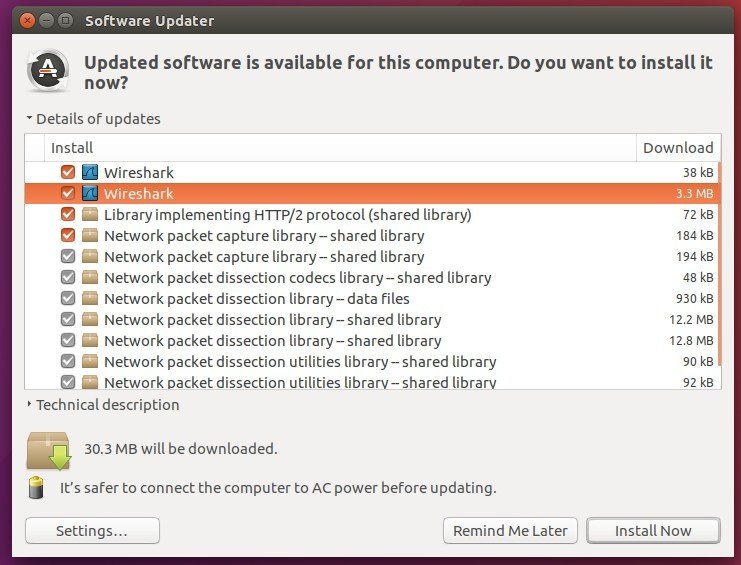
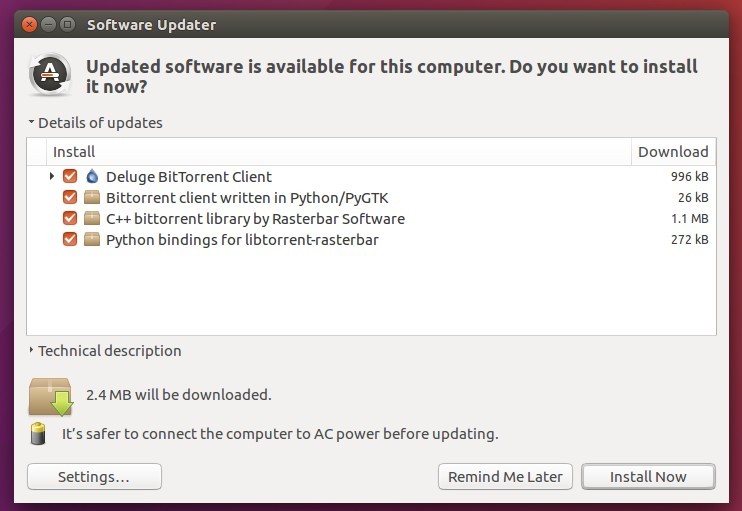
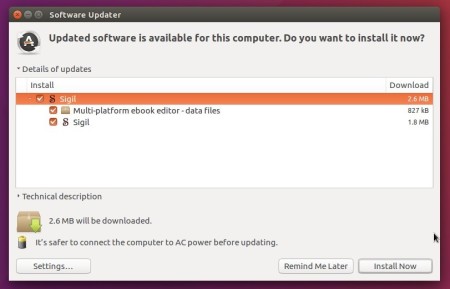
2. Then you can upgrade Sigil editor from an existing release via Software Updater:
Or install /upgrade Sigil via commands:
sudo apt update

sudo apt install sigil
In Addition, for Linux libxml2 bug see HERE. Sorry that I can’t build it with DBUILD_PATCHED_LIBXML2=1 option since it requires cloning source from github.com but Launchpad builders do not have internet access.