Folder Color, simple Nautilus extension to colorize folder icons, now adds support for Cinnamon’s Nemo and Mate’s Caja File Manager.
Folder Color is a simple extension to customize your Ubuntu / Linux Mint folder icon, create colorful and unique folder icons for your computer to classify and manage your folders highly efficient.
The project was originally designed for Ubuntu Nautilus file browser. Now, it supports Caja – default for Mate Desktop in Linux Mint and Ubuntu Mate, and Nemo – default for Linux Mint Cinnamon.
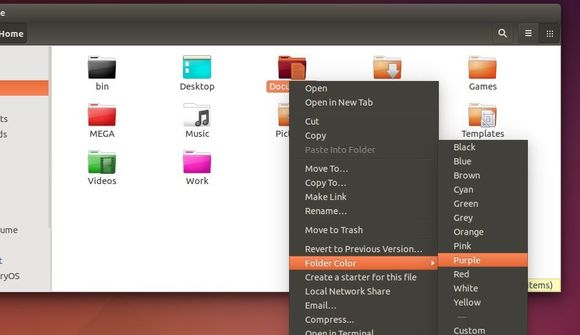
Colorize Nautilus Folder Icons (Ubuntu)

Colorize Nemo Folder Icons (Linux Mint Cinnamon)
Install Folder Color in Ubuntu/Linux Mint:
The developer has made the binary packages into PPA, available for Ubuntu 14.10, Ubuntu 14.04, Ubuntu 12.04 and Linux Mint 13/17.
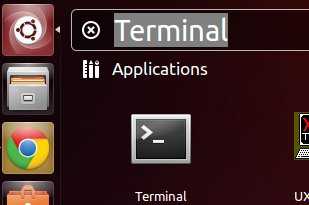
To get started, press Ctrl+Alt+T on keyboard to open terminal. When it opens, do:
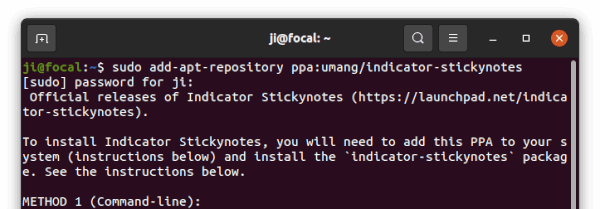
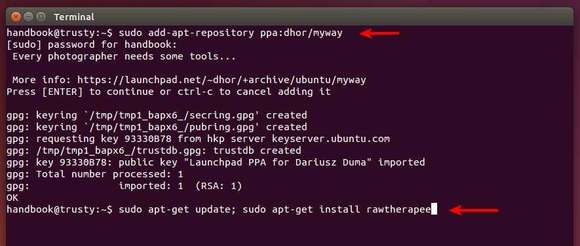
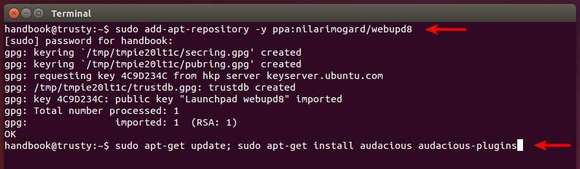
1. Add PPA
Paste the command below into terminal and hit Enter to add the PPA:
sudo add-apt-repository -y ppa:costales/folder-color && sudo apt-get update
Type in your user password when it asks, note that there’s no visual feed back.
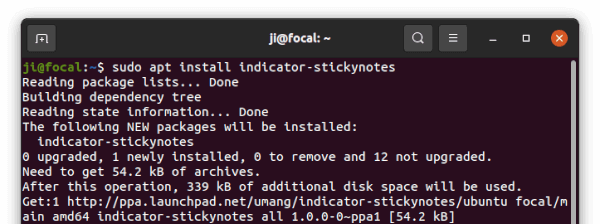
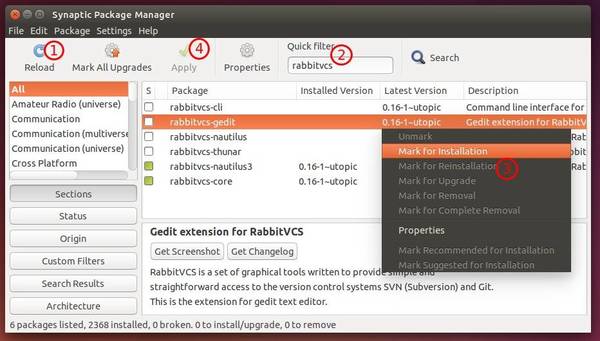
2. Install the extension:
Select install below package via your Package Manager or by running the given command:
- For Ubuntu Nautilus file browser, install folder-color:
sudo apt-get install folder-color
- For Linux Mint Cinnamon’s Nemo file brower, install folder-color-nemo:
sudo apt-get install folder-color-nemo
- For Linux Mint/Ubuntu Mate’s Caja file browser, install folder-color-caja:
sudo apt-get install folder-color-caja
Tip: For those don’t want to add the PPA, grab the .deb installer directly from the launchpad page. Note that folder-color-common need to be installed first.
3. Apply changes
Finally restart your file browser by either logging out and back in or running the command below and re-open it:
- For Nautilus run:
nautilus -q - For Nemo run:
nemo -q - For Caja run:
caja -q
4. Fix Caja issue
For Mate Caja file browser, if you don’t see the Folder Color in context menu, run command to fix:
For 32-bit:
sudo ln -s /usr/lib/i386-linux-gnu/girepository-1.0/Caja-2.0.typelib /usr/lib/girepository-1.0/Caja-2.0.typelib
For 64-bit:
sudo ln -s /usr/lib/x86_64-linux-gnu/girepository-1.0/Caja-2.0.typelib /usr/lib/girepository-1.0/Caja-2.0.typelib
And finally restart caja by running caja -q.
via: tuxfamily.org