 Want to watch live streams on Ubuntu via your favorite video player? Well, here’s how to do it using Livestreamer which supports most of the big streaming services such as Dailymotion, Livestream, Twitch/Justin.tv, YouTube Live, UStream.
Livestreamer is a Command Line Interface that pipes video streams from various services into a video player, such as VLC, Mplayer. The main purpose of Livestreamer is to allow the user to avoid buggy and CPU heavy flash plugins but still be able to enjoy various streamed content.
There is also an API available for developers who want access to the video stream data.
It’s very easy to use this tool. Let’s say you want to watch the stream located on http://twitch.tv/day9tv, just run below command in terminal (press Ctrl+Alt+T to open it).
livestreamer twitch.tv/day9tv
[cli][info] Found matching plugin justintv for URL twitch.tv/day9tv
Found streams: 240p, 360p, 480p, 720p (best), mobile_high, mobile_low (worst)
It will find out what streams are available and print them out for you to choose from. Simply give livestreamer the stream as the second argument and playback will start in your video player of choice.
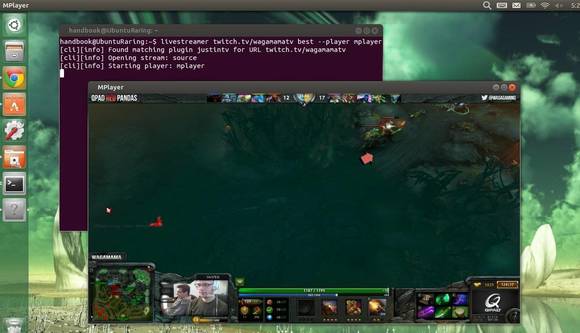
In this case the best stream is a reference to the stream that is considered to be of highest quality, e.g 720p. The –player argument will specify the video player (It will open VLC as the default player if not specified).
livestreamer twitch.tv/day9tv best --player mplayer
Install Livestreamer in Ubuntu, Linux Mint
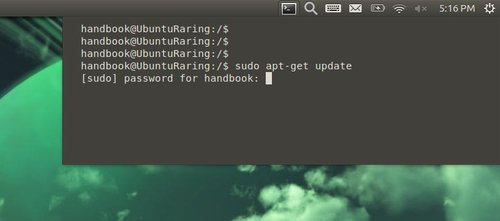
Press Ctrl+Alt+T on your keyboard to open terminal. When it opens run below commands to install pip installer:
sudo apt-get install python-pip
Then install Livestreamer via pip:
sudo pip install livestreamer
This will work on all current supported Ubuntu releases, include Ubuntu 13.10, Ubuntu 13.04, Ubuntu 12.10, Ubuntu 12.04, Ubuntu 10.04 and their derivatives such as Linux Mint and Elementary OS.