Gnome Tweaks, one of the must have apps for configuring Ubuntu, removes GNOME Shell Extensions support by releasing version 40.
Which means in next Ubuntu release which will ship with Gnome 40+, you have to use another tool to manage Gnome Shell Extensions.
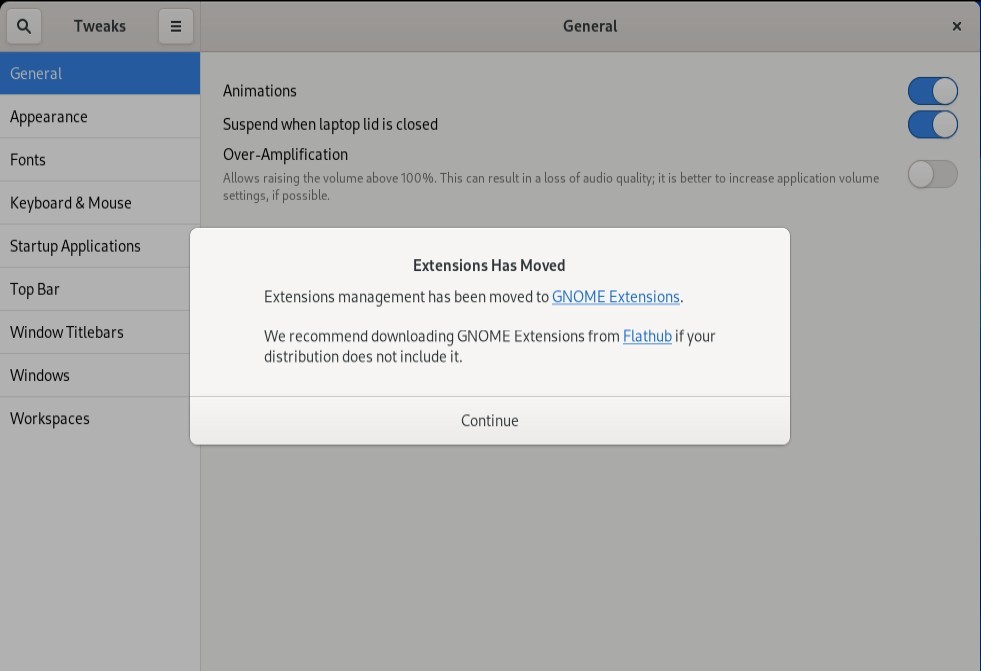
If you have tried out Fedora 34, you should already see the prompt at first launch of Gnome Tweaks: “Extensions management has been moved to GNOME Extensions”.
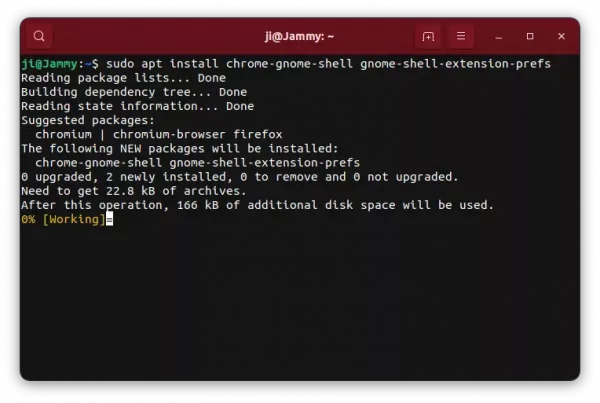
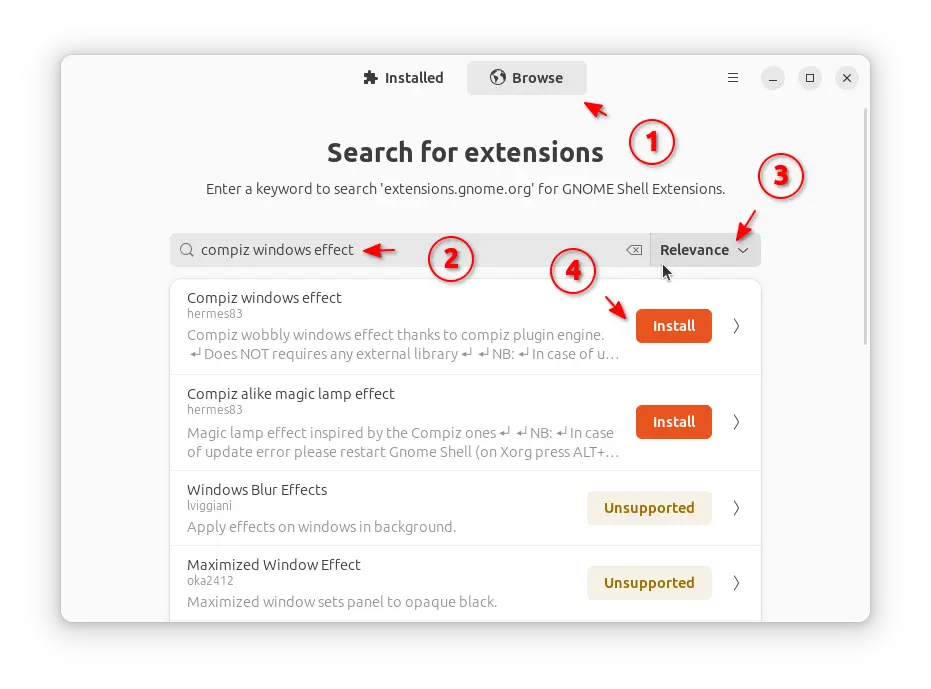
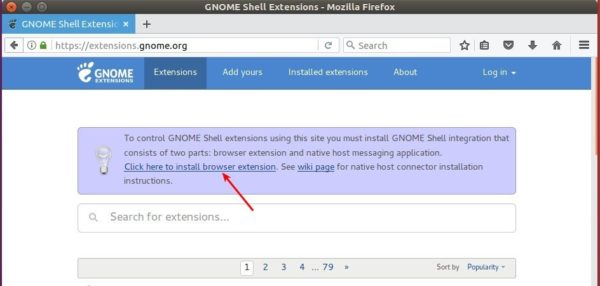
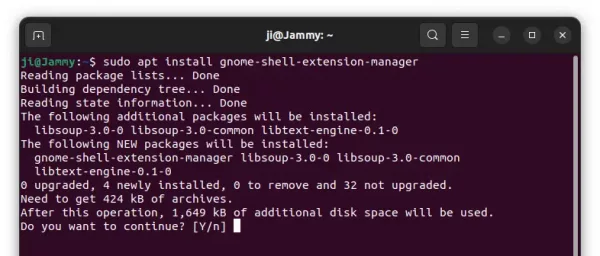
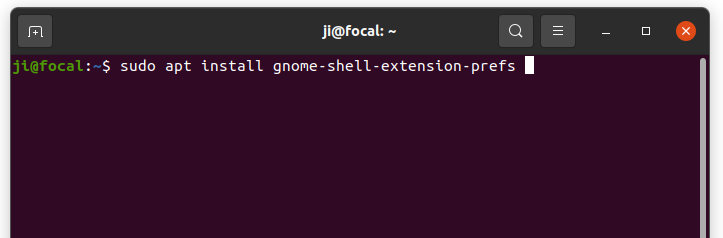
The “new” tool “GNOME Extensions” is available in Ubuntu universe repositories since Ubuntu 20.04 LTS. If you don’t have it, open terminal by pressing Ctrl+Alt+T on keyboard, and run command to install it:
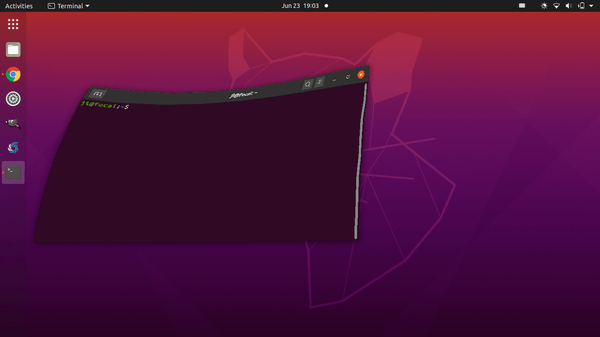
sudo apt install gnome-shell-extension-prefs
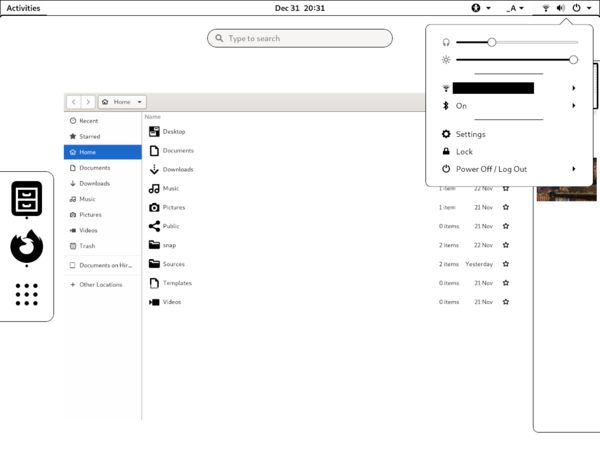
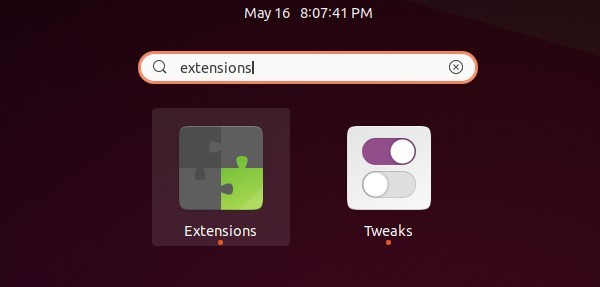
Then you can open it from system app launcher.
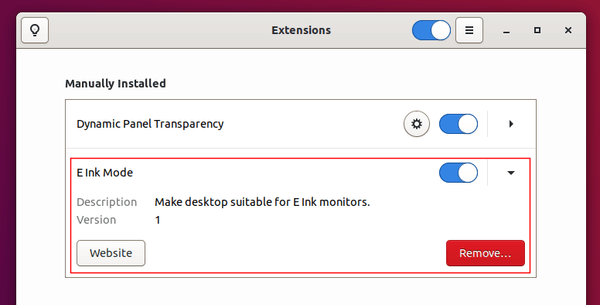
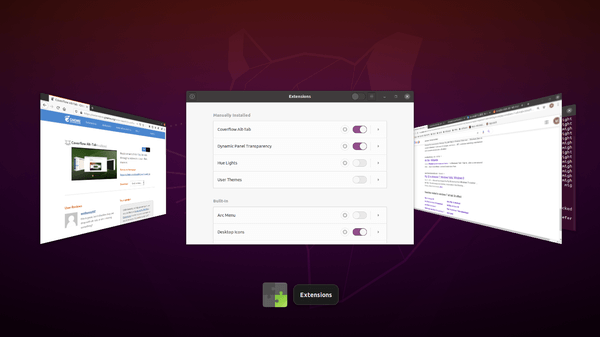
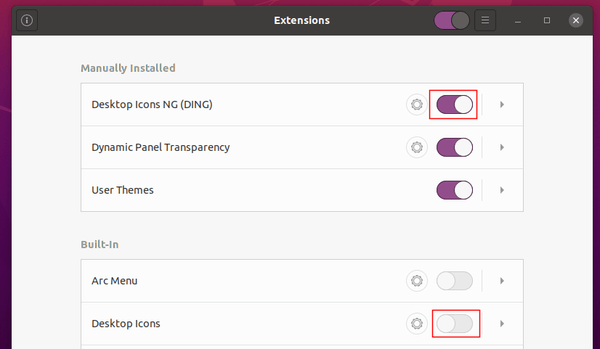
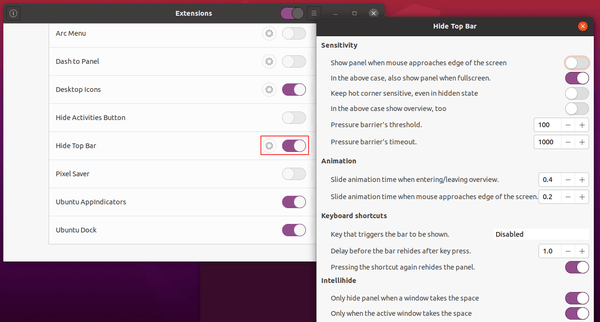
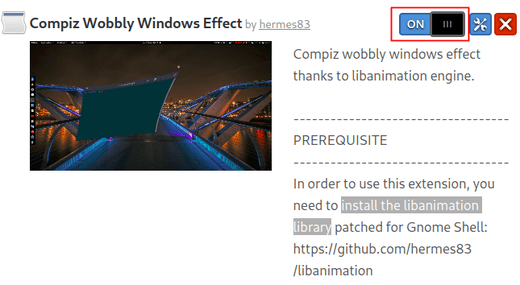
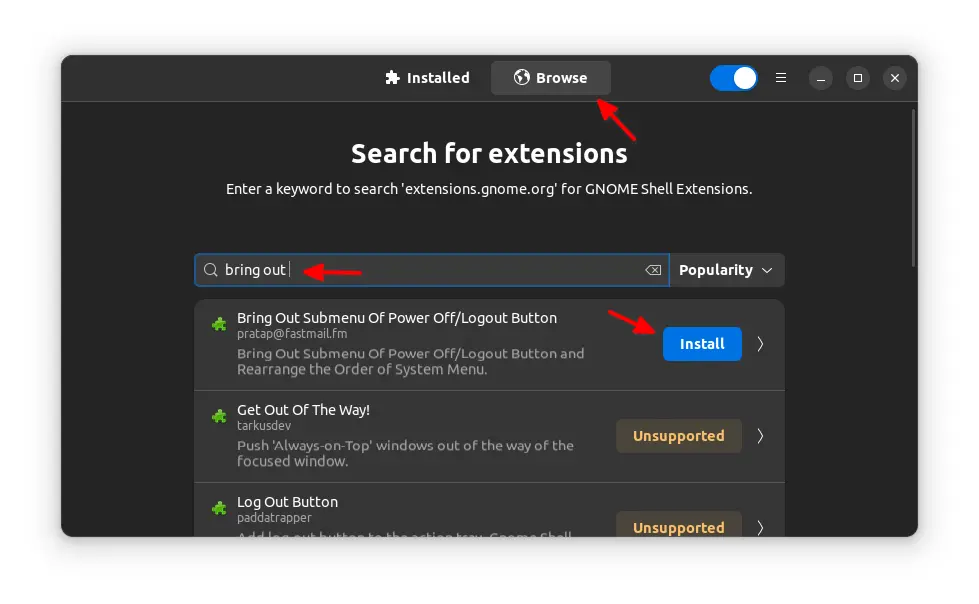
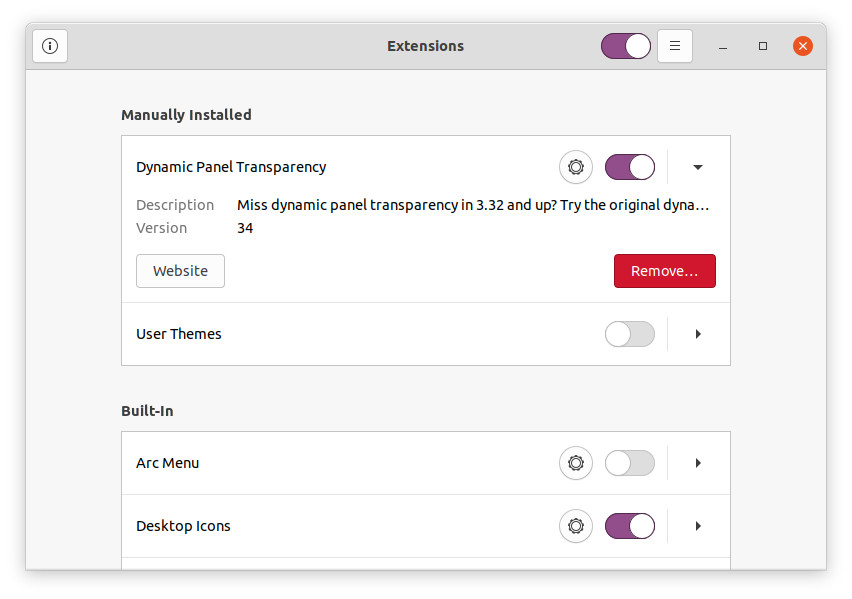
Different to the extensions tab in Gnome Tweaks, the GNOME Extensions tool displays built-in Gnome Shell extensions and user installed extensions separately.
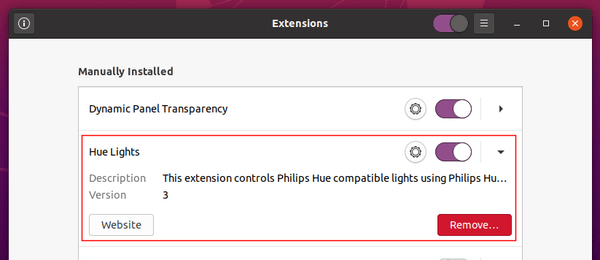
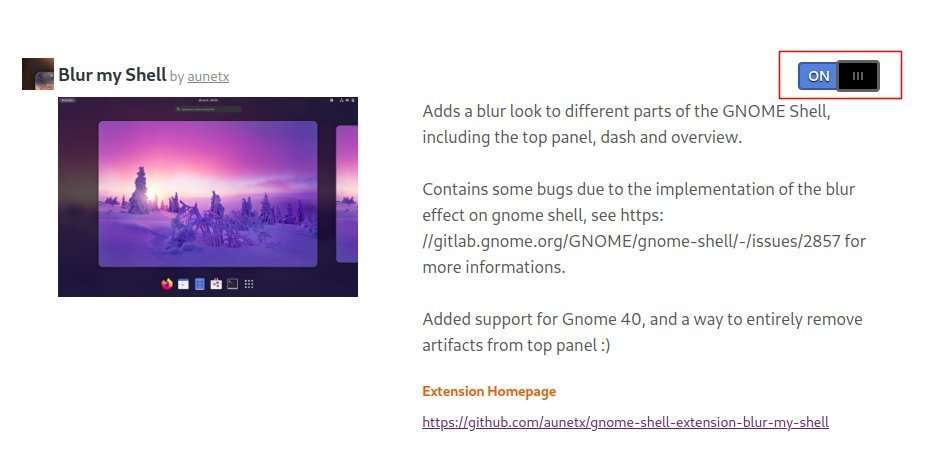
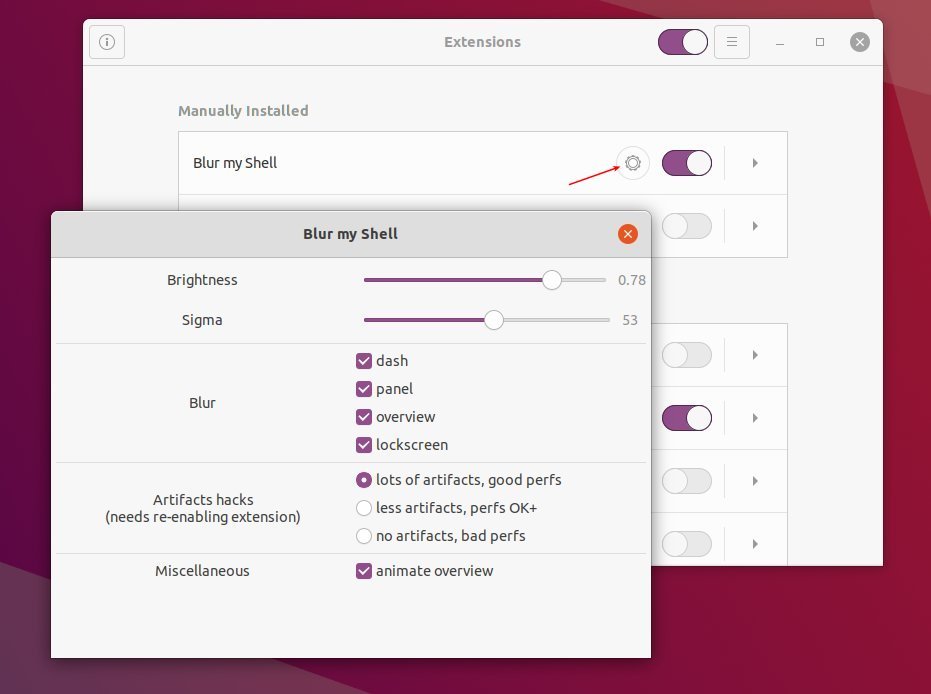
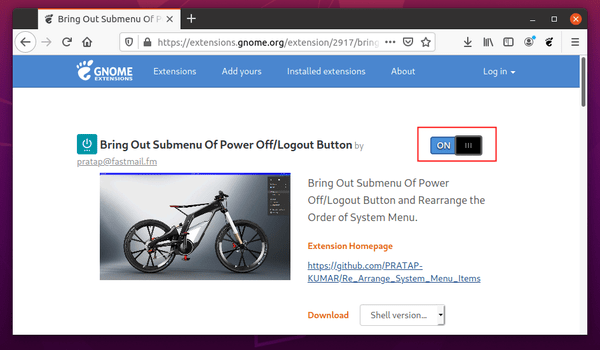
Besides the slider icons to toggle on/off extensions and gear buttons to change extension settings, there’s a triangle icon after each extension. Clicking on the icon will expand the extension with a brief description as well as the website and remove buttons.
In addition, Fedora users can get the tool by installing gnome-extensions-app package. Other Linux with Gnome Desktop can install the flatpak package.