![]()
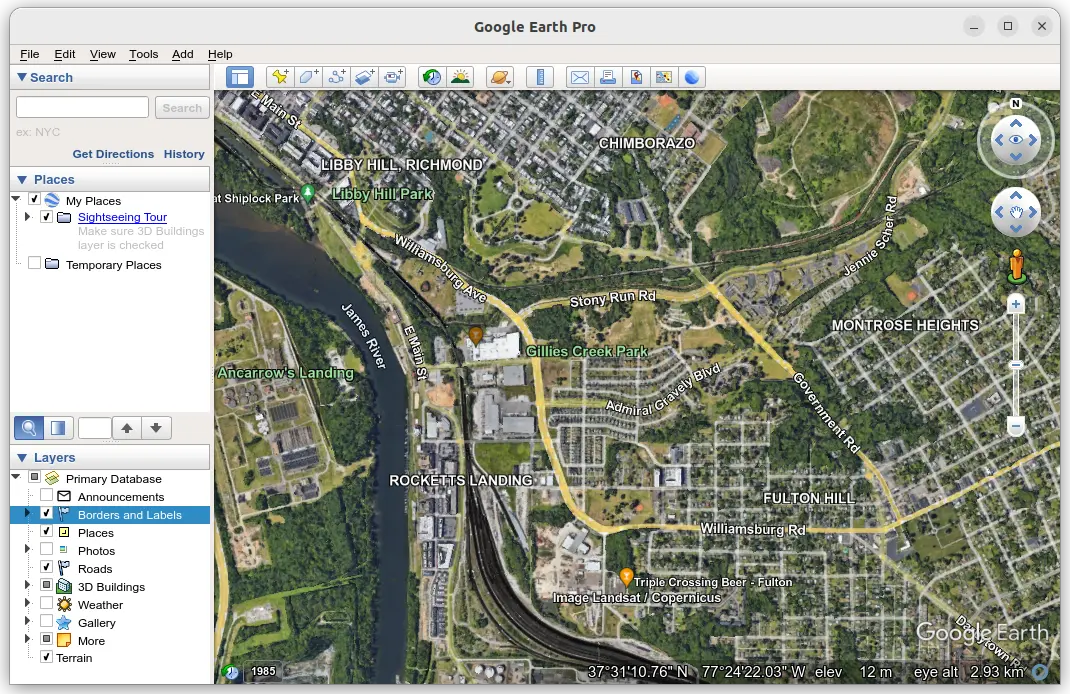
This is a step by step beginner’s guide shows how to install Google Earth Pro or Enterprise Client in Ubuntu 24.04, Ubuntu 22.04, and Ubuntu 20.04
Today we can use Google Earth easily in web browser or mobile phone. For those still need a desktop app, it’s easy to install in Debian/Ubuntu through:
- either Google’s official apt repository (native .deb packages),
- or Flatpak package, that runs in sandbox environment.
Choose either one that you prefer, though both run in only amd64 (Intel/AMD) CPU architecture.