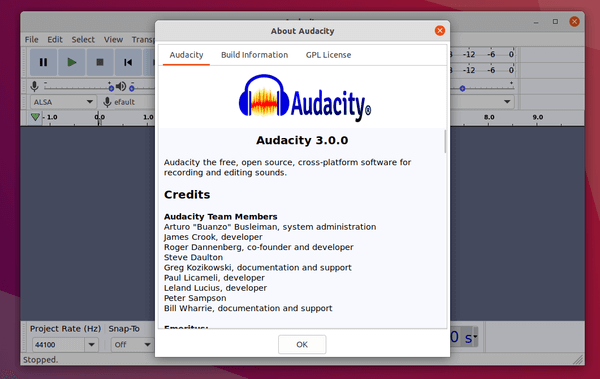
The Audacity audio editor 3.0.0 was released a week ago as the new major release. Here’s how to install it in Ubuntu / Linux Mint via Flatpak package.
Audacity 3.0.0 features new all-in-one-file aup3 project file format, improved ‘Noise Gate’ effect, new ‘Label Sounds’ analyzer, and over 160 bug-fixes.
It is incompatible with the GPL license. USE IT AT YOUR OWN RISK!
Why Flatpak?
The distribution’s build and Ubuntu PPAs are mostly “incorrectly built packages” as they are built against the wrong wxWidgets (3.0.x), however Audacity 3.0.0 requires wxWidgets 3.1.3.
Though I’m not a fan of the containerized Flatpak package, it’s so far the only ‘correctly’ build binary package since the Snap is still under testing.
Install Audacity 3.0.0 via Flatpak:
Firstly open terminal from system app launcher. When it opens, run following commands one by one.
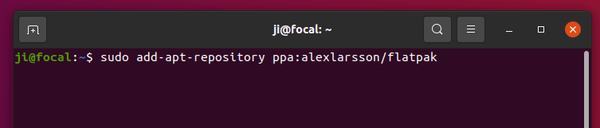
1.) For Ubuntu 18.04, add the PPA for updated version of Flatpak framework:
sudo add-apt-repository ppa:alexlarsson/flatpak && sudo apt update
2.) Install flatpak via command:
sudo apt install flatpak

3.) Add flathub repository that hosts the software packages:
flatpak remote-add --if-not-exists flathub https://flathub.org/repo/flathub.flatpakrepo

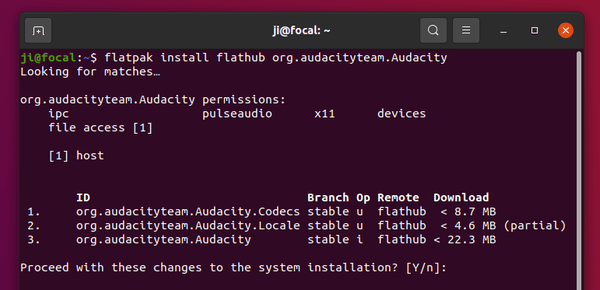
4.) Finally install Audacity flatpak package:
flatpak install flathub org.audacityteam.Audacity
The flatpak package won’t replace the classic deb package. If you have more than one app icon in launcher, either remove Audacity installed via apt, or launch Audacity Flatpak via command in terminal:
flatpak run org.audacityteam.Audacity
Remove Audacity Flatpak package:
To remove the software installed via flatpak, simply run command:
flatpak uninstall org.audacityteam.Audacity