![]()
NVIDIA announced a new release for the 460 Linux driver series today.
The new NVIDIA 460.56 driver added GeForce RTX 3060 support. The RTX 3060 features 5,888 CUDA cores, 1,777MHz GPU boost clock, 12 GB of GDDR6 video memory, and 170W TGP.
Besides the new GPU support, the 460.56 driver also fixed
- a bug with indexed ray payloads in Vulkan,
- a bug where calls to vkCreateDevice could fail on Ampere GPUs when ray tracing extensions were enabled and the application was running within the Steam Linux Runtime,
- fixed a regression that could cause display corruption when using a scaled resolution after resuming from power management suspend.
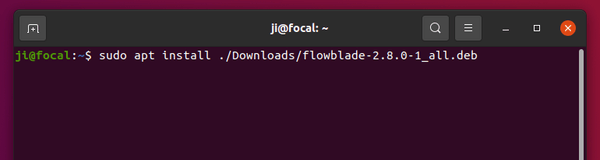
How to Install NVIDIA 460.56 in Ubuntu:
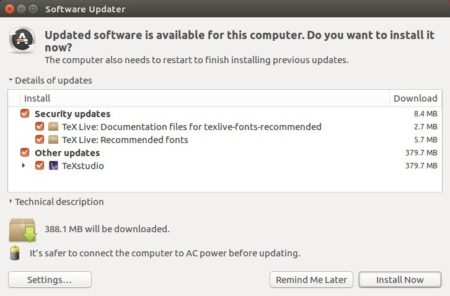
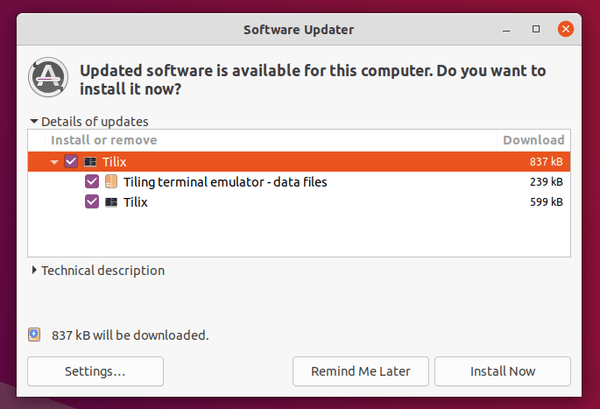
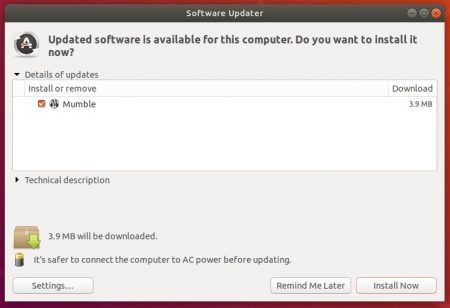
Ubuntu now builds the latest NVIDIA drivers and pushes them via its own security & updates repositories. It however take time to publish the new packages.
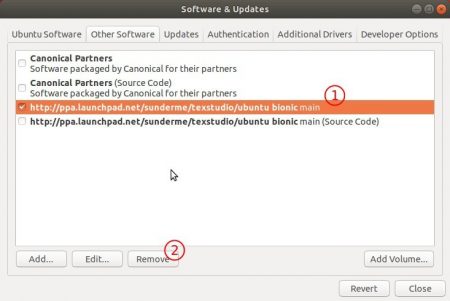
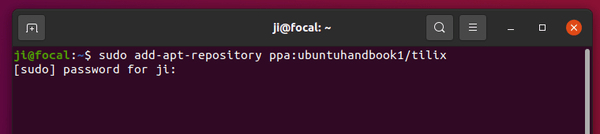
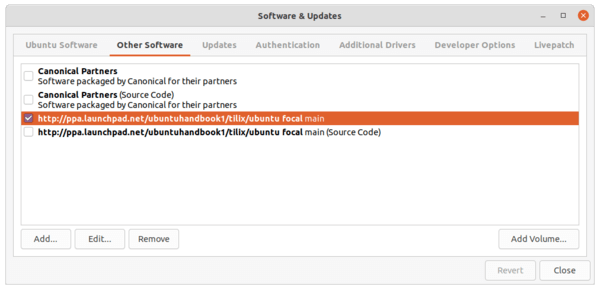
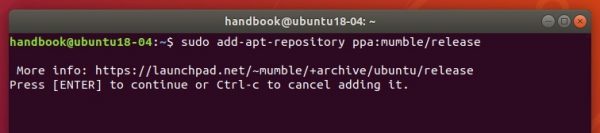
You can just wait or use this well trusted Ubuntu PPA. Finally launch Additional Drivers utility to install & apply the new NVIDIA driver:

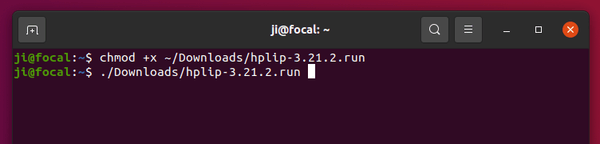
If you can’t wait, go to NVIDIA website and download the .run installer package (not recommended for beginners):