Free raw image processing software RawTherapee 5.7 was released a day ago. Here’s how to install it in Ubuntu 18.04, Ubuntu 19.04, and derivatives.
RawTherapee 5.7 release highlights:
- Film Negative tool
- Support for reading “rating” tags from Exif and XMP
- Updated CMake, GTK+, and other library requirements
- Hundreds of bug fixes, speed optimizations and raw format support improvements.

Download / Install RawTherapee 5.7 in Ubuntu:
The official Linux Appimage, single executable to launch the software (non-install), is available for download in the previous link
For Ubuntu 18.04, Ubuntu 19.04, Linux Mint 19.x, you can also install RawTherapee 5.7 via this unofficial PPA.
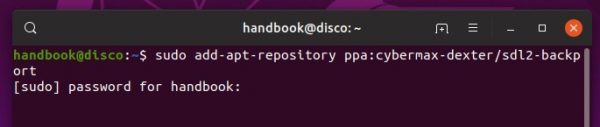
1. Open terminal either via Ctrl+Alt+T keyboard shortcut or by searching for “Terminal” from application menu. When it opens, run command:
sudo add-apt-repository ppa:dhor/myway
Type user password (no asterisk feedback due to security reason) when it prompts and hit Enter to add the PPA.

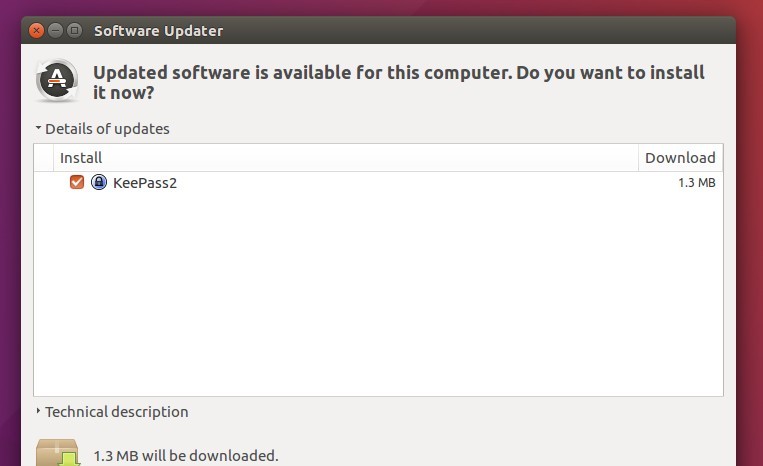
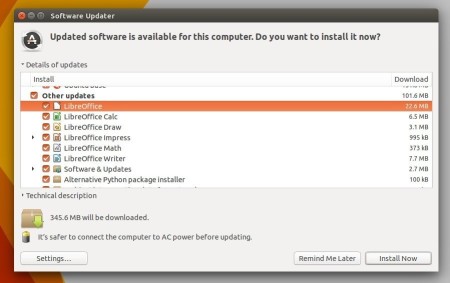
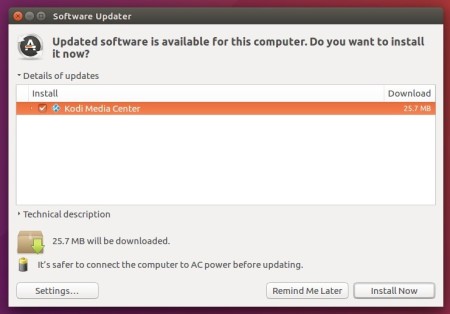
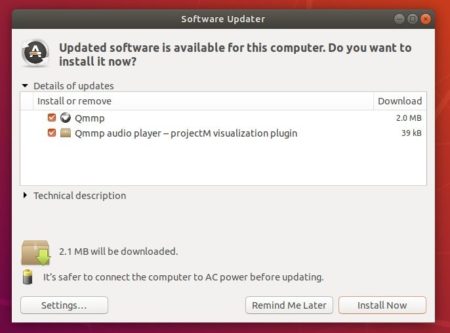
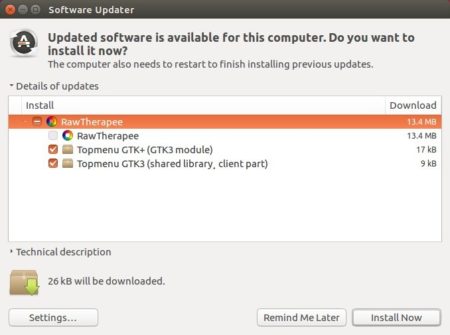
2. After that, upgrade the software via Software Updater if a previous version was installed:
or run commands one by one in terminal to install RawTherapee:
sudo apt update

sudo apt install rawtherapee
How to Remove:
To uninstall the free raw developer, run command in terminal:
sudo apt-get remove --autoremove rawtherapee
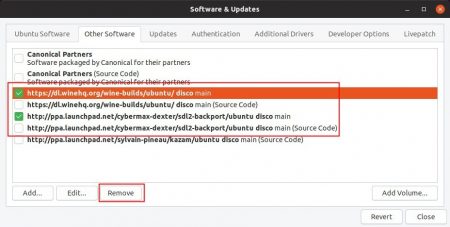
And remove the PPA via Software & Updates utility under Other Software tab, by removing the line says “http://ppa.launchpad.net/dhor/myway/ubuntu”.