![]()
Bleachbit, the popular system cleaner app, announced new major 4.6.0 release this Sunday!
It’s been almost 2 years since the last stable v4.4.2. While, version 4.5.x is there for beta testing purpose.
Compare to the latest stable release, the new Bleachbit 4.6.0 features:
- Microsoft Edge on Linux support.
- Firefox, Thunderbird, and Google Chrome installed as Flatpak support.
- Firefox installed as Snap (default in 22.04+) support.
- “shred with bleachbit” context menu for KDE (not enabled by default).
- Clean recent documents list on KDE 5
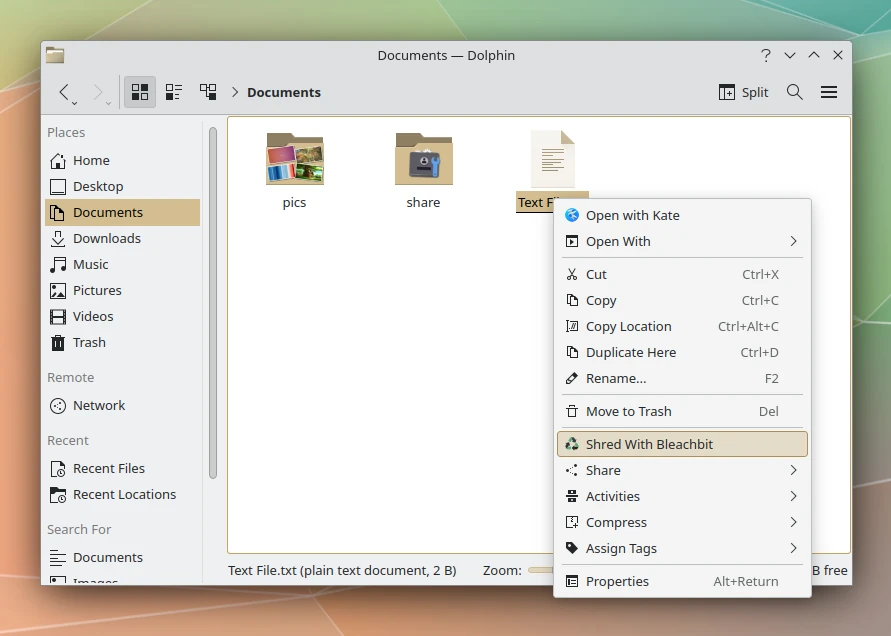
Shred with Bleachbit context menu for KDE
The release also has various other changes and bug-fixes. When cleaning Firefox, it does no longer show “no such table” error. And, it fixed admin mode launching issue when working on Linux with Wayland session. Other changes include:
- Clean recently-closed tabs on Firefox
- Clean autofill data in Chromium-based browsers
- Fix detection of invalid .desktop files
- Remove Windows-specific files from Linux packages
- And more. See release note for details.
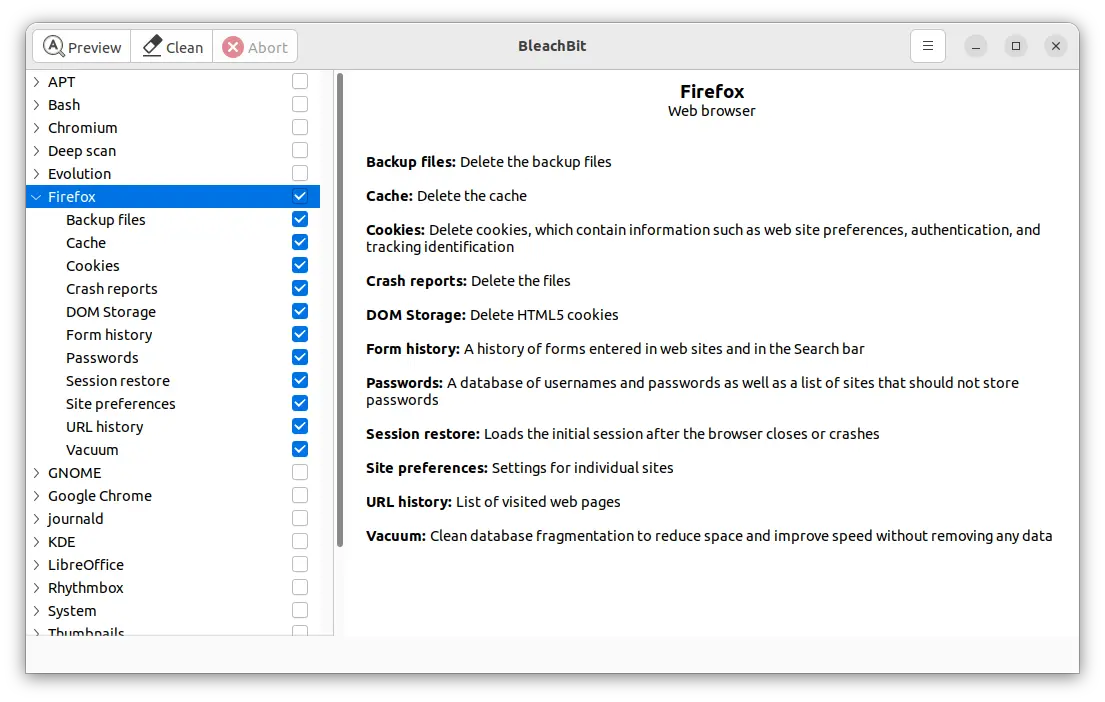
BleachBit 4.6 can clean Firefox Snap in Ubuntu
How to Install Bleachbit in Ubuntu
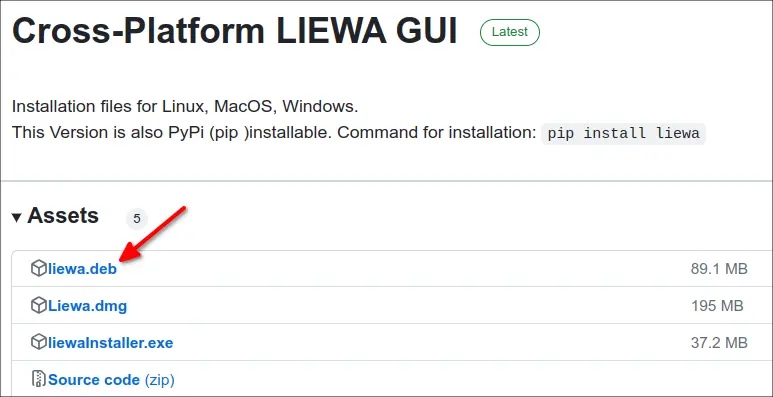
The software provides official .rpm packages for CentOS, Fedora, and openSUSE, as well as .deb packages for Debian, Ubuntu and Linux Mint.
They are available to download at the link below:
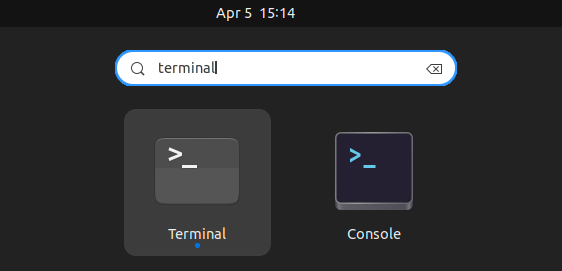
Tips: for Linux Mint 21, click download the package for Ubuntu 22.04 Jammy Jellyfish. In case you don’t even know which Linux Distribution version is running, open terminal (press Ctrl+Alt+T) and run command cat /etc/os-release to tell.

Once you got the .deb package, either click open with “Software Install”, or open with “Gdebi package installer” if you have it installed.
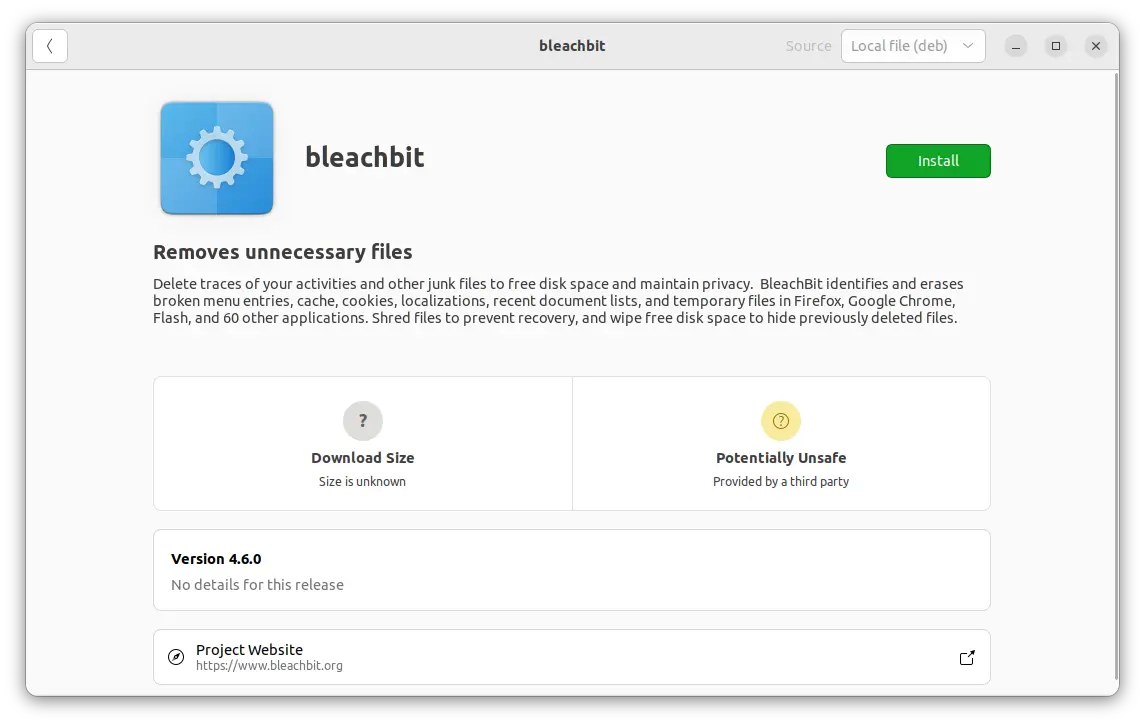
Install Bleachbit .deb via Software Install
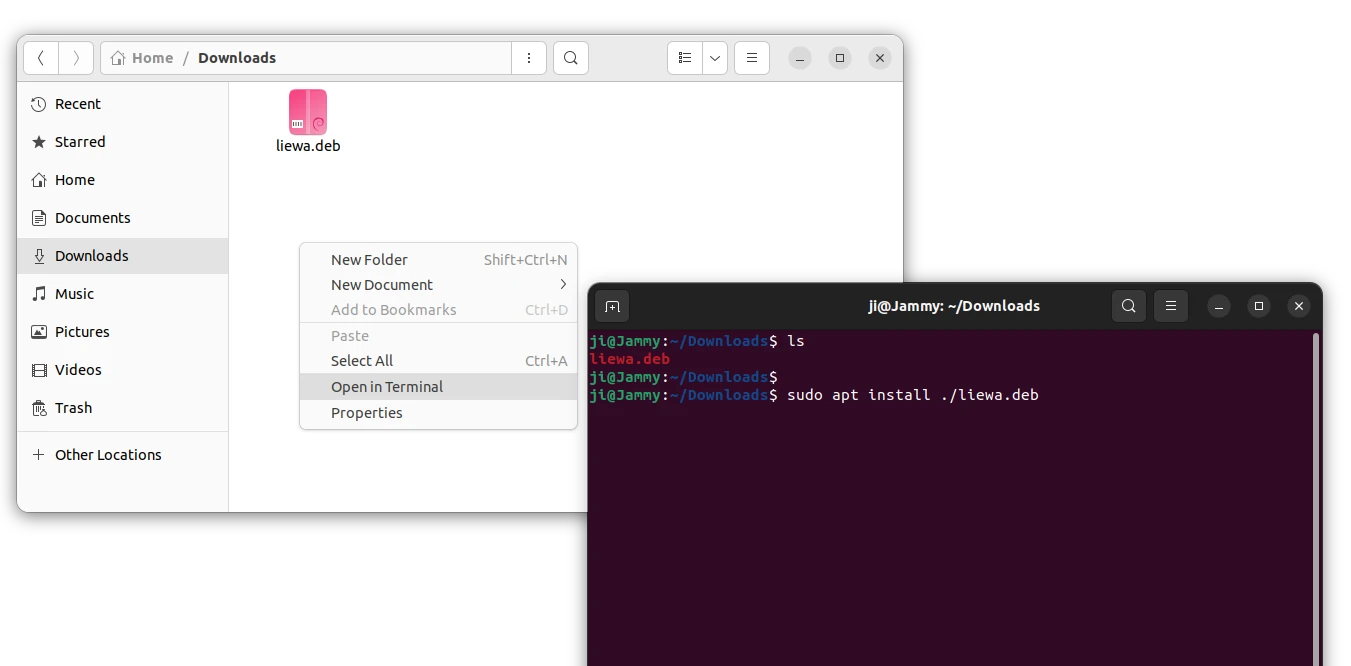
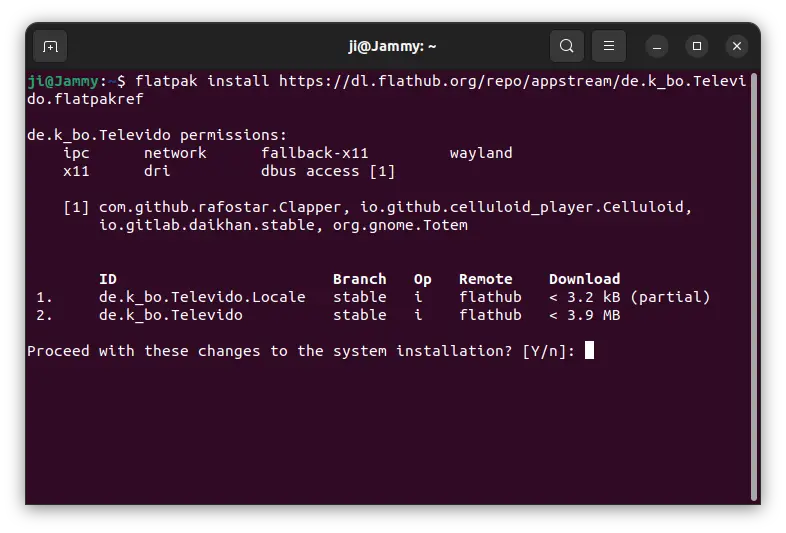
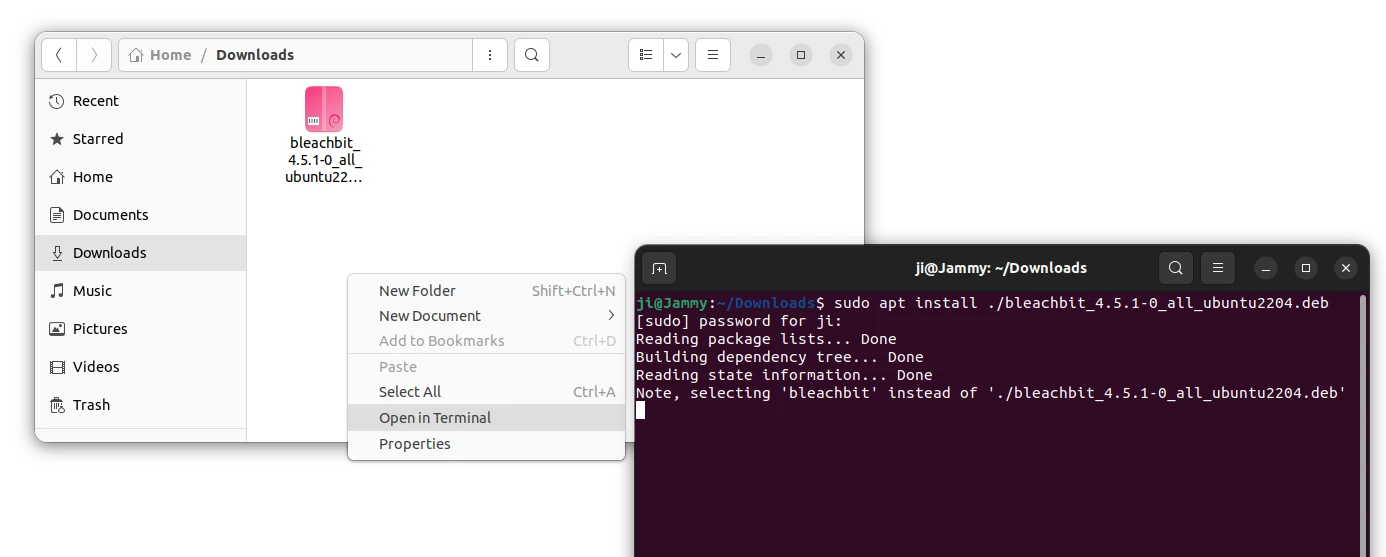
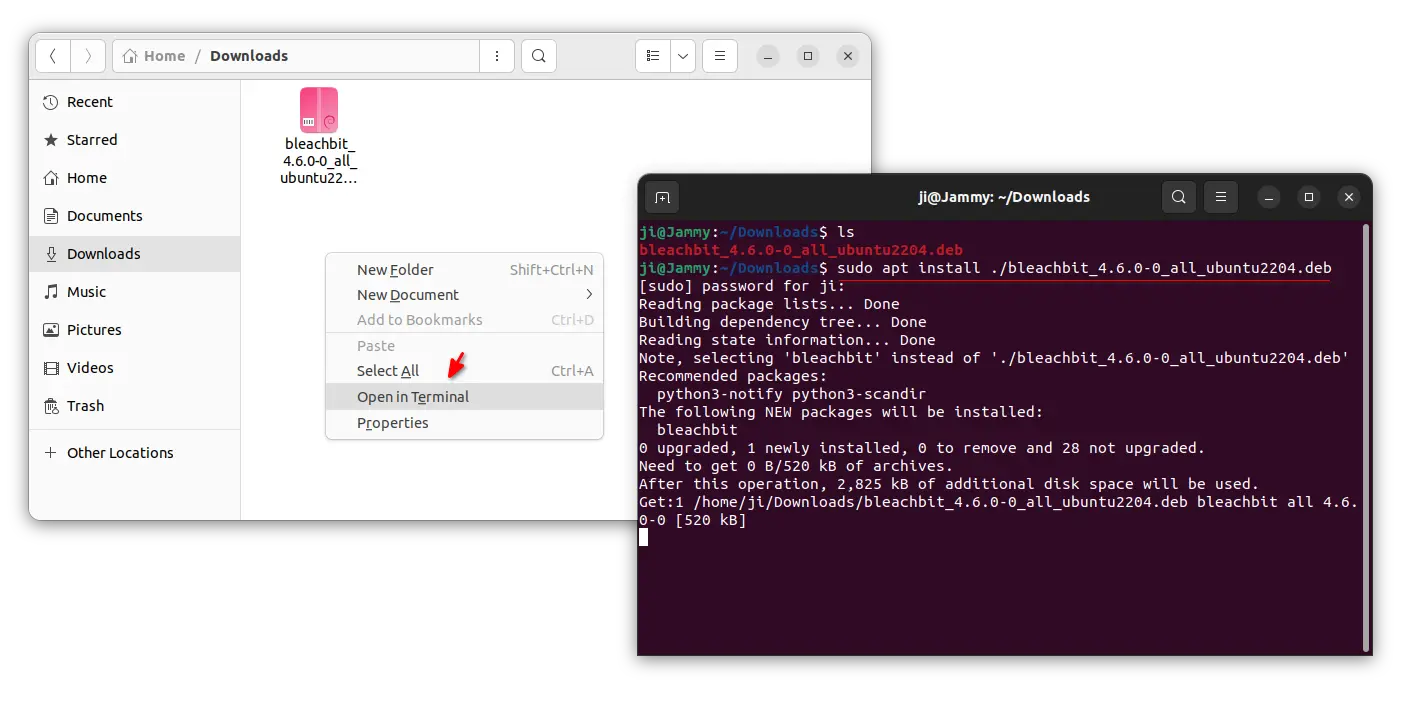
Or, right-click on blank area in your Downloads folder, and select “Open in Terminal”. Finally, run the command below to install it:
sudo apt install ./bleachbit_4.6.0*.deb
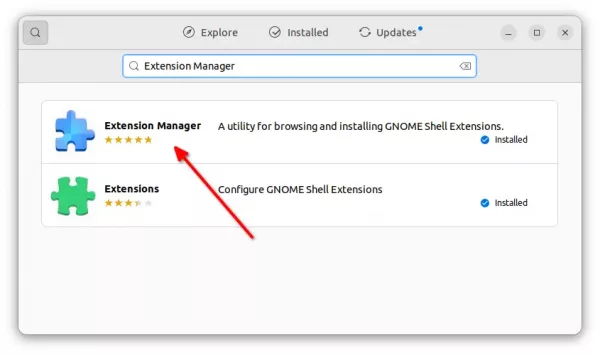
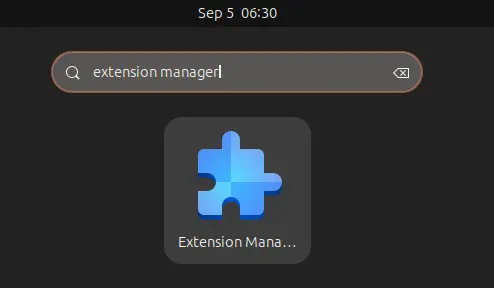
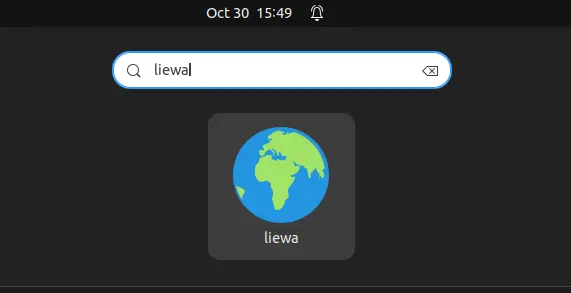
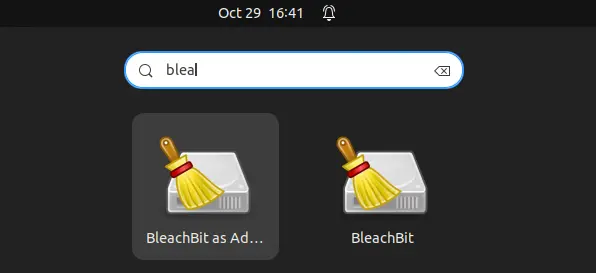
Once installed, search for and launch the tool from either start/applications menu or ‘Activities’ overview depends on your desktop environment.
Uninstall Bleachbit
To remove Bleachbit 4.6.0 in Debian, Ubuntu, Linux Mint, and their based systems, simply open terminal and run command:
sudo apt remove --autoremove bleachbit