![]()
The popular lightweight desktop environment XFCE4 got a new major release after 2 years of development. Here’s how to install it in (X)Ubuntu 22.04, Linux Mint 21, and/or Linux Lite 16.x.
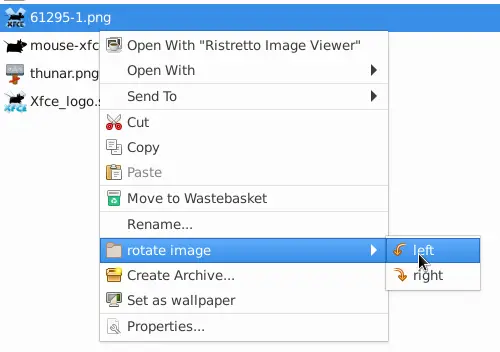
The new release, XFCE 4.18, focuses on improving its Thunar file manager. They include image preview, Undo/Redo option, customize toolbar, highlight files with different background and filename colors.
In the List View mode, it shows how many files contained for directories, and supports for displaying ‘file creation date’ column. Other changes include split view, recursive search, new ‘Bookmark’ menu, as well as:
- “Recent” in left pane for quick access recently used files.
- Trash option ‘Restore and Show’
- Custom action menu option can now have sub-menu entries.
- Show file thumbnail for only limited size.
- Verify file checksum on copy.
- Restore tabs on startup.
There are as well new features for other part of the desktop, including new Clock plugin (the original DataTime and the Clock plugin combination), option to hide window decorations, new shortcut editor for Thunar file manager, Xfce4-terminal and Mousepad text editor.

It also improved UI scaling, and added support for thumbnail sizes x-large and xx-large, for better Hi-DPI displays support. Settings Editor now has a search function support. All header bars of Xfce Windows and Dialogs now rendered by default by the XFCE4 window manager. And, there’s now option to hide window decorations.
How to Install XFCE 4.18 via PPA
The Xubuntu Developers team has built the packages for (X)Ubuntu 22.04, and their based systems into this PPA repository.
NOTE 1: Ubuntu 20.04 and earlier are NO longer supported via this PPA!
NOTE 2: As PPA description said, the packages were built for testing purpose! Do NOT install in production machine!!
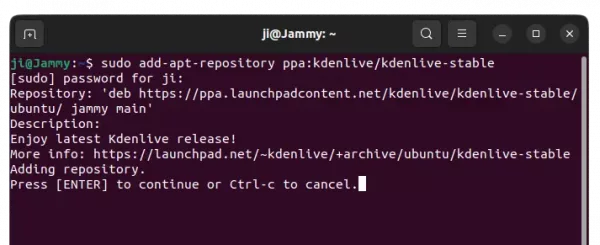
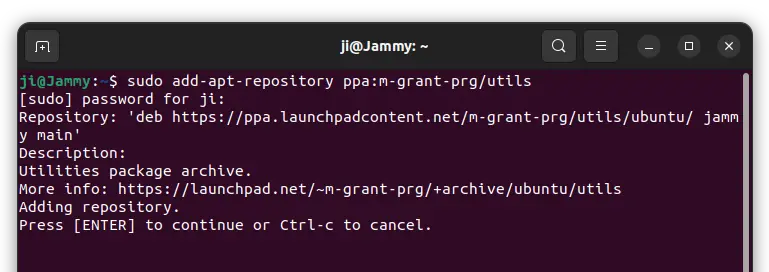
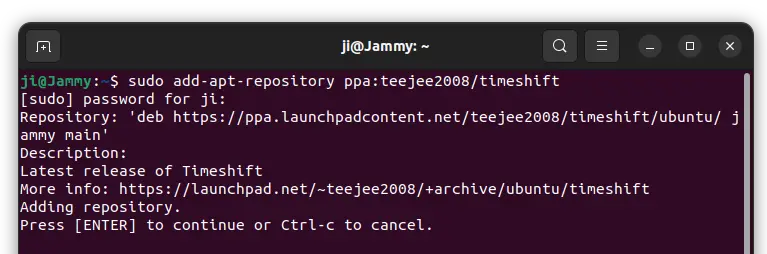
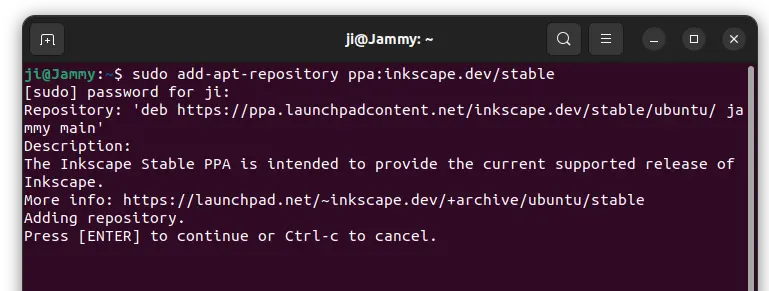
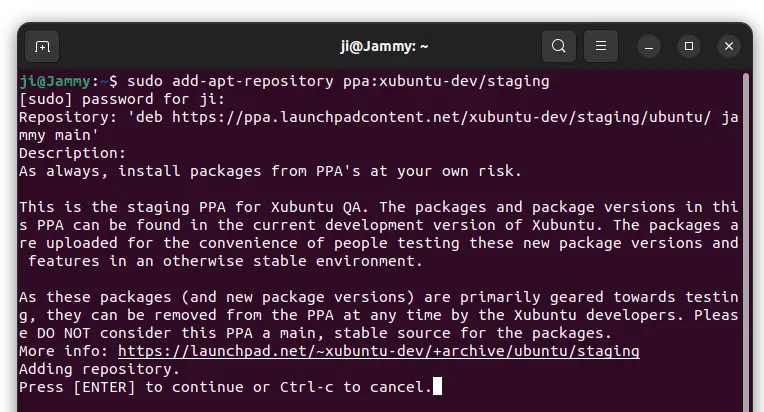
1. Add the PPA
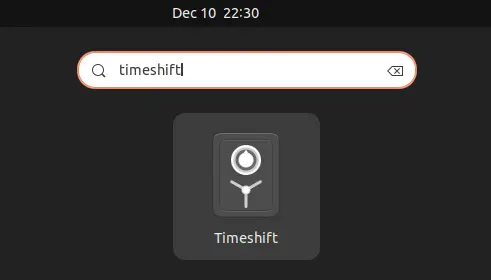
First, open a terminal window either by pressing Ctrl+Alt+T on keyboard or by searching from ‘Activities’ overview or start menu depends on your system.
sudo add-apt-repository ppa:xubuntu-dev/staging
Type user password when it asks while no asterisk feedback, then hit Enter to continue.
2. Refresh package cache
Ubuntu 22.04+ should automatically refresh system package cache while adding PPA, though it might not for some based systems.
To manually update the cache, run command:
sudo apt update
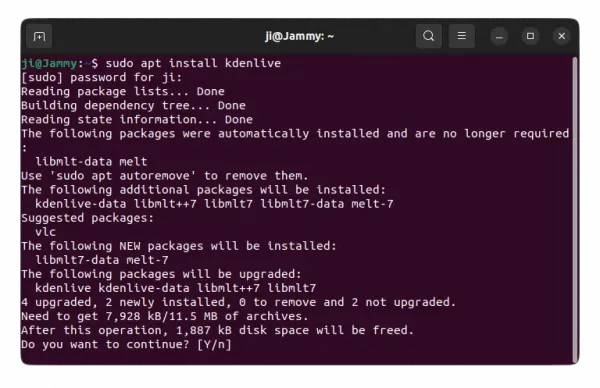
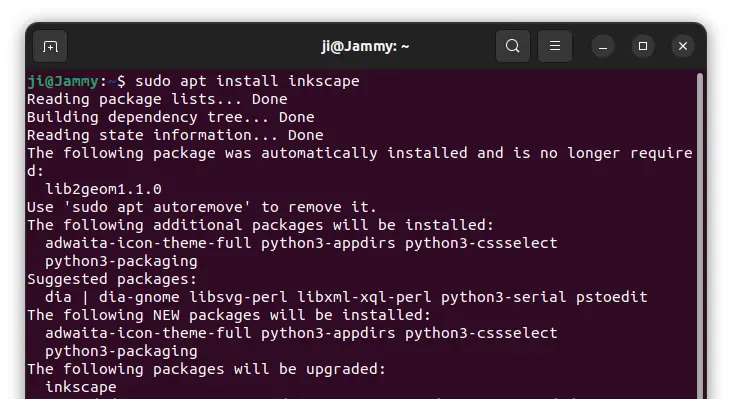
3. Install or upgrade to XFCE 4.18
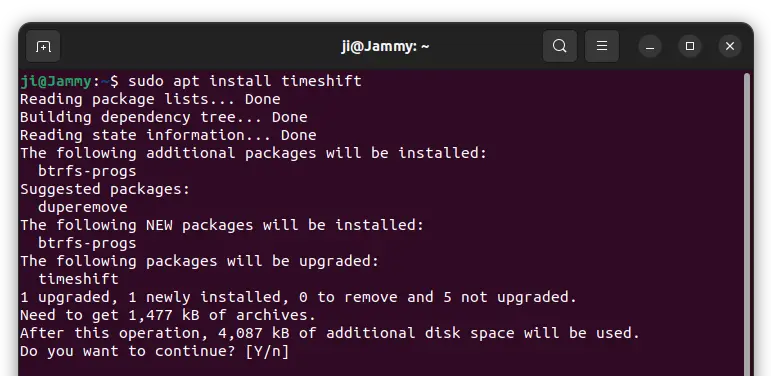
Finally, either run the command below to install all available package updates:
sudo apt upgrade
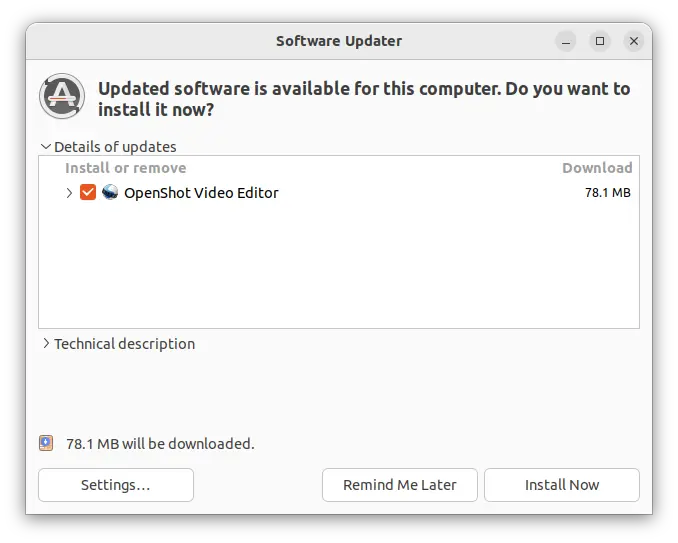
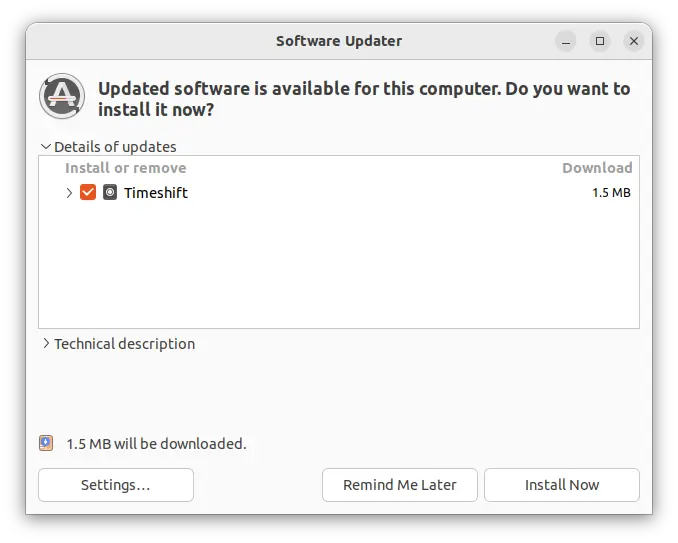
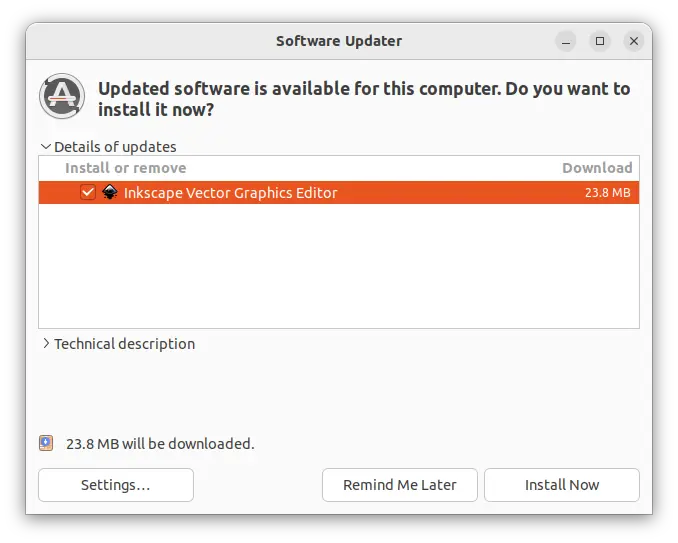
or launch Software Updater (Updater Manager) and click install updates to upgrade to XFCE 4.18. Finally, restart your computer and enjoy!
For non-XFCE users, run the command below to install the whole desktop environment on your Ubuntu based system:
sudo apt install xubuntu-desktop
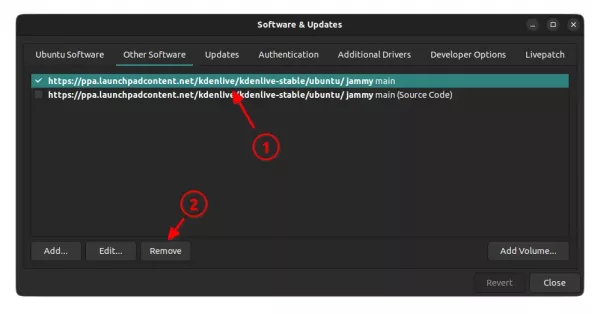
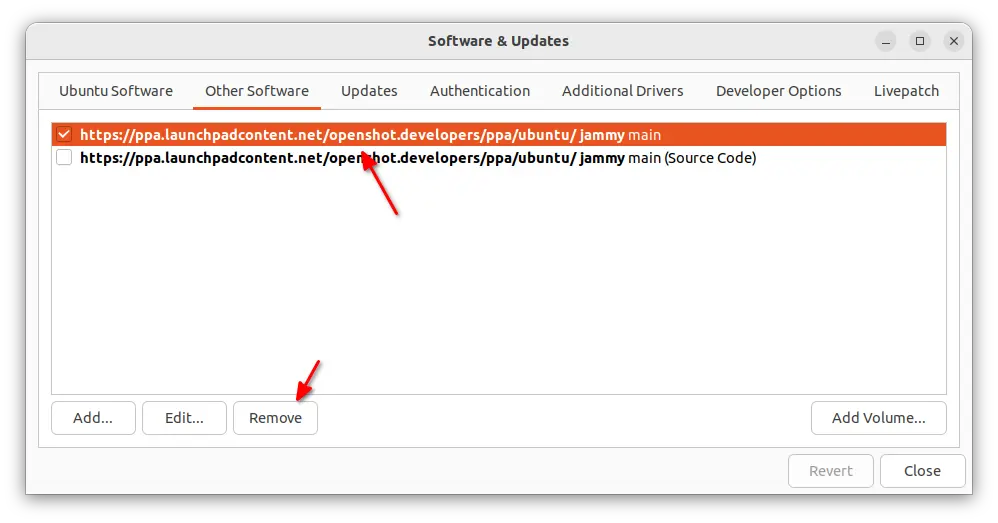
How to Restore:
For XUbuntu 22.04, Linux Mint XFCE edition, and/or Linux Lite 16.x, install ppa-purge and purge the PPA will downgrade all installed package into stock versions in system repository.
To do so, open terminal and run commands:
sudo apt install ppa-purge && sudo ppa-purge ppa:xubuntu-dev/staging