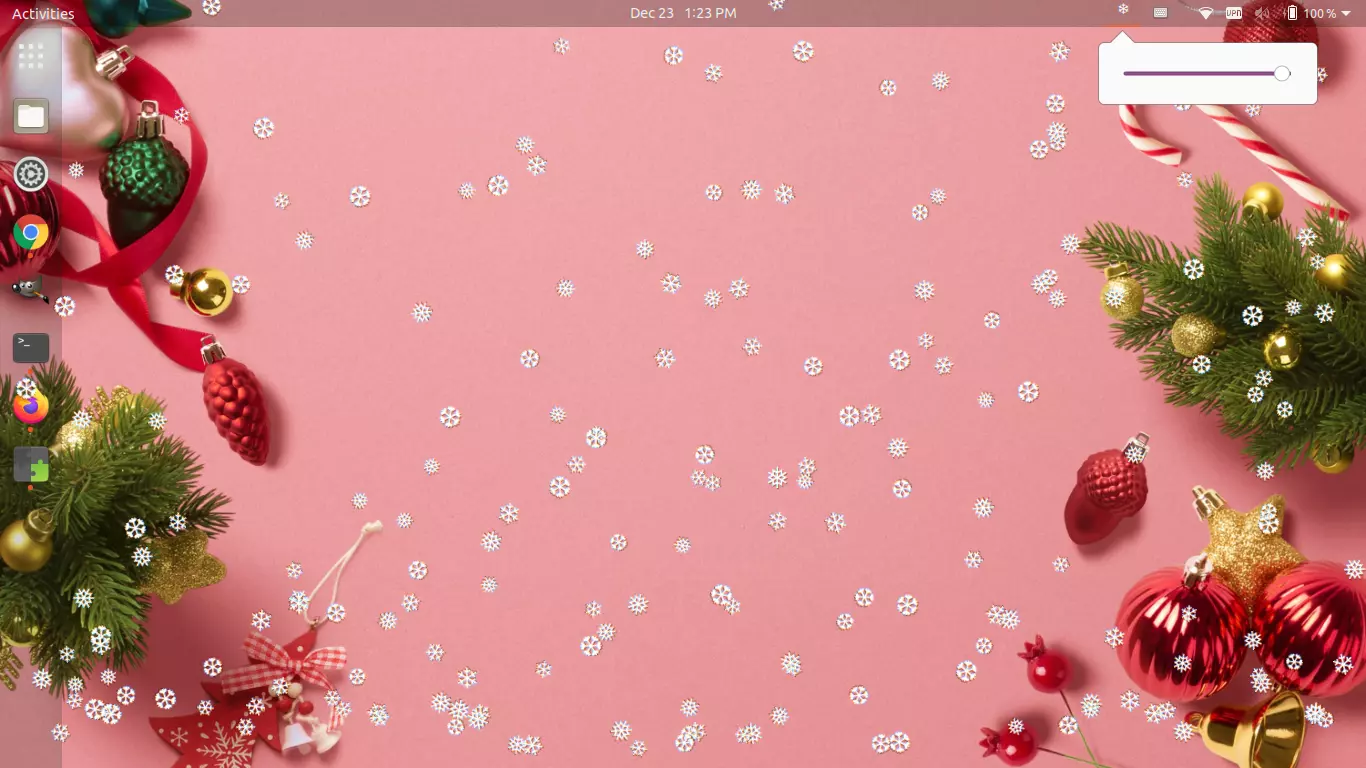
Christmas is coming. It’s snowing lightly outside in my city! Let me show you the ways to enable falling snow animation effect on your Ubuntu or other Linux desktop!
1. XSnow
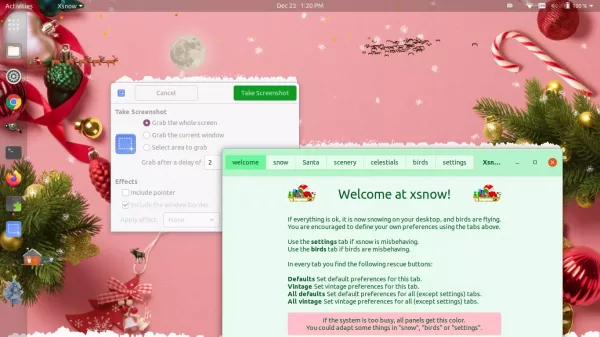
XSnow is till in active development. It enables falling snow effects in GNOME, XFCE, KDE, LXDE, OPENBOX, etc. Which means, user may run it in Ubuntu, XUbuntu, KUbuntu, Debian, and other based Linux distributions. It also works on RPM based Linux (e.g., Fedora) though the package from system’s own repositories.
Snow by default is falling on top of opened app windows and screen bottom. So, you won’t see snowflakes if there’s a window maximized.
XSnow provides an user interface to configure how many snowflakes, size, color, etc. And, it also may display Santa, Scenery, birds and more.
The app provides modern 64-bit (amd64), old 32-bit (i386), and arm64/armhf (e.g., for Raspberry Pi) deb packages for Debian and Ubuntu based systems. Just select download the latest package from the link below:
Then double-click the ‘.deb’ package to install via your system package manager. You can finally launch it from start menu (Activities overview) and enjoy.
2. Snow Extension:
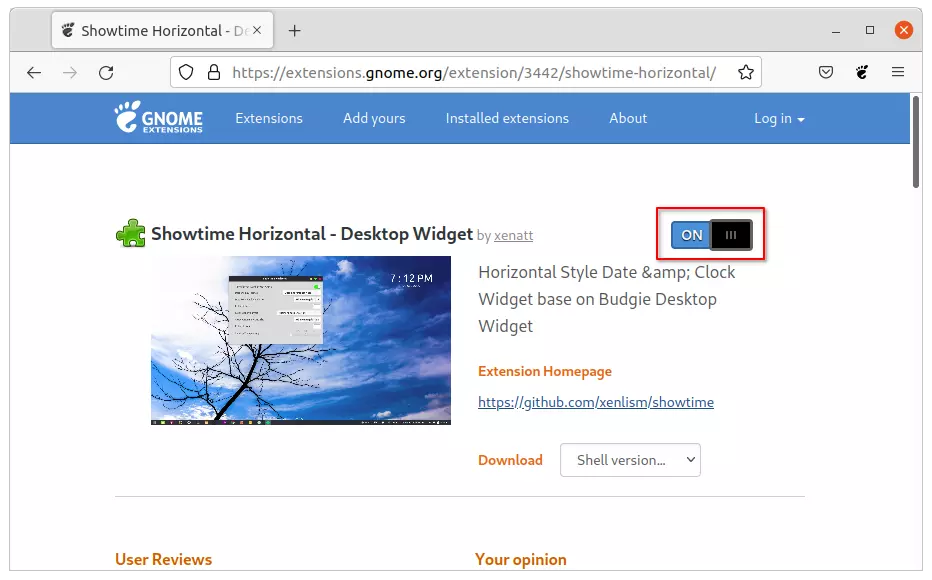
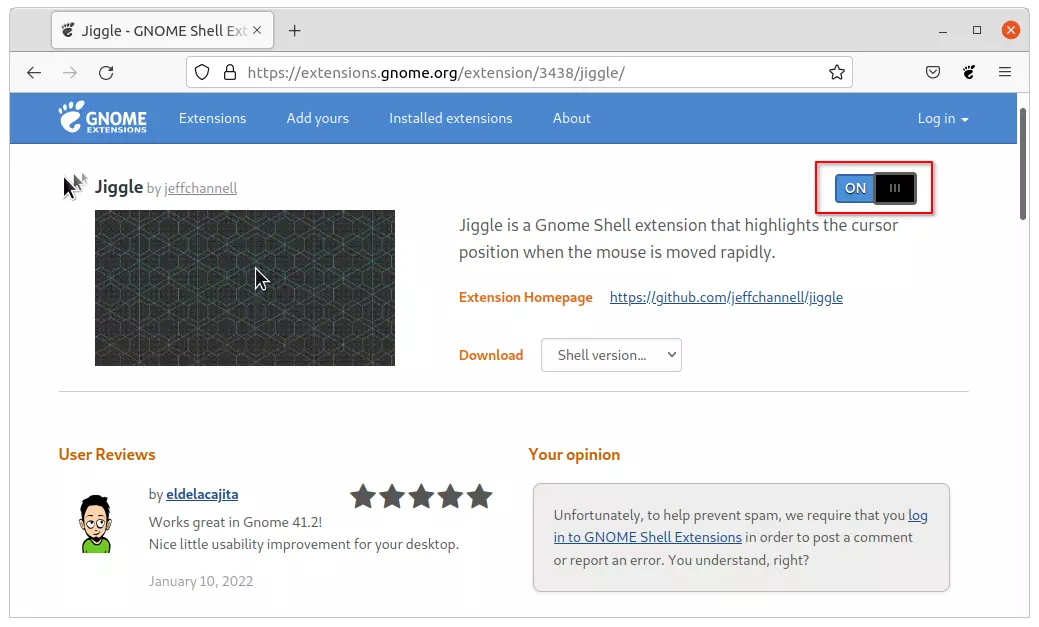
For Ubuntu, Fedora Workstation, and other Linux with GNOME desktop, user may enable falling snow effect via extension.
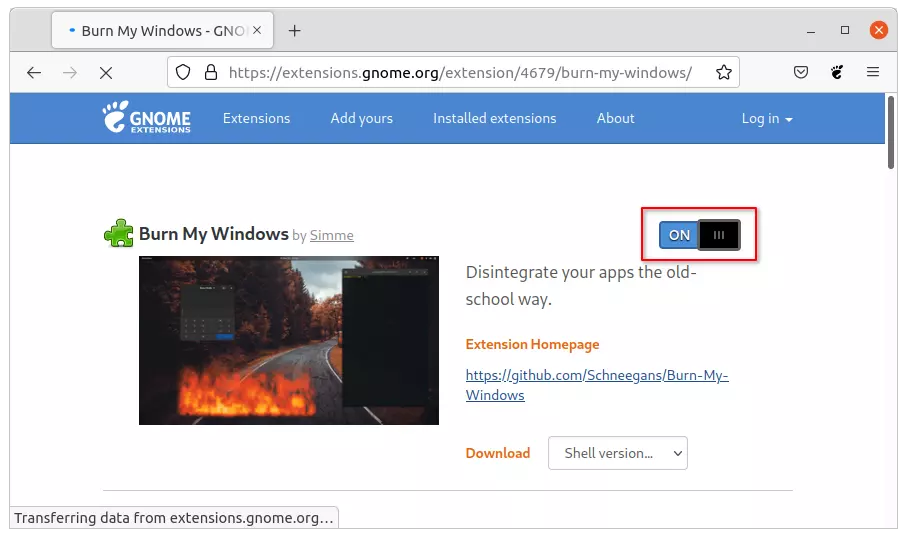
And ‘Snow’ is one of the Gnome extensions that just do the job! It adds an indicator applet in system tray, with option to turn on / off the animation. It just works, nothing else!
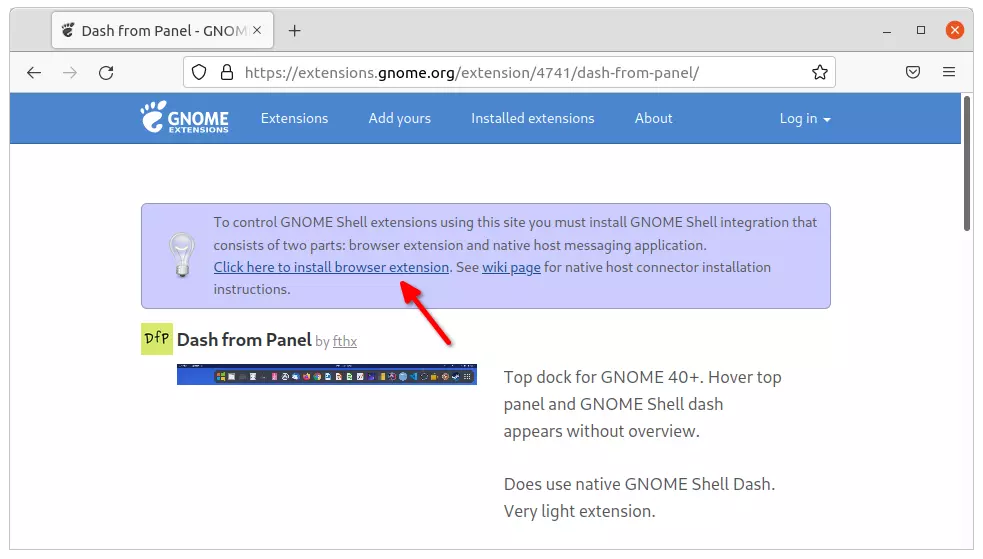
To install the extension, click the button above to open the extension web page and turn on the slider icon. If you don’t see the switch, install web browser extension (via link in that page) and refresh the page.
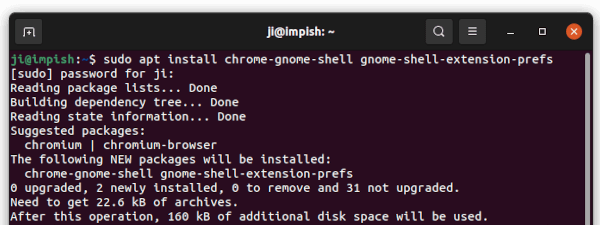
NOTE: Firefox as Snap (defaults in Ubuntu 21.10) does not support installing Gnome extensions so far. use another browser instead. And, Ubuntu user needs to first install “chrome-gnome-shell” package by running command in terminal (Ctrl+Alt+T):
sudo apt install chrome-gnome-shell
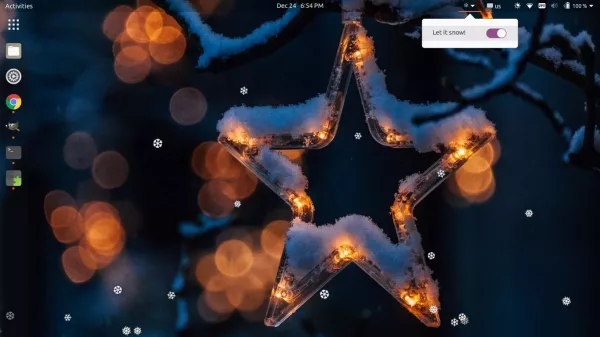
Let it Snow extension:

Similar to the previous extension, but with a few more features. This extension adds an indicate applet allows to control how much snow you want. It works with multiple monitors and will NOT fall over currently active window.
Sadly, the extension so far supports GNOME up to v3.38 though it works good in Ubuntu 20.04.
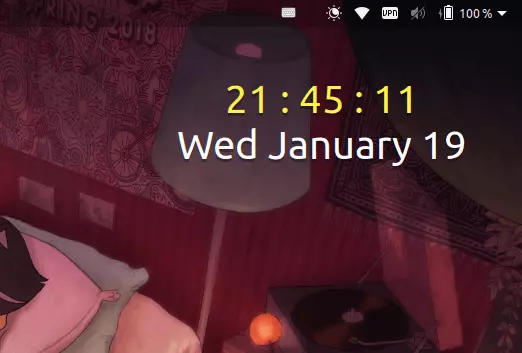
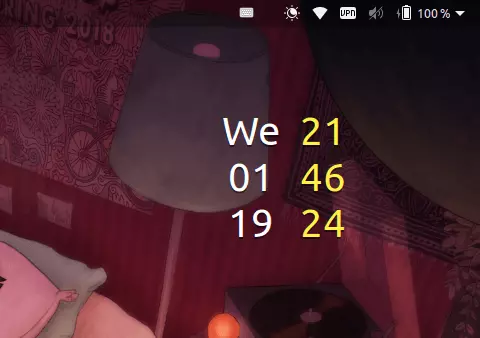
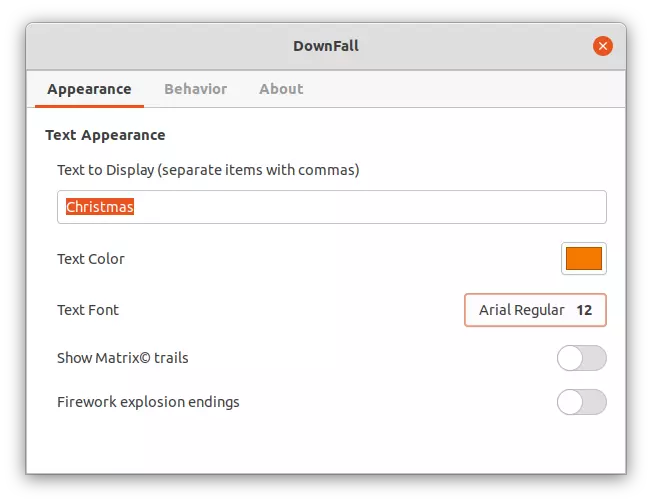
DownFall:

The extension adds falling text animation in GNOME desktop. Though the author says it can simulate leaves, snow, fireworks, and ufos, but I don’t know how!
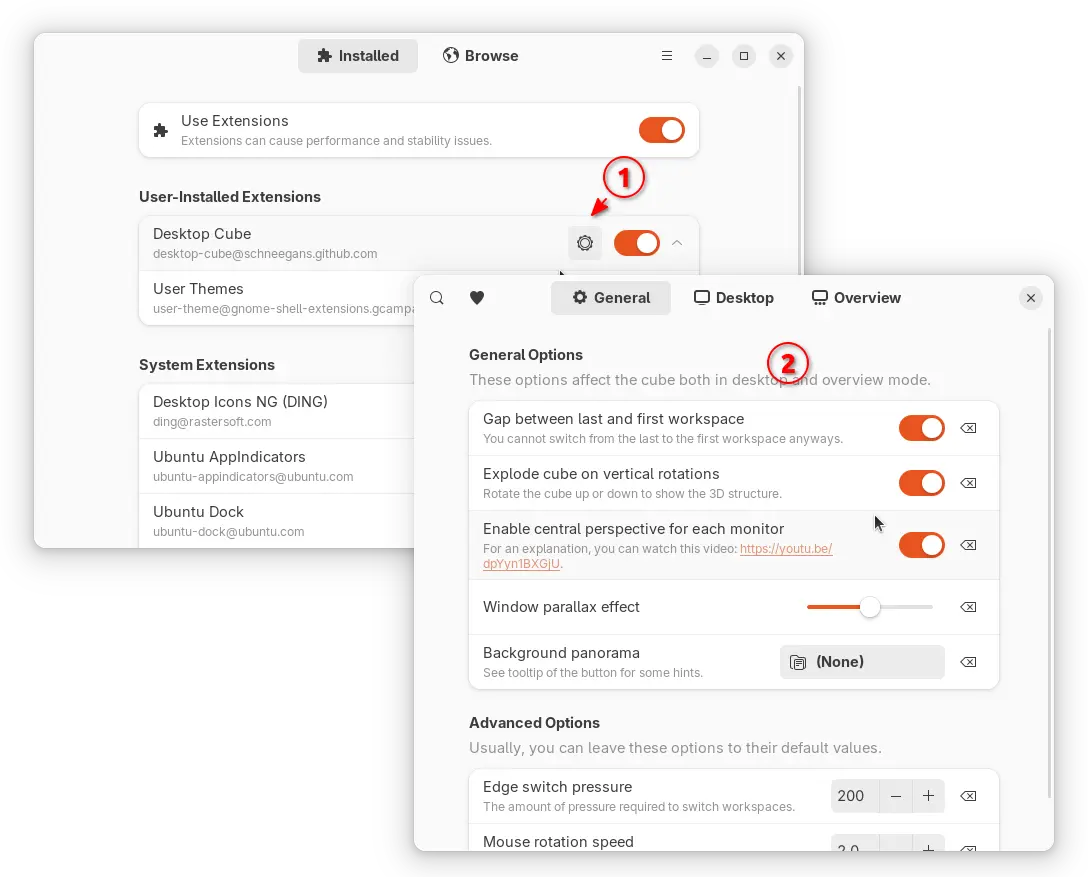
Via Gnome Extensions app, user may configure the TEXT to fall, color, font, direction, and a few other behaviors.
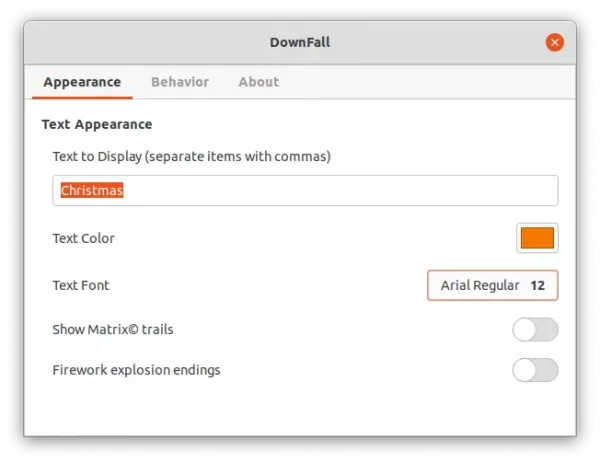
Configure DoenFall
To configure this extension, user needs to install Gnome Extensions app via command:
sudo apt install gnome-shell-extension-prefs
For Fedora, use sudo dnf install gnome-extensions-app command to install it. Then search for open it from ‘Activities’ overview screen.