As you may know, Slim is a simple login manager aims to be light and simple, although completely configurable through themes and an option file. It is suitable for machines on which remote login functionalities are not needed.
In this tutorial I’ll show you how to install and use Slim login manager in Ubuntu 13.10, Ubuntu 13.04, Ubuntu 12.04, Ubuntu 12.10, Ubuntu 10.04.
UPDATE: Slim project has discontinued!
To get started, press Ctrl+Alt+T on your keyboard to open terminal. When it opens, run below command to install it:
sudo apt-get install slim
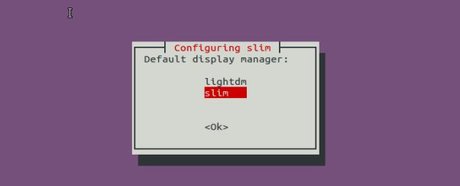
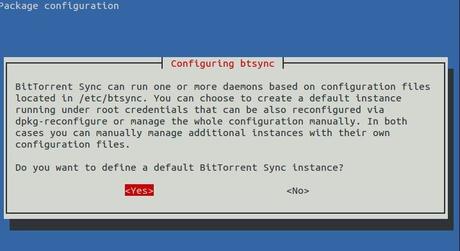
While the installing process, you’ll be prompt to choose slim display manager as the default for your login screen.
After that, restart your computer and you’ll see the Slim login screen.
To switch back to LighDM (replace lightdm with gdm3 for Ubuntu 20.04), run below command in terminal. You’ll see the previous screen again which allows to choose between installed display managers.
sudo dpkg-reconfigure lightdm
Install Themes for Slim:
This Github project provides a list of themes. Download your favorite themes, and put the result folders to /usr/share/slim/themes/. You can finally change the default theme by editing /etc/slim.conf:
#current_theme default
current_theme archlinux-simplyblack
Change archlinux-simplyblack, the name of one folder under “/usr/share/slim/themes/” directory and restart you computer.
Enjoy!


