Archives For November 30, 1999

Unity is the default desktop environment since Ubuntu 11.04 Natty.

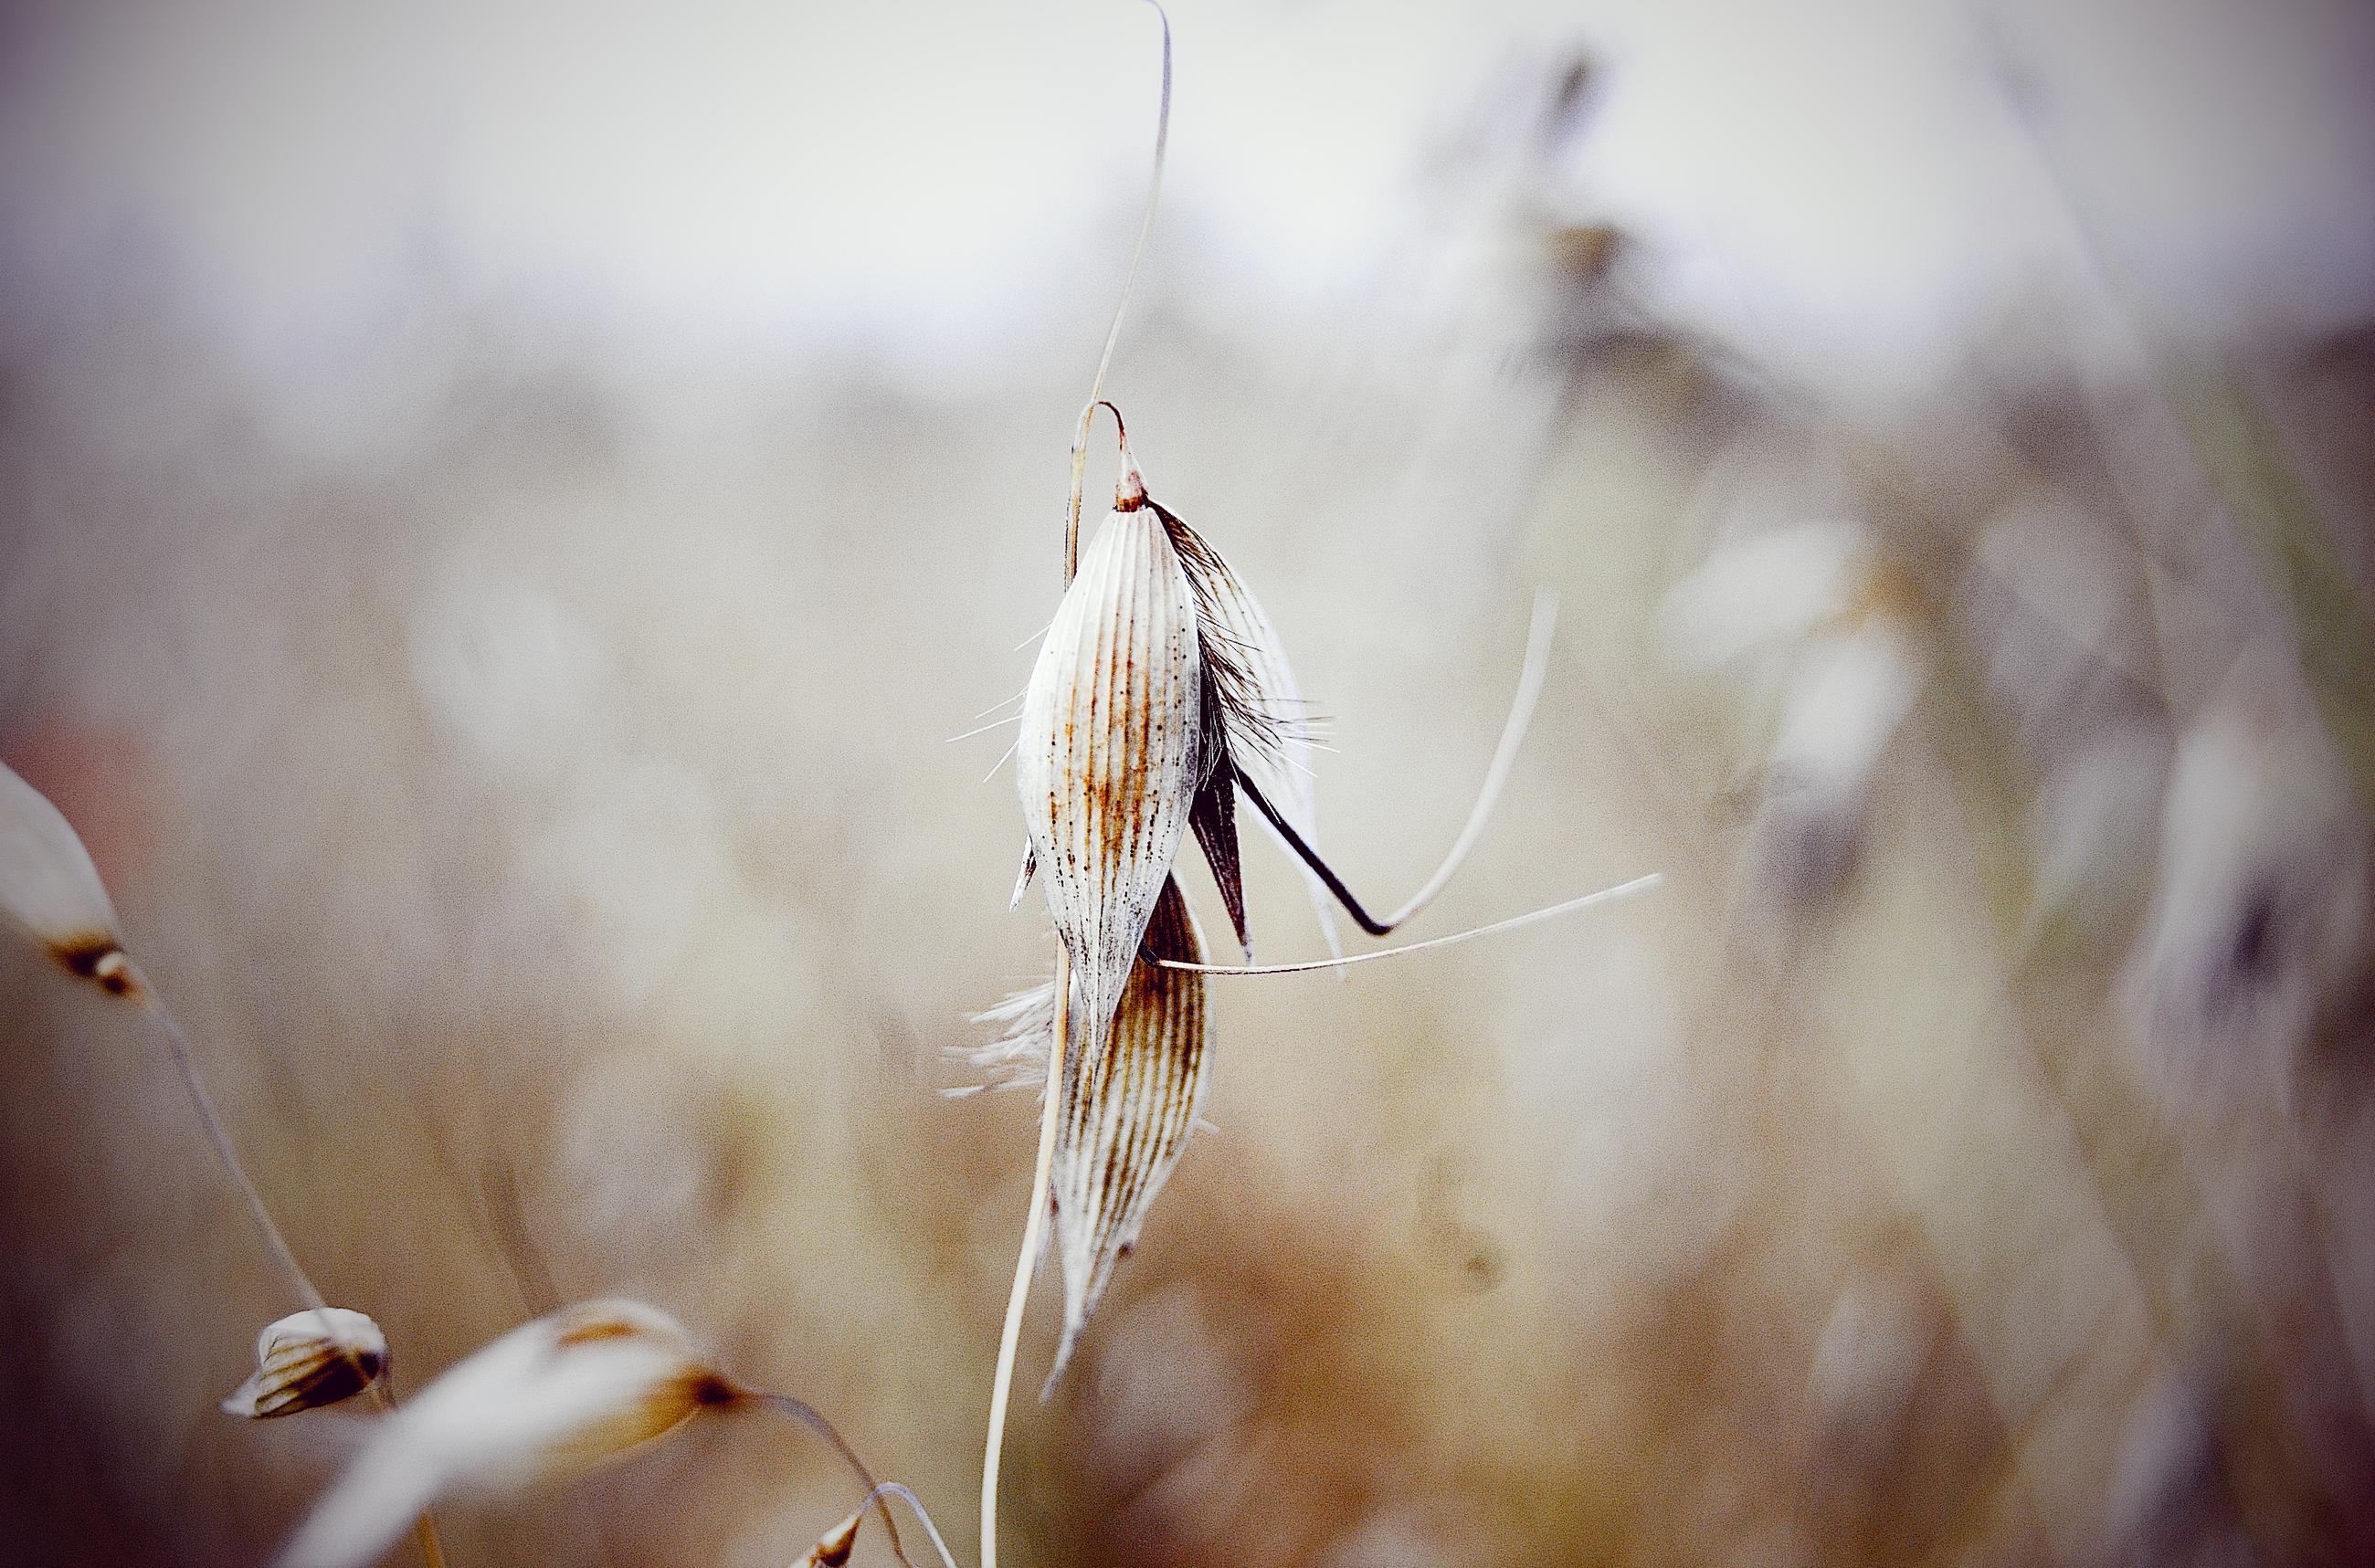
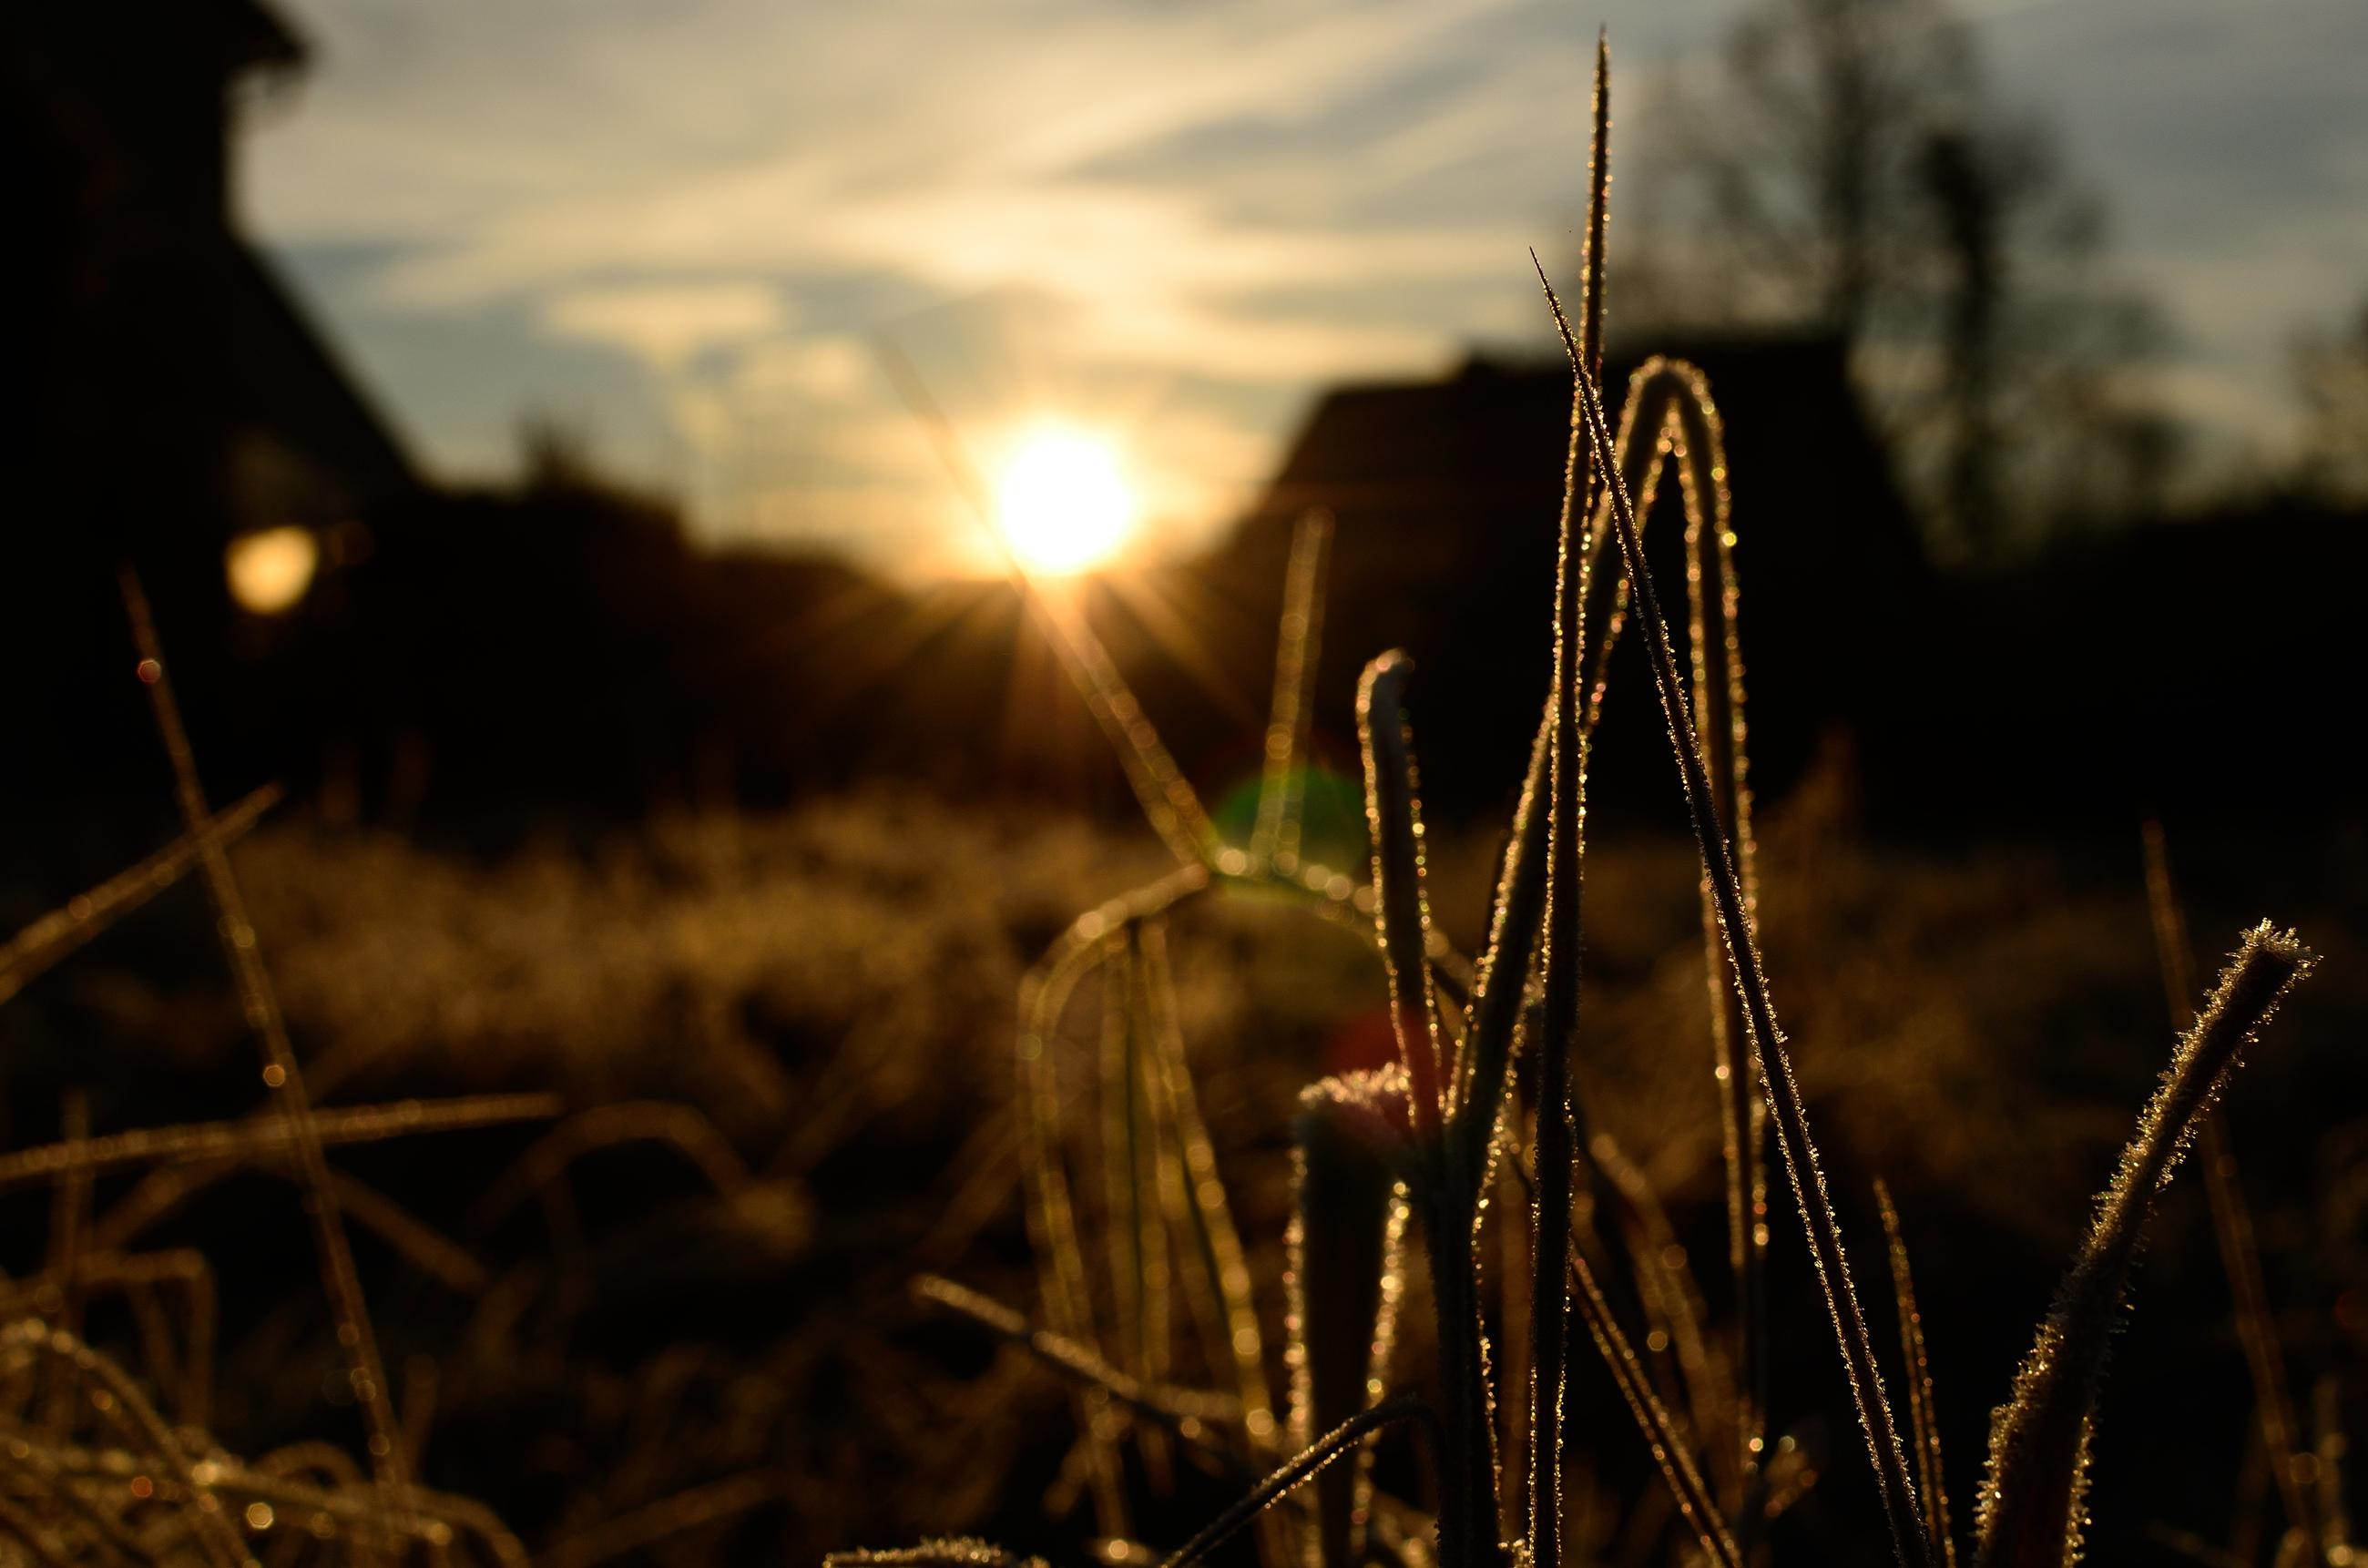
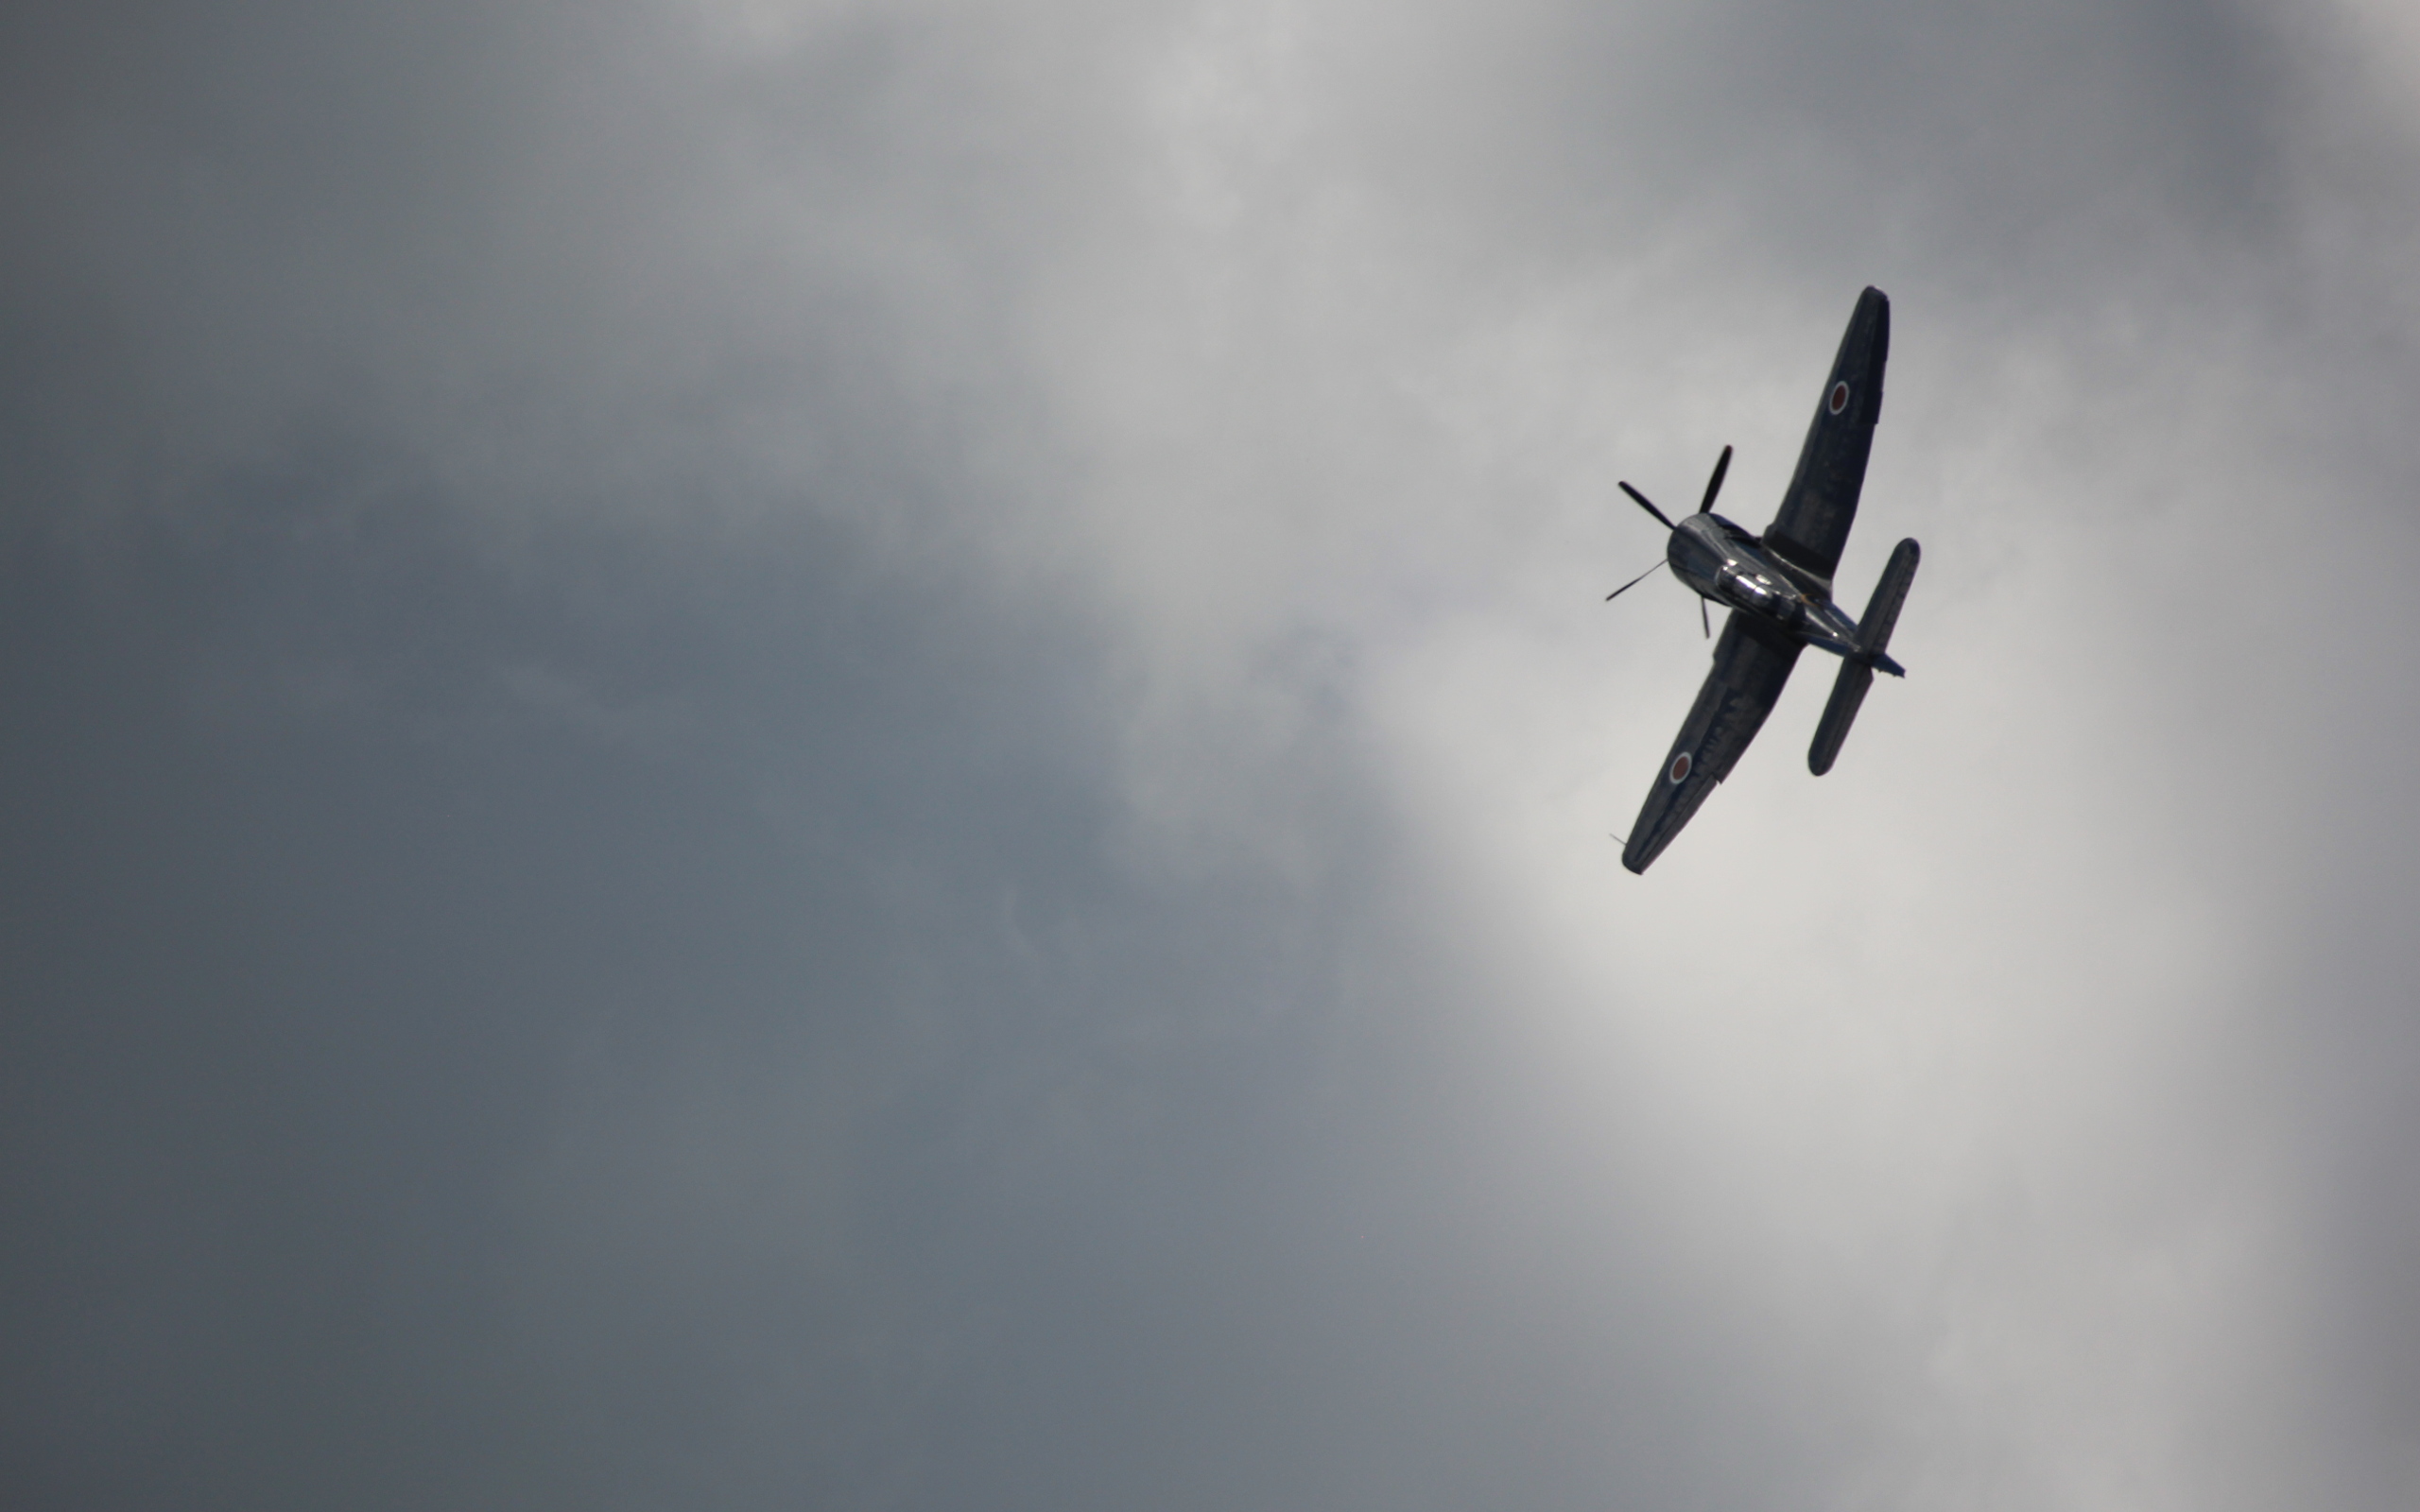
Here are some beautiful images from the Ubuntu 14.04 Trusty Tahr Wallpaper Contest.

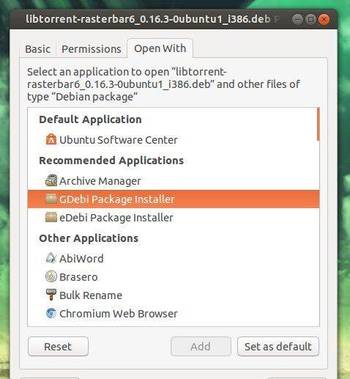
The atareao team has built these images into the PPA. You can download the .tar.gz package and get all the pictures in its data folder, or install the .deb which will save all the wallpapers into /usr/share/backgrounds/, the default location for Ubuntu Wallpapers.

Below are a few of them:

ubuntu 14.04 wallpaper contest ubuntu 14.04 wallpaper contest
ubuntu 14.04 wallpaper contest ubuntu-14.04 wallpaper-contest4
ubuntu1404wallpapercontest5 ubuntu1404wallpaper6
ubuntu1404wallpaper7 12597583213_24eb9628f0_o
12518898083_afcb22ecca_o 9767374484_621b41ce40_o
12581396003_021f9daf43_o 12495476114_ab5b659479_o

To download these images, go to the link below and scroll down and click the line that says “trusty-tahr-wallpaper-contest – 0.0.1-0extras14.04.0“.

Download Ubuntu 14.04 Wallaper Contest

Numix is a modern flat theme with a combination of light and dark elements. It supports Gnome, Unity, XFCE and Openbox.

This simple tutorials shows how to install Numix GTK as well as Numix icons on Ubuntu 13.10 Saucy, Ubuntu 14.04 Trusty, Ubuntu 13.04 Raring, Ubuntu 12.04 Precise and Linux Mint.

First take a look at screenshots:

numix gtk Ubuntu 13.10 Unity

numix gtk Ubuntu 13.10 Unity

numix icons ubuntu 13.10 unity

numix gtk & icons linux mint

numix gtk & icons linux mint

numix icons & gtk xfce4

numix icons & gtk xfce4

numix gtk & icons gnome shell

numix gtk & icons gnome shell

numix gtk & icons gnome shell

numix gtk & icons gnome shell

Install Numix GTK & Icons via PPA:

Numix project gets a launchpad PPA to make it easy to install Numix GTK, icons, wallpaper in Ubuntu 14.04, Ubuntu 13.10, Ubuntu 13.04, Ubuntu 12.10, Ubuntu 12.04 and their derivatives.

To get started, press Ctrl+Alt+T on your keyboard to open terminal. When it opens, run commands below one by one:

sudo add-apt-repository ppa:numix/ppa

sudo apt-get update

sudo apt-get install numix-gtk-theme numix-icon-theme numix-wallpaper-saucy

Once installed, use Gnome Tweak Tool, Unity Tweak Tool or other system tools to apply Numix theme and icons.

disable overlay scrollbar ubuntu 13.10

This quick tutorial is going to show you how to disable overlay scrollbars and switch back to old fat regular scrollbars in Ubuntu 13.10 Saucy Salamander.

Since Ubuntu 13.04, there’s an option in Dconf Editor allows to switch on / off this feature. Follow steps show you how:

1. Open Ubuntu Software Center. Search for and install dconf Editor.

2. Open dconf Editor, navigate to com/canonical/desktop/interface. Change the scollbar-mode to normal

disable overlay scrollbars dconfeditor

If you’re familiar with command line, just run one command in terminal:

gsettings set com.canonical.desktop.interface scrollbar-mode normal

That’s it. Enjoy!

Ubuntu boot Nvidia logoAfter properly installed Nvidia drives in Ubuntu, you may get the Nvidia Logo while booting up your machine. If you find it’s annoying to have this screen, this tutorial will show you how to easily disable it by two ways.

One command to disable Nvidia logo

The easiest way to do this is running below command in terminal (press Ctrl+Alt+T):

sudo nvidia-xconfig --no-logo

After that, you won’t see the logo in bootup any longer.

The other way is to manually edit the Nvidia config file. Edit the /etc/X11/xorg.conf by running below command:

sudo gedit /etc/X11/xorg.conf

add Option “NoLogo” to Section “Device”, make it look like this:

Section “Device”
Identifier “Device0”
Driver “nvidia”
Option “NoLogo”
VendorName “NVIDIA Corporation”
BoardName “GeForce 9600 GT”
EndSection

After that, save the file and reboot.

Want to display KDE style folder view widget on your desktop? Well, here I’ll show you how to do it in Ubuntu Unity and Linux Mint Cinnamon.

FolderView screenlet in Ubuntu

The FolderView screenlet displays your favorite folder items on your desktop and allows to single click to open files or folders with default program.

To install FolderView in Ubuntu 13.04 Raring, Ubuntu 12.10 Quantal, Ubuntu 12.04 Precise, Linux Mint and Elementary OS Luna, press Ctrl+Alt+T to open terminal. When it opens, run command to download the DEB (copy code via Ctrl+C, paste in terminal via Ctrl+Shift+V):

wget https://launchpad.net/~screenlets/+archive/ppa/+files/folderview-screenlet_0.9.91%2B%2B%2B~precise1_all.deb

Then install the screenlet as well as screenlets manager indicator via below commands:

sudo dpkg -i folderview-screenlet_0.9.91*.deb; sudo apt-get -f install

FolderView screenlet unity

Open FolderView screenlet from Unity Dash. Right-click to get the menu, navigate to Properties -> Options -> Folder and set Folder path to Other and choose your favorite to display on desktop.

This quick tutorial is going to show you how to add a folder to Nautilus file browser ‘Places’ sidebar in Ubuntu 13.04 Raring Ringtail, Ubuntu 13.10 Quantal.

add folder to nautilus sidebar

Actually this will add your folders to a new column called Bookmarks. You can add a user folder, system folder, mounted folder to sidebar by going into the directory in Nautilus and then click the “gear” button and click Bookmark this Location

nautilus add bookmarks

If you’re on Ubuntu 12.04 Precise with Nautilus 3.4.x, use menu Bookmarks -> Add Bookmark instead.

Gdebi is a lightweight deb packages installer which was the default in Ubuntu Desktop. Now Ubuntu uses Ubuntu Software Center which is slow and frequently gives me ‘The package is of bad quality’ error.

You can easily install Gdebi package installer (default in Linux Mint) and set it as default deb installer by this tutorial.

Go to Ubuntu Software Center, search for and install GDebi Package Installer (gdebi) package:

install gdebi package installer

Then, open your file manager and go to Properties window of one deb package by right-clicking on it. Under open with tab, highlight Gdebi package installer and click Set as default button.

set default package installer

That’s it. Enjoy!

Use Unity Webapps with Google Chromium in Ubuntu

Last updated: August 10, 2013

unity webapps in chromiumThis quick tutorial is going to show you how to use Unity Webapps with Google Chromium browser in Ubuntu 13.04, Ubuntu 13.10.

As the default is Mozilla Firefox, you can manage to get unity webapps working in Chromium by installing a plugin.

To install this plugin, go to Ubuntu Software Center. Search for and install the unity-chromium-extension package.

NOTE: The default version in Software Center is 2.4.6 for Ubuntu 13.04. I recommend you install the latest version (2.4.7 so far) which is available for downloading from below link. This version fixes no gmail icon on Unity Launcher for Chromium 27 & 28.

unity-chromium-extension

Unfortunately, new mail counts and indicator integration is still not working. Probably best to wait some more days for a fix.

This simple tutorial shows you how to install TrueCrypt as well as its indicator applet in Ubuntu 13.04 Raring Ringtail.

There’s a PPA which contains the TrueCrypt package with the tray icon replaced by a application indicator, so that you can get back the TrueCrypt indicator applet in Ubuntu 13.04 panel since the tray icons is no longer supported. The PPA also supports Ubuntu 12.04 Precise and Ubuntu 12.10 Quantal.

truecrypt ubuntu 13.04

To get started, press Ctrl+Alt+T to open terminal. When it opens, run below command to add the PPA:

sudo add-apt-repository ppa:stefansundin/truecrypt

Then update package lists and install TrueCrypt.

sudo apt-get update; sudo apt-get install truecrypt

truecrypt ubuntu 13.04 unity

The indicator applet exits when the main window is closed if there’s no mounted volumes. To keep the indicator, go to TrueCrypt preferences -> Background Task tab, uncheck the box where it says “Exit when there are no mounted volumes”.

If for some reason this ppa does not work properly for you, run below commands one by one to remove the ppa as well as the installed TrueCrypt.

sudo apt-get remove truecrypt
sudo apt-add-repository --remove ppa:stefansundin/truecrypt
sudo apt-get update

How to Reset Unity and Compiz in Ubuntu 13.10

Last updated: August 9, 2013

reset unity desktopThis tutorial shows you how to reset your Ubuntu 13.10 Saucy Unity and Compiz to the default settings if you messed up your desktop. All you need to do is run two commands in terminal.

Don’t be scared if you’re not comfortable with terminal commands. Just copy the code via Ctrl+C, then paste into terminal via Ctrl+Shift+V and finally hit Enter to run.

To get started, press Ctrl+Alt+T to open a terminal window. When it opens, run below command to reset Unity and Compiz settings:

dconf reset -f /org/compiz/

After running previous command, you need to run blow command to restart Unity.

setsid unity

reset unity

To get back the default set of Unity Launcher icons, run below command and then log out and back in.

unity --reset-icons

If you want to restore default icon theme, use Unity Tweak Tool which is available in Ubuntu Software Center.