MuPDF, a lightweight PDF, XPS, and E-book viewer, has reached the release candidate for version 1.10.
MuPDF 1.10 features FictionBook (FB2) e-book support, simple SVG parser, mutool convert (a new document conversion tool and interface), multi-threaded rendering in mudraw, luratech decoders for JBIG2 and JPEG2000, optional JPEG-XR support (not included by default for security reasons), updated base 14 fonts from URW, new CJK font with language specific variants, hyperlink support in EPUB.
There are also interface changes and cleanups, code size and memory usage improvements:
- New tool muraster: example printer driver with limited RAM usage and automatic banding.
- Alpha channel is now optional in pixmaps.
- More aggressive purging of cached objects.
- Partial image decoding for lower memory use when banding.
- Reduced default set of built-in CMap tables to the minimum required.
- FZ_ENABLE_PDF, _XPS, _JS, to disable features at compile time.
- Function level linking.
- Dropped pdf object generation numbers from public interfaces.
- Simplified PDF page, xobject, and annotation internals.
- Closing and freeing devices and writers are now separate steps.
- Improved PDF annotation editing interface (still a work in progress).
- Document writer interface.
- Banded image writer interface.
Install MuPDF 1.10 RC in Ubuntu:
Besides building the new release from source, there’s an unofficial PPA available for Ubuntu 16.10, Ubuntu 16.04, Ubuntu 14.04 and derivatives.
Open terminal from the Dash / Launcher / or via Ctrl+Alt+T shortcut keys, then do following steps to install it:
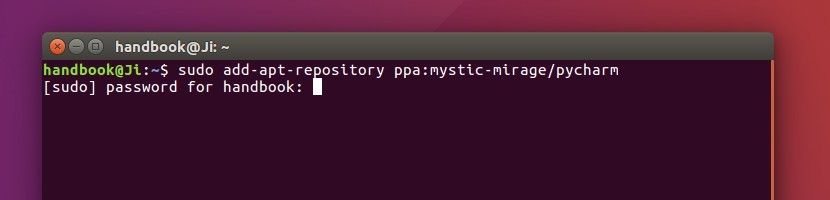
1. Run command to add the PPA:
sudo add-apt-repository ppa:ubuntuhandbook1/apps
Type in password (no visual feedback) when it asks and hit Enter.

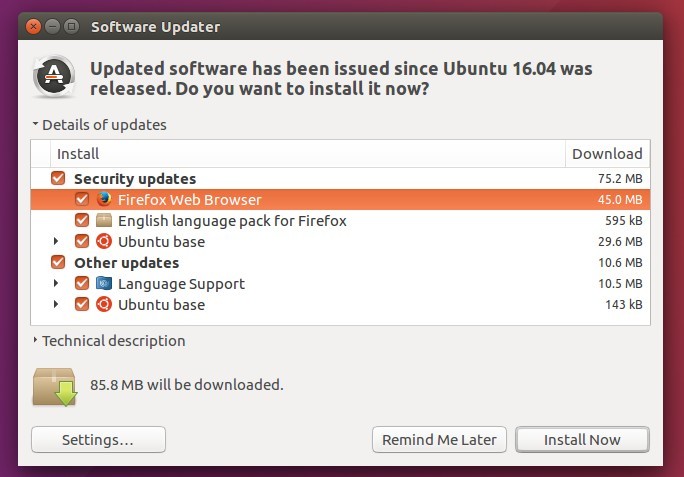
2. To upgrade from a previous release, launch Software Updater and install updates after checking for updates.
Or run command in terminal to install /upgrade mupdf:
sudo apt install mupdf mupdf-tools
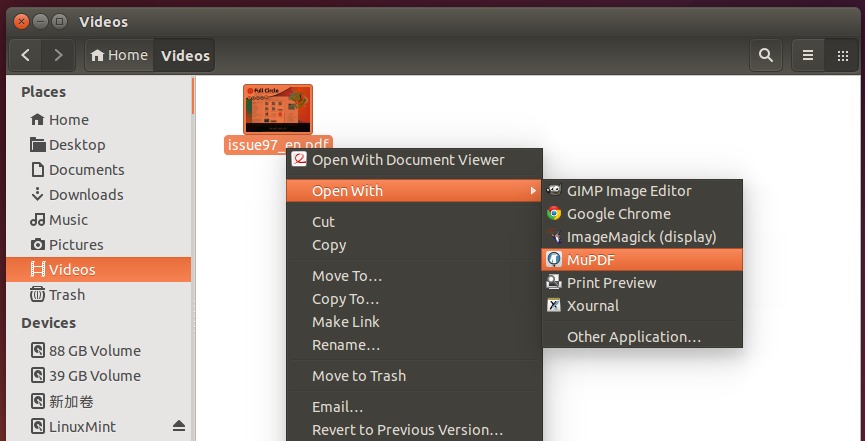
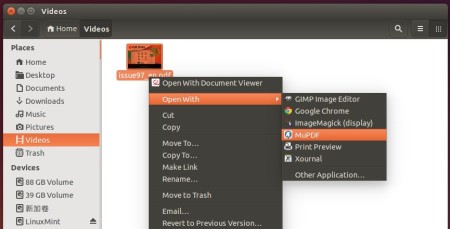
Once installed, right-click on your PDF file and select open with MuPDF PDF Viewer.
You can set MuPDF as the default viewer from PDF file’s Properties window -> Open With tab.
Uninstall:
To restore MuPDF to the stock version available in your Ubuntu’s main archive, run command in terminal to purge the PPA:
sudo apt install ppa-purge && sudo ppa-purge ppa:ubuntuhandbook1/apps