


![]()
Avidemux video editor released version 2.8.1 a few days ago. Here’s the new features and how to install instruction for Ubuntu 22.04 and Ubuntu 20.04.
The new release improved HiDPI displays support by updating the icon set, and using OpenGL for rendering on-the-fly preview in video filter dialog.
Avidemux 2.8.1 also introduced new filters: 3D LUT, Decimate, and Arbitrary Rotate, as well as new video encoder: VideoToolbox HEVC for macOS users.
It also added support for decoding 8-bit VP9 on Windows using DXVA2 and Linux using VDPAU with graphics card that features a VP9 decoder.
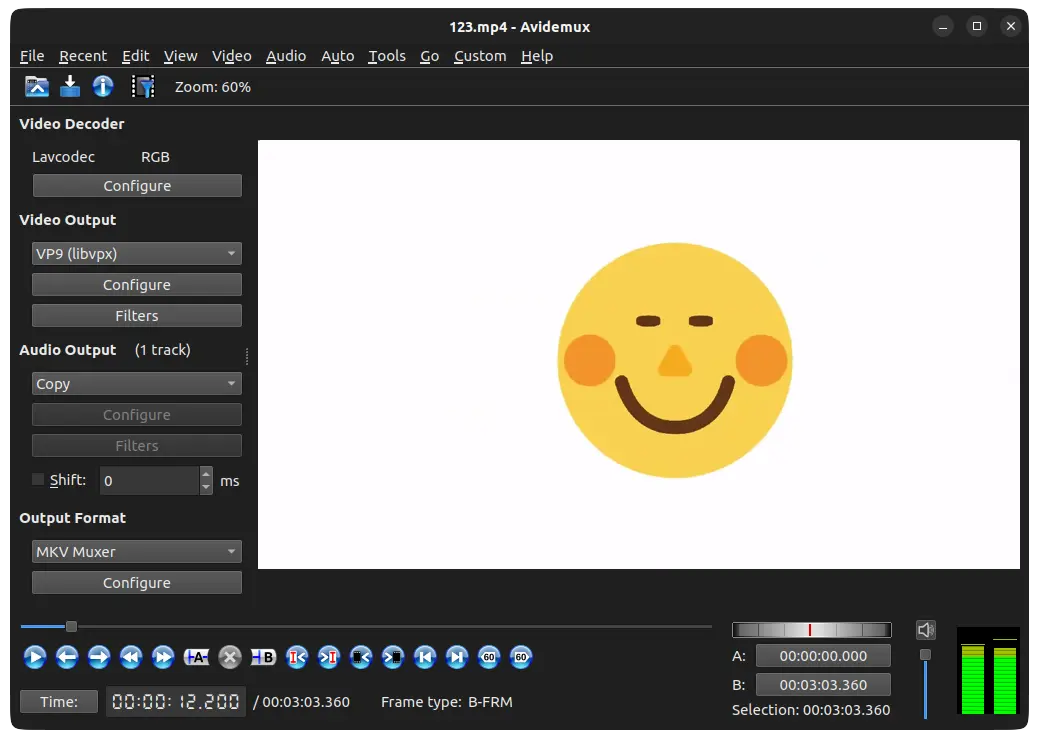
Avidemux Dark Theme
Other changes include:
- Light and Dark themes in ‘View’ menu.
- CTRL+F shortcut to add partial filters.
- configurable compressor
- 3-band equalizer
- independent channel gain/delay options
- channel remap options
- new downmix options
- audio track configuration up to 32 tracks
- save volume settings on exit.
- See release note for more details.
How to Install Avidemux 2.8.1 in Ubuntu Linux
Option 1: AppImage
The video editor software offers official Linux package via non-install AppImage, available to download at the link below:
Just grab the package, right-click and go to it’s “Properties” dialog, add executable permission and finally click run the package to launch the video editor.

Avidemux AppImage
Ubuntu 22.04 & Ubuntu 22.10 however does not support AppImage out-of-the-box. To enable it, open terminal (Ctrl+Alt+T) and run command:
sudo apt install libfuse2
Option 2: Ubuntu PPA
For those prefer the native .deb package format, the Avidemux website refers to this unofficial PPA.
1. First, press Ctrl+Alt+T on keyboard to open a terminal window. When it opens, run command to add the PPA:
sudo add-apt-repository ppa:xtradeb/apps
Type user password when it asks (no asterisk feedback) and hit Enter to continue.

The PPA however offers the latest packages for only Ubuntu 22.04. For Ubuntu 20.04 and old Ubuntu 18.04, you may use this one instead:
sudo add-apt-repository ppa:ubuntuhandbook1/avidemux
2. After adding the PPA, run the command below to update package cache for old Ubuntu or Linux Mint:
sudo apt update
3. Finally install the software by running the command below in terminal:
sudo apt install avidemux-qt

Uninstall Avidemux
For the video editor packages installed from Ubuntu PPA, remove it by running command in terminal:
sudo apt remove --autoremove avidemux-qt
And, remove the Ubuntu PPA either via command below:
sudo add-apt-repository --remove ppa:ubuntuhandbook1/avidemux
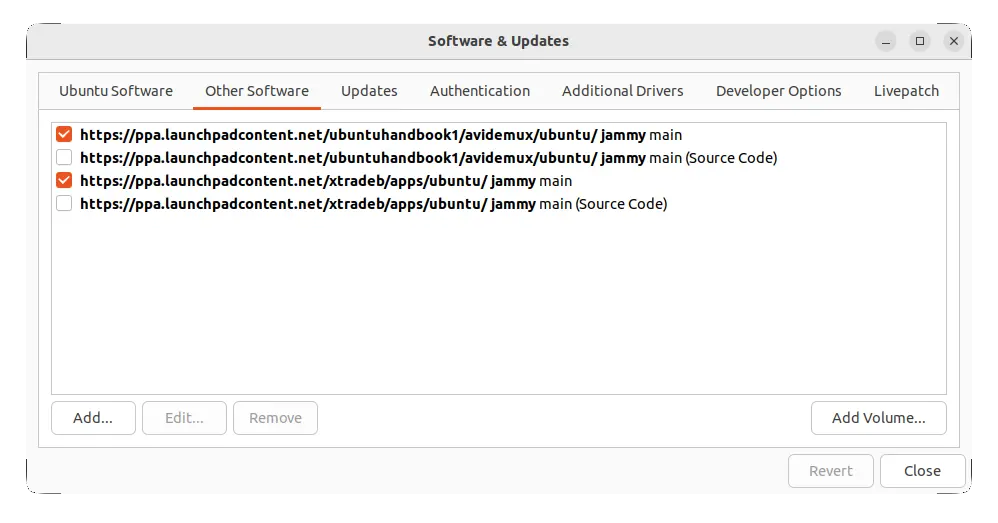
or by using ‘Software & Updates’ utility.


Thanks! Good and clear steps, because it is not in the 22.04 repository!