![]()
Looking for a file shredder app for Linux? Raider is the one with a stupid simple user interface.
There are already a few good ways to securely delete files in Ubuntu Linux, such as BleachBit and Nautilus wipe extension. But for a large list of files or those do shred files frequently, this app could be more efficient.
It’s Raider, also known as File Shredder, a free open-source GTK4 application. With it, you can just drag and drop files into app window, then shred as many files as you want via single mouse click.
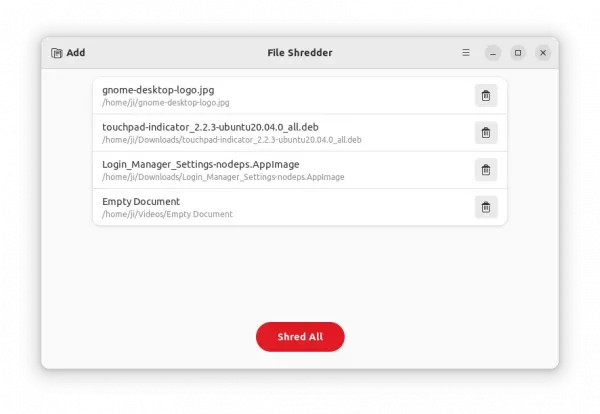
File Shredder with Drag and Drop support
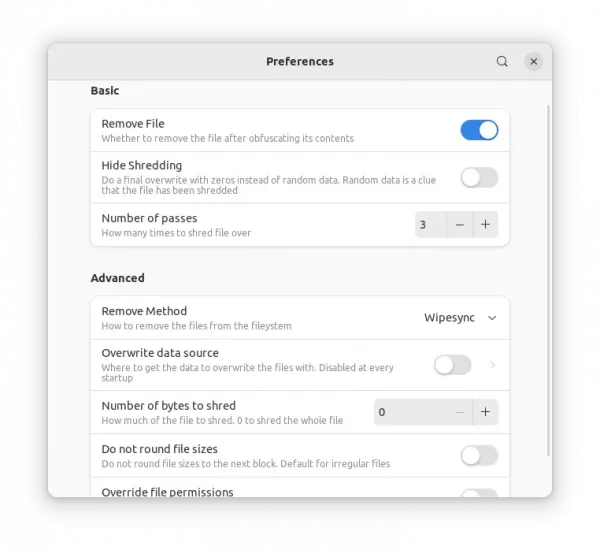
The default remove method is ‘wipesync‘ which also sync each obfuscated byte to disk. Though, you may set it to ‘wipe‘ that first obfuscate bytes in the name, or ‘unlink‘ to delete file name from the filesystem.
It by default overwrites file with random data, which however is a clue that the file has been shredded. User can choose to overwrite with zeros instead to hide shredding.
And there are options to specify how many times to shred file over, number of bytes to shred, and whether to override the file permissions.
How to Install File Shredder
The app is available to install via the universal Flatpak package, that works in most Linux.
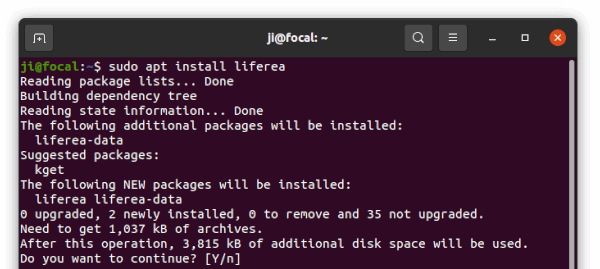
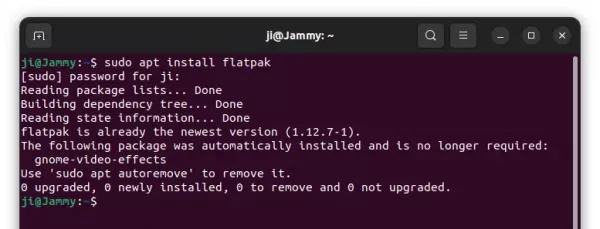
1. For Ubuntu users, first press “Ctrl+Alt+T” on keyboard to open terminal. Then, make sure the daemon package is installed by running command:
sudo apt install flatpak
2. Next, install the tool via command:
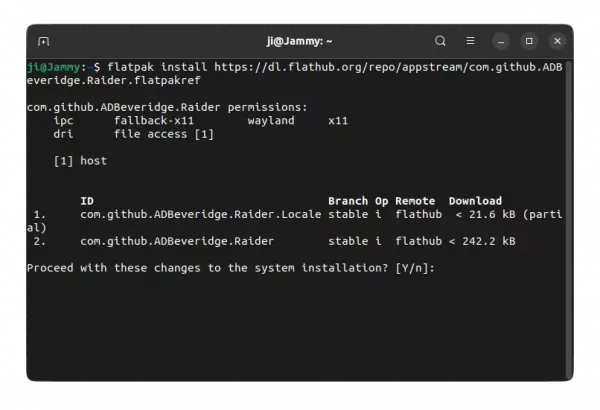
flatpak install https://dl.flathub.org/repo/appstream/com.github.ADBeveridge.Raider.flatpakref
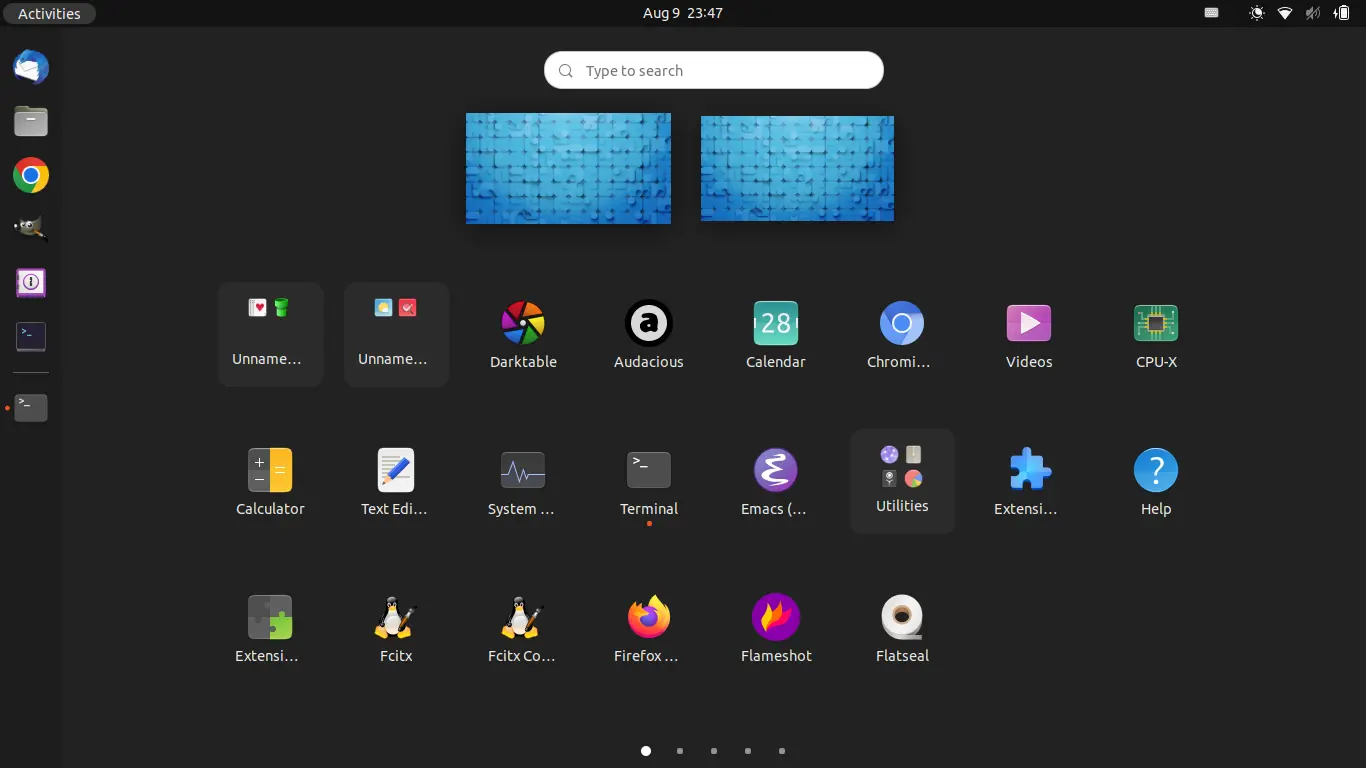
Once installed, launch it by either searching from ‘Activities’ overview, or using the command below:
flatpak run com.github.ADBeveridge.Raider
How to Remove File Shredder:
To remove the software, simply run command in a terminal window:
flatpak uninstall --delete-data com.github.ADBeveridge.Raider
And clear unused libraries via flatpak uninstall --unused.