This tutorial shows how to enable hardware video acceleration (VA-API) for Firefox, so it uses the video card to decode/encode video to save power.
Hardware video acceleration is a computer technology to make the graphics card to encode and decode video, thus offloading the CPU to save power. And compared to CPU, GPU are normally more efficient at the job.
UPDATE 2024: VA-API SHOULD BE ENABLED BY DEFAULT (if available) IN RECENT FIREFOX RELESES! SO, JUST GO TO BOTTOM TO VERIFY.
There are a few ways to achieve this on Ubuntu Linux, including:
- Video Acceleration API (VA-API) – an open source API developed by Intel.
- Video Decode and Presentation API for Unix (VDPAU) – open source API developed by NVIDIA.
- NVENC/NVDEC – NVIDIA’s proprietary API.
The VA-API supports Intel, AMD, and NVIDIA (via open-source Nouveau drivers) GPUs. And it is widely supported by software, such as MPV uses va-api hardware acceleration for video playback by default if available.
The VDPAU API supports both AMD and NVIDIA, but has no support in Firefox or Chromium. And while NVENC/NVDEC is used for NVIDIA GPU only, we usually use VA-API for hardware video acceleration.

Firefox pop-up video encoding/decoding via Intel GPU
Verify VA-API:
NOTE: VA-API does not work on NVIDIA via proprietary drivers as mentioned above. If you installed NVIDIA proprietary driver via ‘Additional Drivers’ utility, this will only work when you choose ‘Intel (Power Saving)’ mode in NVIDIA Prime settings.
The VA-API may work out-of-the-box in Ubuntu. You can firstly open terminal from start menu (click ‘Activities’ and search terminal).
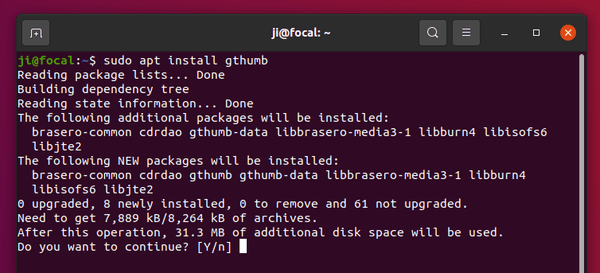
Next install vainfo package via command:
sudo apt install vainfo
And run it to check VA-API info:
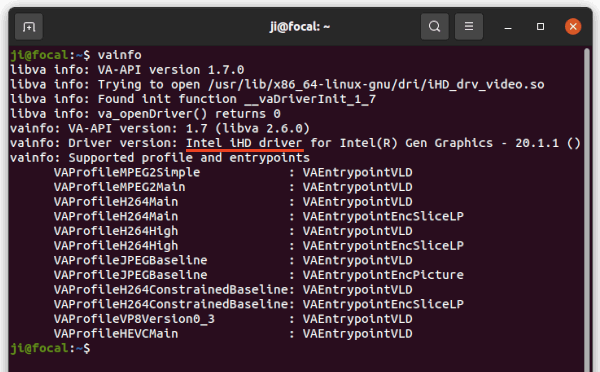
vainfo
It outputs the driver as well as supported profile. VAEntrypointVLD means decoding support for this format, VAEntrypointEncSlice means encoding support.
If the command outputs an error, you can try to install drivers via command:
- For NVIDIA nouveau and AMD, run command:
sudo apt install mesa-va-drivers
- For Gen 8+ Intel hardware, install via command:
sudo apt install intel-media-va-driver
And for old Intel hardware, install i965-va-driver instead via apt install command.
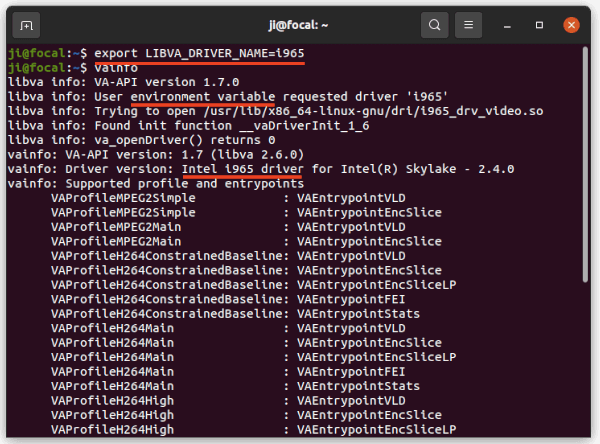
By setting the environment variable, you can choose which driver to use. For example, set “export LIBVA_DRIVER_NAME=i965” to use i965 driver. The value can also set to “nouveau” for NVIDIA, or “radeonsi” for AMDGPU.
Enable VA-API in Firefox:
Firefox added VA-API support since version 80, though it’s not enabled by default. You can enabled it manually by doing following steps one by one.
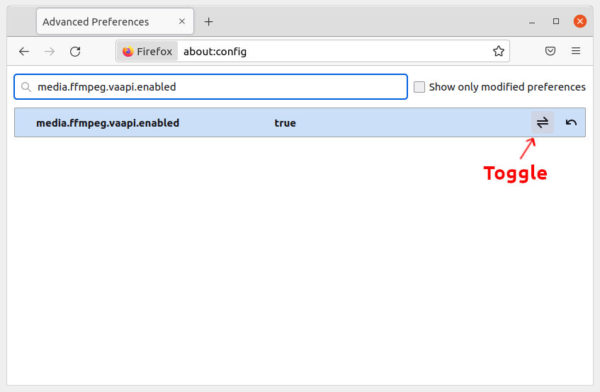
Firstly, open Firefox and go to about:config in url bar. Click on “Accept the Risk and Continue”. Then search for following keys, enable or disable them one by one:
media.ffmpeg.vaapi.enabled set to truemedia.ffvpx.enabled set to false.media.rdd-vpx.enabled set to false.media.navigator.mediadatadecoder_vpx_enabled set to true.- If you experience page crashes, try setting
security.sandbox.content.level to 0.
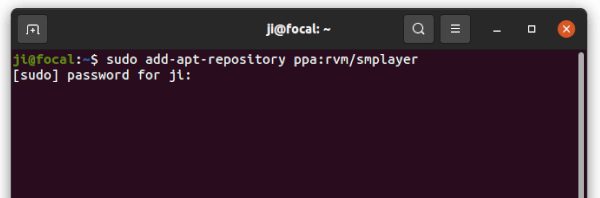
Secondly, set environment variable (for current user only). Open terminal and run command to edit profile file:
gedit ~/.profile
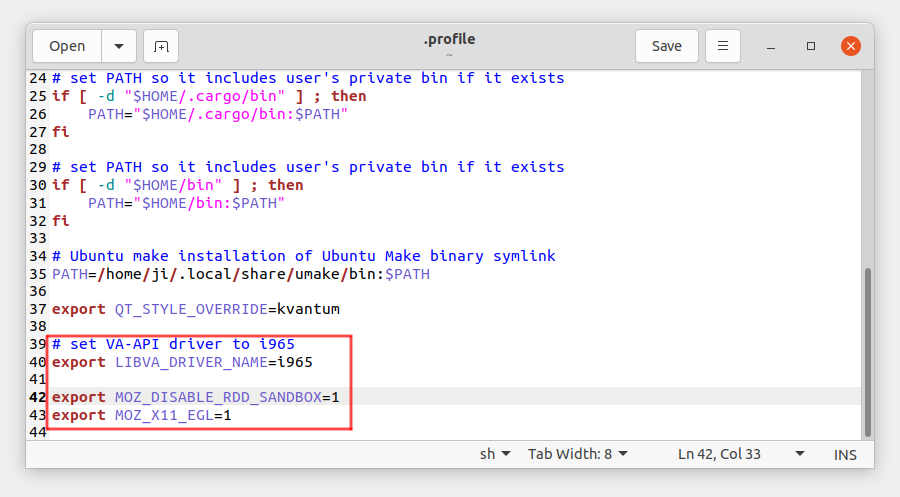
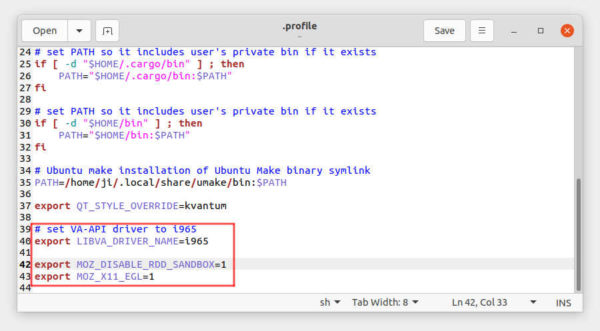
When file opens, add following lines to the end:
- (Optional) Specify va-api driver as mentioned above (replace iHD accordingly):
export LIBVA_DRIVER_NAME=iHD
You can SKIP this if vainfo outputs without error!
- Diable RDD sandbox:
export MOZ_DISABLE_RDD_SANDBOX=1
- For Xorg session, default in Ubuntu 18.04/Ubuntu 20.04:
export MOZ_X11_EGL=1
- For Wayland session, default in Ubuntu 21.04 & higher:
export MOZ_ENABLE_WAYLAND=1
Finally, log out and back in. Open Firefox and play a video and see result!
Check if Hardware Video Acceleration working:
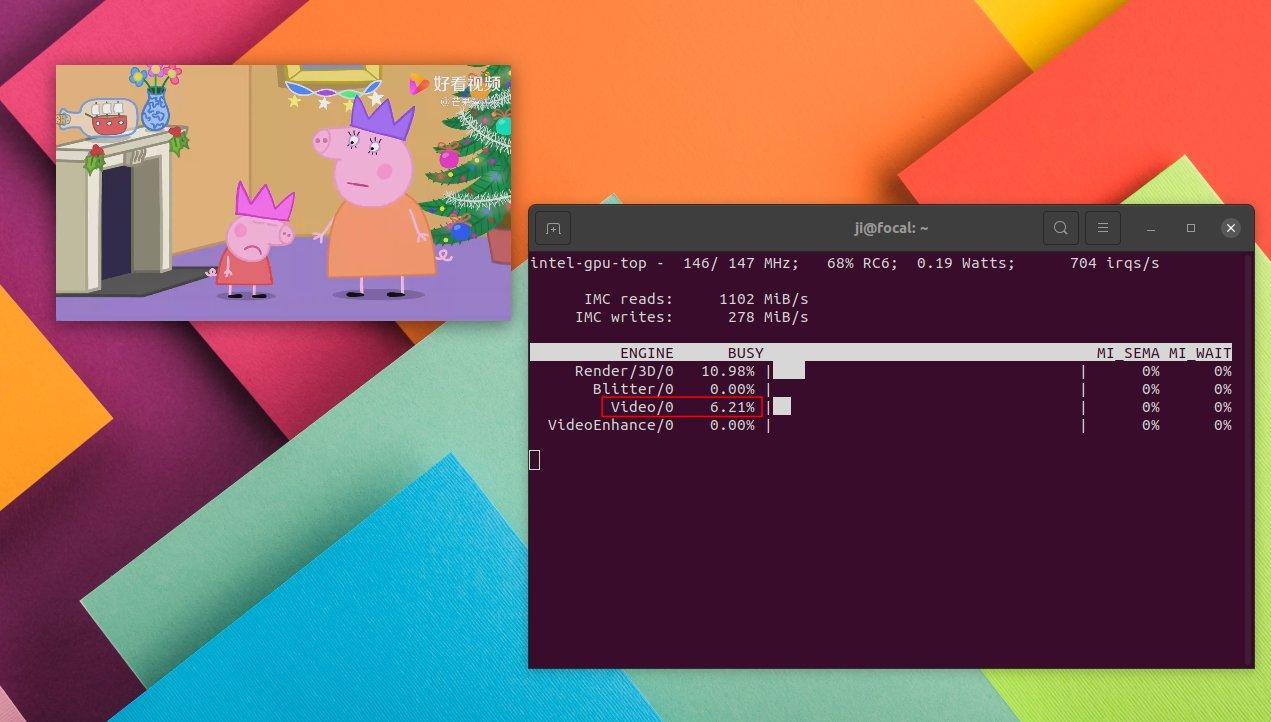
During video playback, you can use top command to see CPU usage before and after enable VA-API. For Intel GPU, there’s intel_gpu_top command that monitor it continuously.
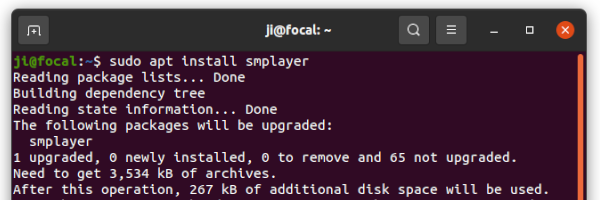
Open terminal and run command to install the tool first:
sudo apt install intel-gpu-tools
Next, run command:
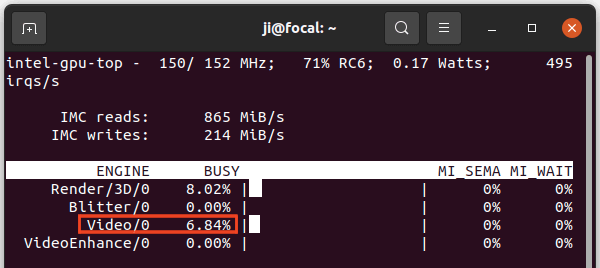
sudo intel_gpu_top
Start playing video in Firefox and you’ll see the video bar is busy (above 0%) if VA-API starts working.
For AMD GPU, there’s another command line tool “radeontop” available to monitor GPU activity.
NOTE for YouTube videos, the video codec may sometimes not supported by your hardware. To workaround, try h264ify or enhanced-h264ify extension to make YouTube stream H.264 videos instead of VP8/VP9.
That’s all. Enjoy!