![]()
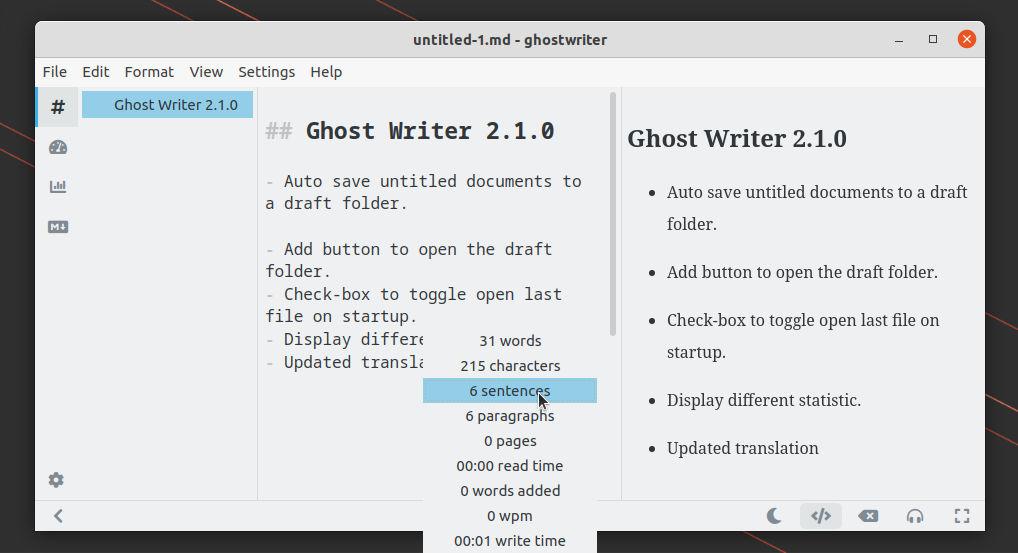
Designers and website developers may sometimes need to check WCAG color contrast to make web content more accessible to people with disabilities.
Without using an online website each time, Linux has a stylish GTK4 app “Contrast” which allows to check whether the contrast between two colors meet the WCAG requirements.
The app has a simple user interface that displays one color as background and another as font color of the text. By clicking on the double arrow icon between two color codes, it reverses background color as text font and font color as background.
User may select color either by clicking on the circle icon before hex code (e.g., #F3F6F9), or by using the color picker tool after the code.
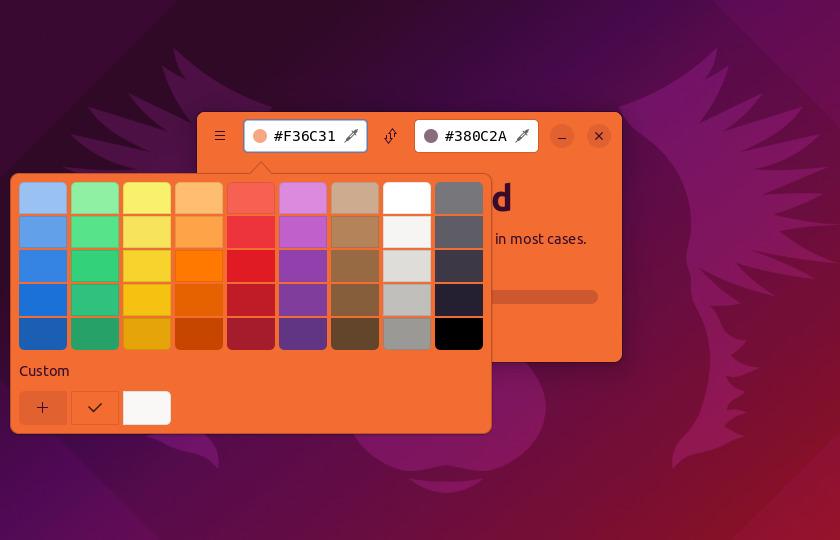
Contrast Select Color
The app will display color contrast result with text, such as “Awesome, Pretty Good, Not Bad, and Nope, along with short description tells whether the color combination will properly work.
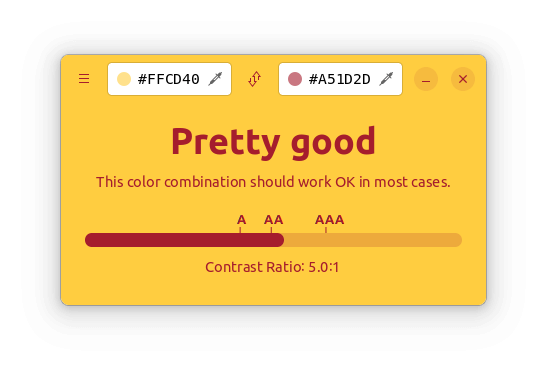
It also displays a score bar tells that if the color contrast meets the 3 WCAG Levels: A, AA and AAA. And, a contrast ratio is displayed at the bottom.
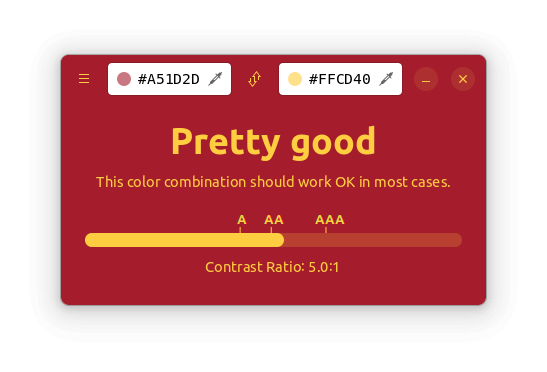
Reversed colors
How to Install Contrast in Ubuntu Linux:
As a GTK4 app, Contrast so far only available to install as Flatpak which runs in sandbox.
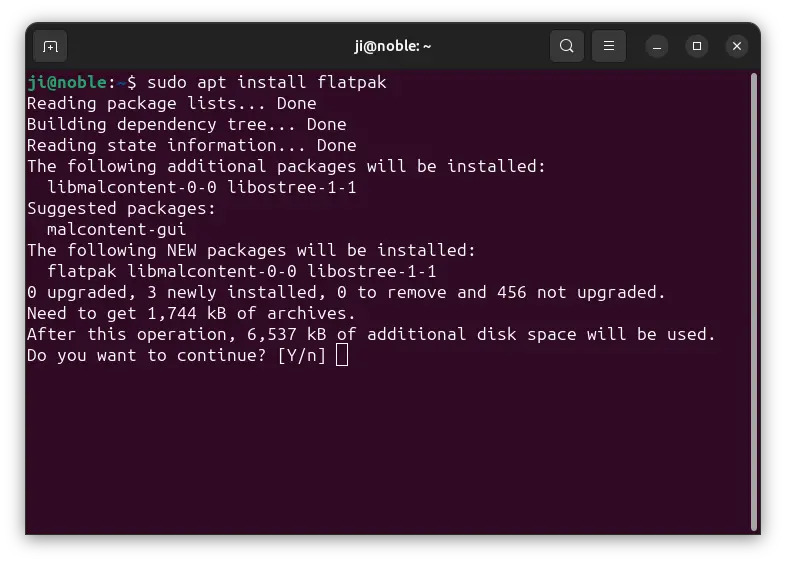
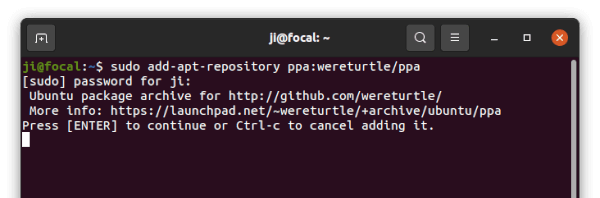
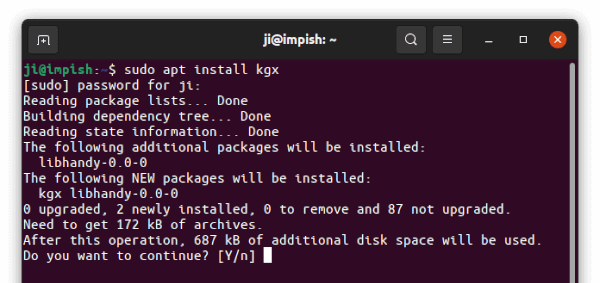
1. Firstly, press Ctrl+Alt+T on keyboard and open terminal. When it opens, run command to install the Flatpak daemon:
sudo apt install flatpak
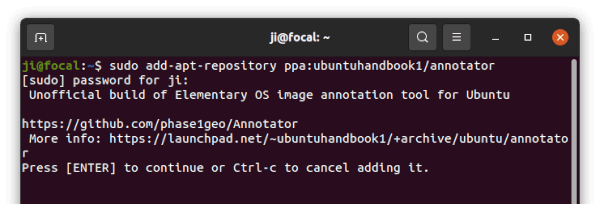
For Ubuntu 18.04 and Ubuntu 16.04, the flatpak PPA is required to get the package.

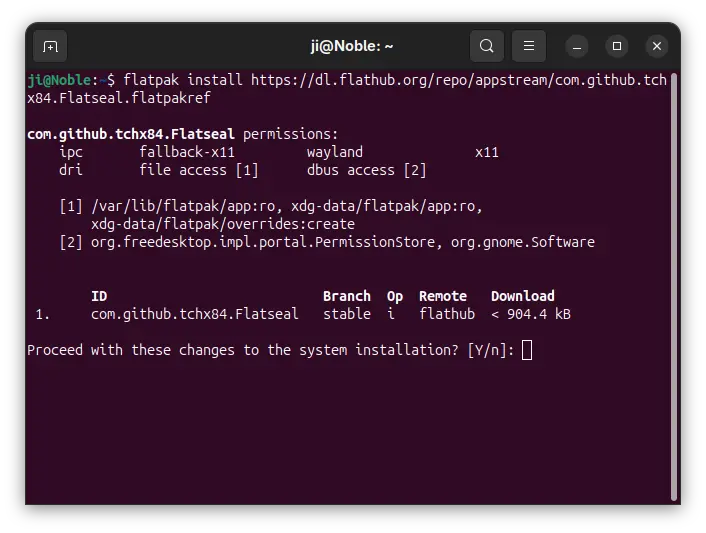
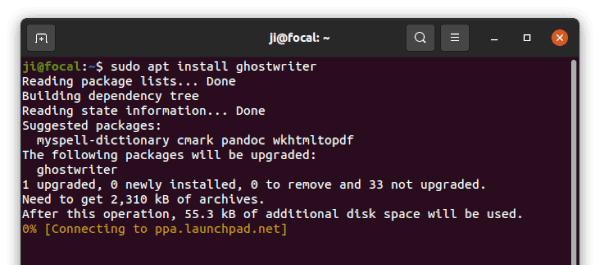
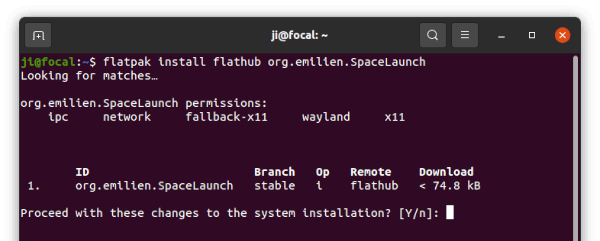
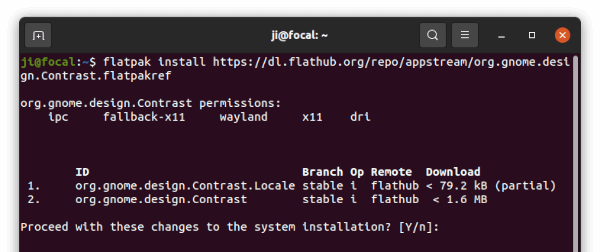
2. Next, run command to install the WCAG color contrast app:
flatpak install https://dl.flathub.org/repo/appstream/org.gnome.design.Contrast.flatpakref
Note: If you’re first time installing a Gnome app as Flatpak, it will install the required GNOME 41 platform as shared runtime libraries, which take hundreds of megabytes disk space.
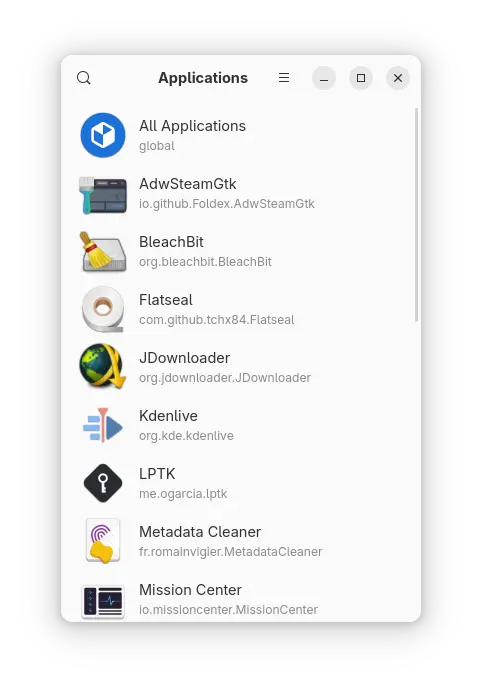
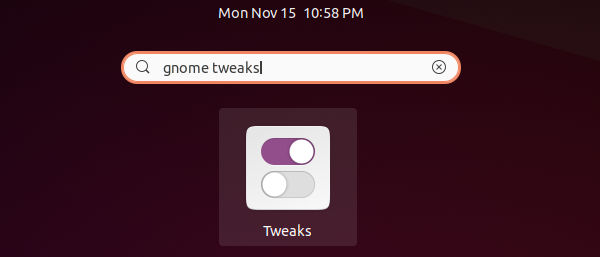
Once installed, search for and open the app from activities overview screen.
How to Remove Contrast Flatpak app:
To remove the software package, press Ctrl+Alt+T and run command in terminal:
flatpak uninstall --delete-data org.gnome.design.Contrast
And use flatpak uninstall --unused command may remove useless run-times if any.