Archives For November 30, 1999

wifi hotspot

Looking for a wireless network manager? Wavemon is a command line ncurses-based wireless network monitoring application for Linux.

Wavemon displays live signal and noise levels, packet statistics, device configuration and network parameters of your wireless network hardware. It should work with all devices supported by the Linux kernel.

Wavemon is available in Ubuntu universe repositories. Simply open terminal (Ctrl+Alt+T) and run command to install it:

sudo apt install wavemon

Then run wavecom to start the monitor. For more information run man wavemon.

While the software packages in Ubuntu repositories are always old. You can get the latest release from the link below:

Wavemon in Github

Audacious music player

Audacious audio player 4.0 was finally announced as the new stable release. Here’s how to install it in Ubuntu 16.04, Ubuntu 18.04, Ubuntu 19.10, and Ubuntu 20.04.

Audacious 4.0 switches to Qt 5 UI by default, though GTK2 is still available as a build option. New features in the release include:

  • New option to hide playlist tabs.
  • New OpenMPT-based tracker module plugin
  • New VU Meter visualization plugin
  • Added option to use a SOCKS network proxy
  • New “Next Album” and “Previous Album” commands
  • The tag editor in Qt UI can now edit multiple files at once
  • Implemented equalizer presets window for Qt UI
  • Lyrics plugin gained the ability to save and load lyrics locally
  • Blur Scope and Spectrum Analyzer visualizations ported to Qt
  • MIDI plugin soundfont selection ported to Qt
  • JACK output plugin gained some new options
  • Added option to endlessly loop PSF files
  • Some other improvements and bug-fixes.

How to Install Audacious 4.0 in Ubuntu:

Note the following packages are built with default QT5 UI. The Qt port of the Winamp-like UI is still missing some key features such the Jump to Song window.
Users of the Winamp-like UI may build with GTK2 yourself, or keep the old version.
The unofficial PPA contains the latest packages for Ubuntu 16.04, Ubuntu 18.04, Ubuntu 19.10, and Ubuntu 20.04.

1. Open terminal by either pressing Ctrl+Alt+T on keyboard or searching for ‘terminal’ from application menu. When it opens, run command to add the PPA:

sudo add-apt-repository ppa:ubuntuhandbook1/apps

Type your password (no asterisk feedback) when it prompts and hit Enter to continue.

2. Then run commands one by one in terminal to install or upgrade the audio player:

sudo apt update

sudo apt install audacious audacious-plugins

Upgrade via Software Updater may not work this time as new libaudqt5 library breaks old libaudgui5 library.

Uninstall:

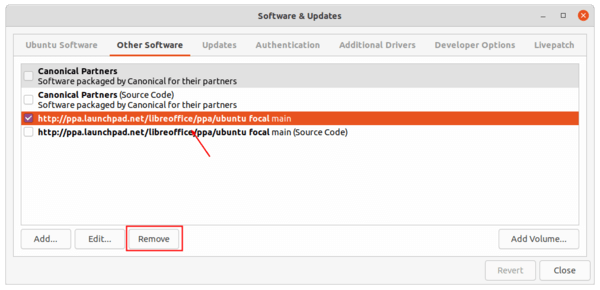
You can easily remove the PPA either by going to Software & Updates utility -> Other Software tab, or by running command:

sudo add-apt-repository --remove ppa:ubuntuhandbook1/apps

To remove audacious, either use your system package manager or run command:

sudo apt remove --autoremove audacious audacious-plugins

DeaDBeeF music player 1.8.3 was released a day ago as the third bugfix update for 1.8 series.

The new release fixed CD Text reading issue, added more title formatting functions & value, added option to start deadbeef hidden / minimized to tray, and added detecting and ignoring freeformat MP3 files.

There also a lots of bug-fixes in the release including fixes to AAC plugin, HTTP stream interruption, ALSA, handle ffmpeg file, and a bunch of crashes and memory leaks. See here for more details.

How to Install DeaDBeeF 1.8.3 in Ubuntu:

There’s an Ubuntu PPA repository that contains deadbeef .deb packages, though it’s not been updated for the new release at the moment.

You may also download the 64-bit .deb package from the link below:

DeaDBeeF for Linux

NOTE: If you’ve installed an old Deadbeef version from an Ubuntu PPA, you have to remove it first (run following command in terminal), as the .deb from the previous link will install the music player into /opt/ directory.

sudo apt remove deadbeef

Then install the .deb via Gdebi package installer (available in Ubuntu Software) and enjoy!

The latest version of SameBoy, powerful Game Boy Emulator, available to install via Snap package in Ubuntu 18.04 and higher.

SameBoy is an open-source user friendly Game Boy, Game Boy Color and Super Game Boy emulator for macOS, Windows and Unix-like platforms.

SameBoy is extremely accurate and includes a wide range of powerful debugging features, making it ideal for both casual players and developers.

In addition to accuracy and developer capabilities, SameBoy has all the features one would expect from an emulator – from save states to scaling filters.

SameBoy is available to install in Ubuntu 18.04 and higher via Snap (runs in sandbox) pacakge. Simply search for and install it from Ubuntu Software.

You can also run command instead to install the Game Boy Emulator in terminal:

snap install sameboy

Once installed, launch it from your system application menu and enjoy!

OBS Studio 25.0 was finally released today after 6 release candidates. Here’s how to install it in Ubuntu 18.04, Ubuntu 19.10, via PPA.

Changes in OBS Studio 25.0 include:

  • Ability to capture Vulkan-based games
  • Add new window capture mode to capture browser-based windows, Microsoft Store (UWP) programs.
  • Add advanced scene collection importing
  • Media source hotkeys to allow control of playback
  • Add T-bar to studio mode
  • Add support for the SRT protocol
  • Ability to copy/paste multiple selected sources

There are also many other new features, enhancements, and various bug-fixes. See MORE.

How to Install OBS Studio 25.0 in Ubuntu 18.04:

The containerized Snap package has been updated and available to install via Ubuntu Software.

The official PPA offers the latest release packages for Ubuntu 18.04 and Ubuntu 19.10:

1. Open terminal either by pressing Ctrl+Alt+T on keyboard or by searching for “terminal” from app launcher. When it opens, run command to add the PPA:

sudo add-apt-repository ppa:obsproject/obs-studio

Type user password (no asterisk feedback) when it prompts and hit Enter.

2. Then either upgrade OBS Studio from an existing version via Software Updater, or run command in terminal to install the software:

sudo apt-get update

sudo apt-get install obs-studio

Once installed, launch the software from your system application launcher and enjoy!

Uninstall:

To remove the software, either use Synaptic package manager or run command in terminal:

sudo apt-get remove --autoremove obs-studio

To remove PPA repositories, launch Software & Updates and navigate to ‘Other Software’ tab.

Want to make your Ubuntu look like a busy-looking console? Hollywood is a utility that will split your console into a multiple panes of genuine technobabble, perfectly suitable for any Hollywood geek melodrama. It is particularly suitable on any number of computer consoles in the background of any excellent schlock technothriller.

Hollywood is open source software, created by Dustin Kirkland in 2014 and has been used by NBC News, on Saturday Night Live, in cybersecurity commercials for Experian, Full Frontal by Samantha Bee, Map Men, and magazine articles such as this one from Texas A&M University.

How to Install Hollywood in Ubuntu:

Hollywood is available in Ubuntu main repositories, though it’s always old.

The Hollywood PPA contains the latest packages for Ubuntu 16.04, Ubuntu 18.04, Ubuntu 19.10, and Ubuntu 20.04.

1.) Open terminal from system application menu, then run command to add the PPA:

sudo add-apt-repository ppa:hollywood/ppa

Type user password (no asterisk feedback) when it prompts and hit Enter to continue.

2.) Then refresh system package cache and install the utility via following 2 commands:

sudo apt update

sudo apt install --install-recommends hollywood

To start hollywood, run command hollywodd either in terminal (toggle fullscreen mode vi F11) or TTY console (Ctrl+Alt+F3). And stop it via Ctrl+C.

Uninstall:

To remove the PPA, either use Software & Updates utility or run command in terminal:

sudo add-apt-repository --remove ppa:hollywood/ppa

To remove Hollywood utility, run command:

sudo apt remove hollywood

Shortwave, an internet radio player desktop application for Linux, released its first stable version 1.0 today. Here’s how to install it in Ubuntu 18.04 and higher.

Shortwave is a new desktop radio app for Linux built with Rust. It provides access to a station database with over 25,000 stations. It features:

  • Create your own library where you can add your favourite stations
  • Easily search and discover new radio stations
  • Automatic recognition of songs, with the possibility to save them individually
  • Responsive application layout, compatible for small and large screens
  • Play audio on supported network devices (e.g. Google Chromecasts)
  • Seamless integration into the GNOME desktop environment
  • Import stations from Gradio.

How to install Shortwave in Ubuntu:

For Ubuntu 18.04 and higher, Shortwave radio player can be easily installed via Flatpak from flathub repository.

First do following steps to setup flathub repository if you’re first time installing a flatpak package in Ubuntu:

1.) Open terminal either from system application menu or by pressing Ctrl+Alt+T on keyboard. When it opens, run command:

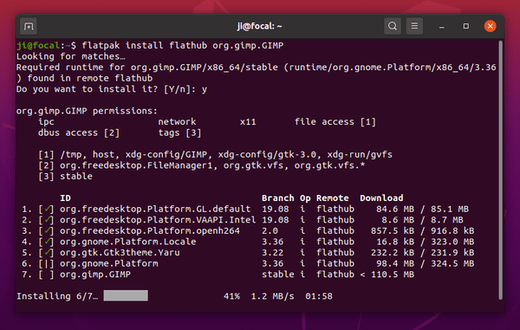
sudo apt install flatpak

2.) Add the flathub repository which hosts the flatpak package:

flatpak remote-add --if-not-exists flathub https://flathub.org/repo/flathub.flatpakrepo

Then install Shortwave flatpak package via command:

flatpak install flathub de.haeckerfelix.Shortwave

Once installed, launch the internet radio player from your system application menu and enjoy!

(Optional) To remove Shortwave, simply run command in terminal:

flatpak uninstall de.haeckerfelix.Shortwave

gThumb image viewer released a new stable version 3.9.1 a few days ago. Here’s how to install it in Ubuntu 18.04, Ubuntu 19.10, and Ubuntu 20.04.

gThumb 3.9.1 comes with many new features and user visible changes. Here are some of them:

  • Ability to customize the keyboard shortcuts.
  • A shortcuts window to show the available shortcuts.
  • Option to change the mouse wheel action.
  • Ability to define the transparency style.
  • Allow to view the video at the original size
  • Ability to search in multiple folders.
  • Added %T to insert a timestamp in the command.
  • Add ‘Open in Terminal’ command in folder tree context menu.
  • Updated app icon to follow the new GNOME style.
  • And many other changes.

How to Install gThumb 3.9.1 in Ubuntu:

Dariusz Duma’s PPA has made the new release packages for Ubuntu 18.04, Ubuntu 19.10, Ubuntu 20.04, Linux Mint 19.x, and their derivatives.

1.) Open terminal either via Ctrl+Alt+T keyboard shortcut or by searching for terminal from application menu. When it opens, run command to add the PPA:

sudo add-apt-repository ppa:dhor/myway

Type user password (no asterisk feedback) for sudo prompt and hit Enter to continue.

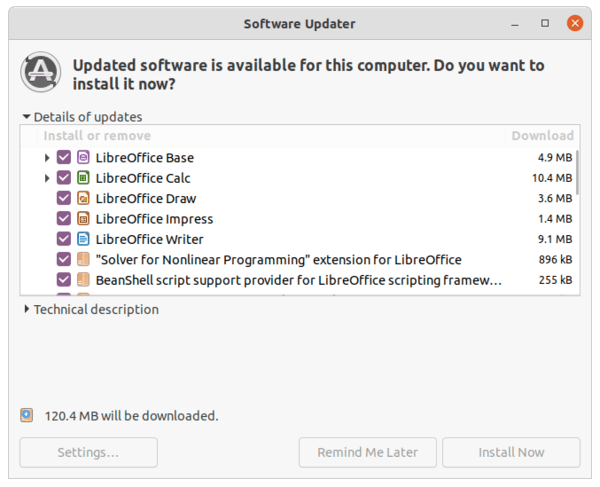
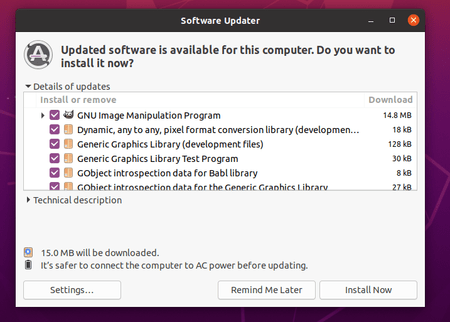
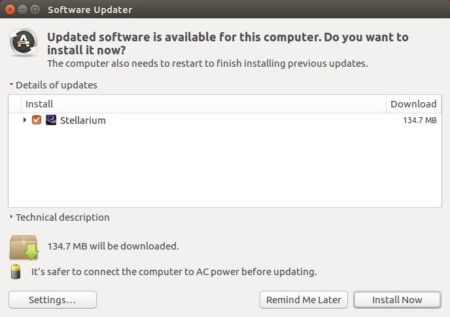
2.) If an old version was installed, upgrade it using Software Updater:

or run commands in terminal to install or upgrade the image viewer:

sudo apt update && sudo apt install gthumb

Uninstall:

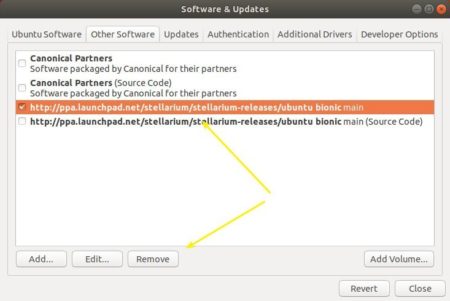
To remove the PPA, either open Software & Updates and navigate to Other Software tab, or run command in terminal:

sudo add-apt-repository --remove ppa:dhor/myway

And you can remove gThumb via command:

sudo apt remove gthumb gthumb-data

gnome shell

This quick tutorial shows how to remove the Activities button in the left corner of top-bar in Ubuntu Gnome desktop.

The top-left corner ‘Activities’ button shows all opened application windows with a search box on the top and workspaces on the right. Some users find it useless and want to remove the button. And it can be done easily via a Gnome Shell extension.

1. Open Ubuntu Software, search for and install Hide Activities Button.

Install the first one. So far, it supports Gnome up to v3.34 (shipped in Ubuntu 19.10). Done!

2. To manage the extension, install and launch Gnome Tweaks via Ubuntu Software, then go to Extensions tab.

Mozilla Firefox 74.0 was released a day ago. Now it’s available to install in Ubuntu 16.04, Ubuntu 18.04, Ubuntu 19.10 via the security & updates repositories.

FireFox 74.0 features:

  • Make it easy to import bookmarks and history from Microsoft Edge
  • Add-ons installed by external applications can now be removed via Add-ons Manager
  • Add custom site exception to the Facebook Container.
  • Bettery privacy through support for mDNS ICE by cloaking your IP address with a random ID in certain WebRTC scenarios.
  • Various security fixes. See release note for details.

How to Install FireFox 74.0:

FireFox 74.0 has been made into security & updates repositories for all current Ubuntu releases. Simply launch Software Updater (Update Manager) and install the updates.

Don’t see Firefox updates in Software Updater? Make sure security & updates repositories are enabled in Software & Updates utility. And you may also select the Main Server in the first tab.