![]()
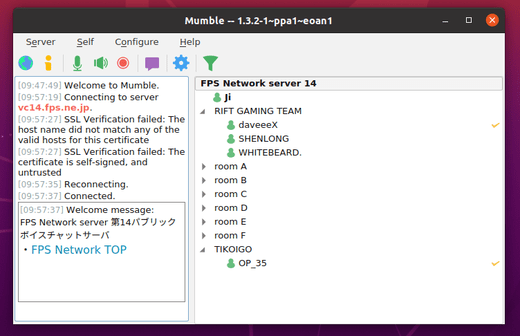
Open source, low-latency, high quality voice chat software, Mumble 1.3.2, was released a few days ago. Here’s how to install it in Ubuntu 20.04, Ubuntu 18.04, Ubuntu 16.04.
Mumble 1.3.2 is a maintenance release that fixed overlay not starting, and keychain-error on macOS for custom certificates.
There’s also known issues: overlay blocked by BattleEye, CS:GO Trusted Mode.
How to Install Mumble in Ubuntu:
Mumble is available as containerized Snap and Flatpak packages. You can install the Snap from Ubuntu Software, and install Flatpak from flathub repository.
For those prefer .deb package from apt repository, do following steps to install it from Mumble Team PPA.
Just download the package and install via command:
cd ~/Downloads/ && sudo apt install ./mumble_1.3.2-*amd64.deb
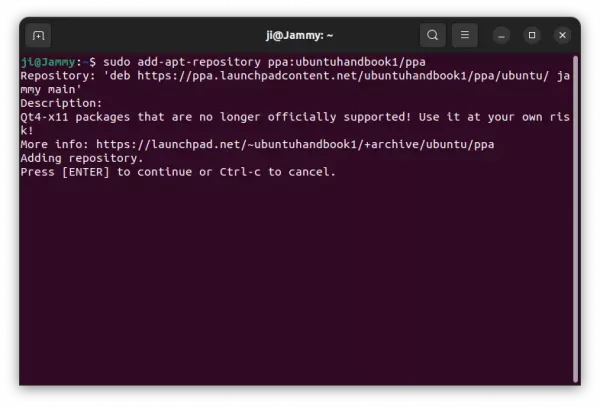
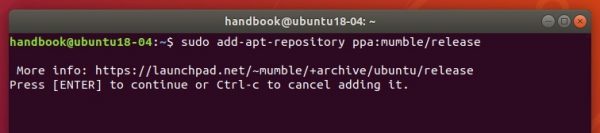
1. Open terminal either from application menu or by pressing Ctrl+Alt+T on keyboard. When it opens, paste below command and hit Enter:
sudo add-apt-repository ppa:mumble/release
Type user password (no asterisk feedback) when it prompts and hit Enter to continue adding the PPA.
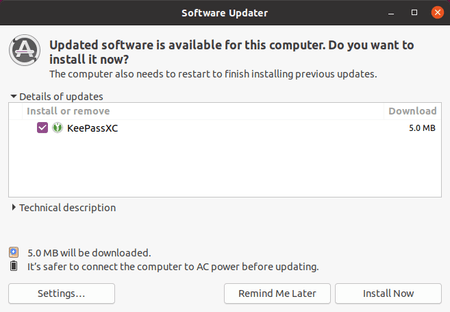
2. If an old release was installed, simply upgrade Mumble via Software Updater:
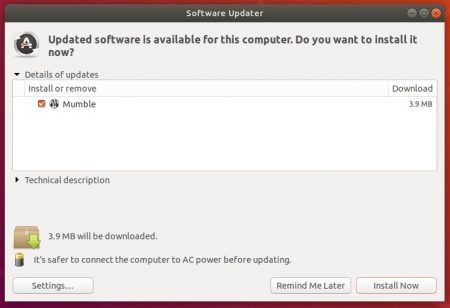
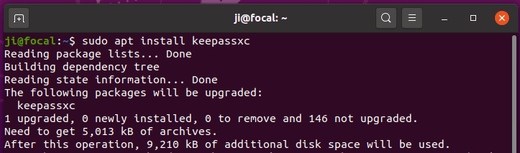
Or run commands one by one in terminal to check updates and install the chat utility for gamer:
sudo apt-get update

sudo apt-get install mumble mumble-server
Uninstall Mumble:
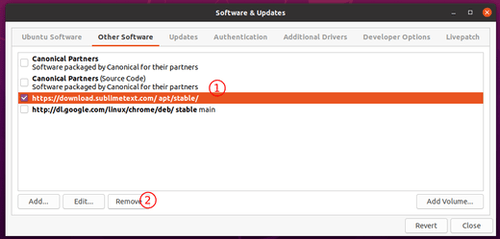
You can purge the PPA which also downgrade the VoIP chat app to the stock version via command:
sudo apt-get install ppa-purge && sudo ppa-purge ppa:mumble/release
To simply remove mumble, either use system package manager or run command in terminal:
sudo apt-get remove mumble mumble-server