![]()
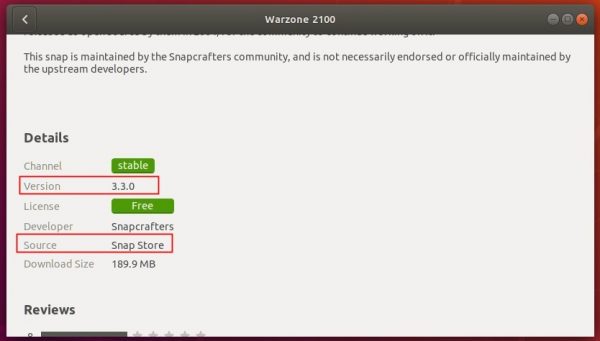
Warzone 2100, an open-source real-time strategy game, released 3.3.0 a few days ago with an enormous amount of changes. Here’s how to install it in Ubuntu 16.04, Ubuntu 18.04, and higher.
Changes Warone 2100 3.3.0 include:
- Reinstated secondary orders Pursue, Guard, and Hold
- Reinstated range orders Optimum, Short, and Long range
- Improved window resizing and display scaling
- Support for more graphics driver workarounds and platform compatibility
- Fixed very slow map/mod transfer when vertical sync is enabled
- Disable PIE SHADERS directive support
- Fixed loading OpenGL on older Intel chipsets on Windows 10
- Fix of shooting through walls, and many other changes.
How to Install Warzone 2100 3.3.0 in Ubuntu:
For Ubuntu 18.04 and higher, simply search for and install ‘warzone 2100’ in Ubuntu Software.
NOTE there are two warzone 2100 packages in Ubuntu Software. Check the package details before installing the package.
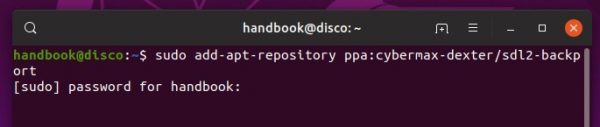
For Ubuntu 16.04, open terminal (Ctrl+Alt+T) and run command to install snapd:
sudo apt-get install snapd

Then install the game via command:
sudo snap install warzone2100

(Optional) To remove Warzone 2100, either use Ubuntu Software utility or run command in terminal:
sudo snap remove warzone2100