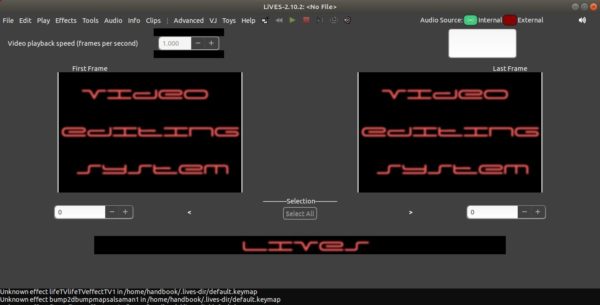
LiVES video editor and VJ tool released version 2.10.2 a few days ago. Here’s how to install it in Ubuntu 16.04, Ubuntu 18.04, and Ubuntu 18.10.
LiVES 2.10.2 release highlights:
- Fix serious bug in lives_popen() – may prevent saving of new sets.
- Add in part of the fix for multi_encoder3 which was overlooked in 2.10.1
- Fix regression in get_extension().
- Fix regression in get_frame_count().
- Add new icons.
- Correctly reset video playback plugin after cancelling quick transcode.
- Improved youtube downloading.
How to Install Lives 2.10.2 in Ubuntu:
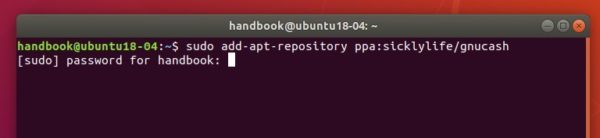
1. Open terminal via Ctrl+Alt+T keyboard shortcut and then run command to add the unofficial PPA:
sudo add-apt-repository ppa:ubuntuhandbook1/lives
Type in your password (no visual feedback while typing due to security reason) when it asks and hit Enter.

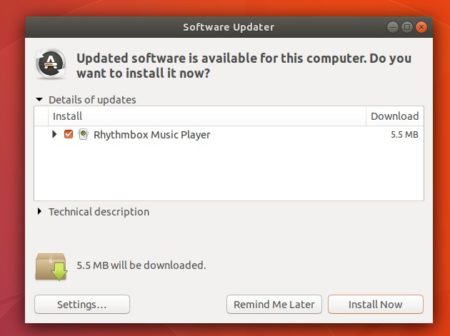
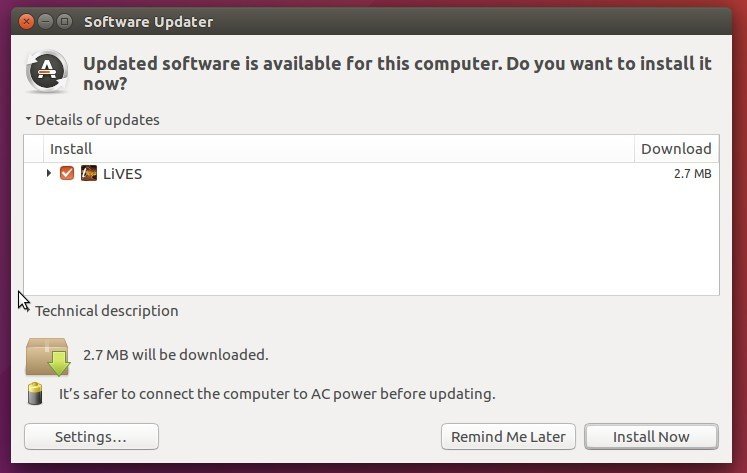
2. Then upgrade the software from an existing release via Software Updater:
or simply run commands in terminal to install or upgrade LiVES:
sudo apt-get update

sudo apt-get install lives lives-plugins
Uninstall:
To remove the software, simply run commands:
sudo apt-get remove --autoremove lives lives-plugins
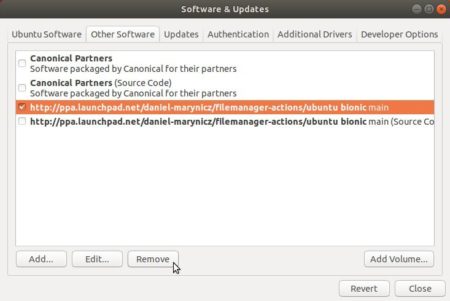
The PPA can be removed via Software & Updates utility under Other Software tab.