Shutter, a Linux native screenshot tool with editing feature, was updated to version 0.91 with a few bug fixes and updated application icon.
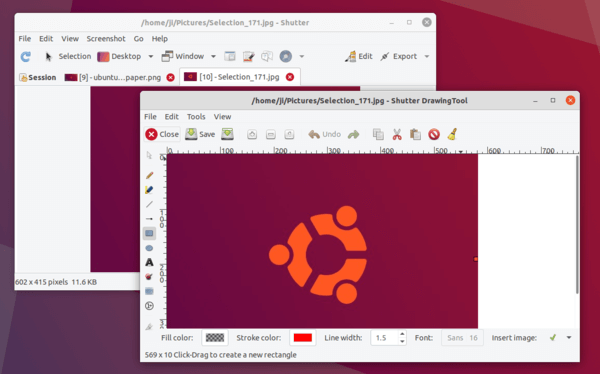
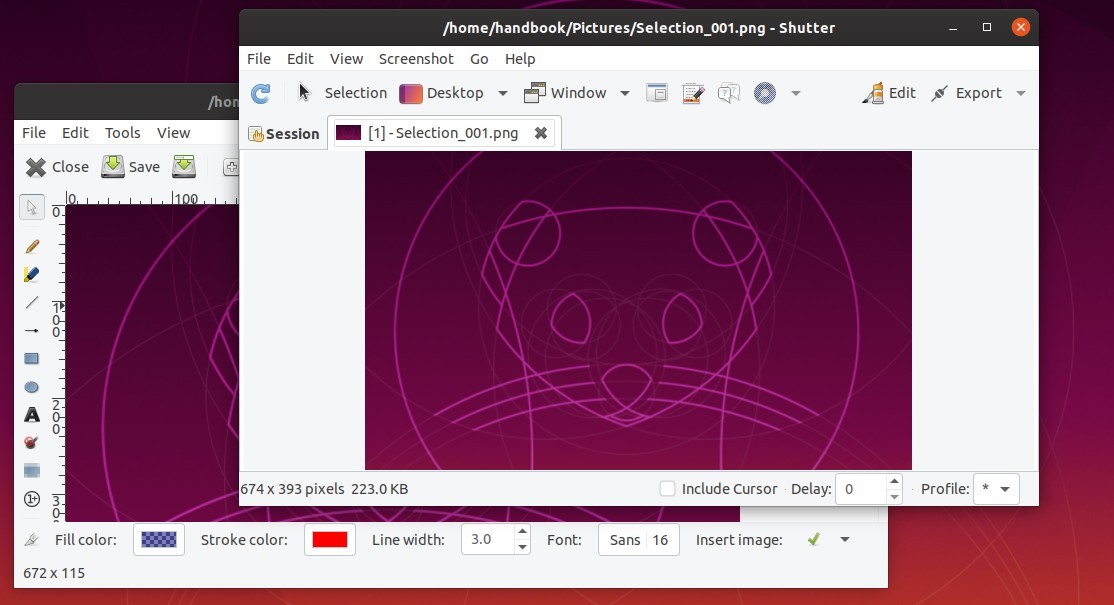
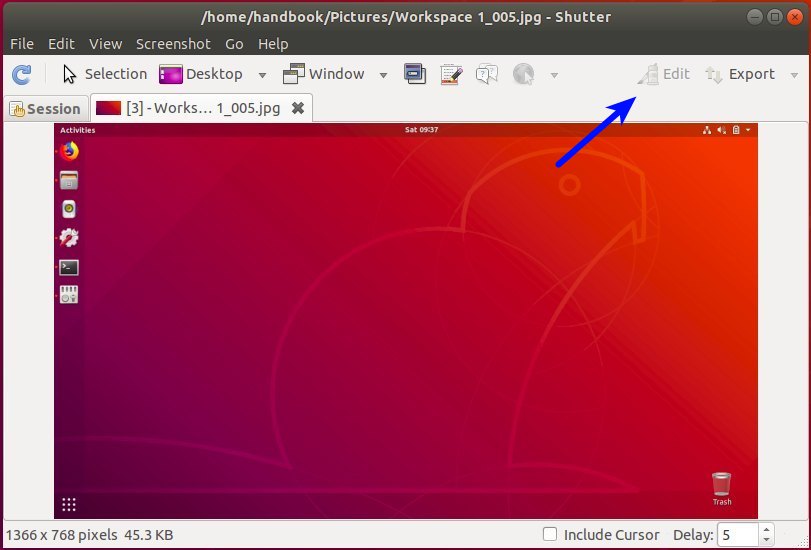
Shutter is a free, open source, and feature-rich screenshot program for Linux. You can take a screenshot of a specific area, window, your whole screen, or even of a website – apply different effects to it, draw on it to highlight points, and then upload to an image hosting site, all within one window.
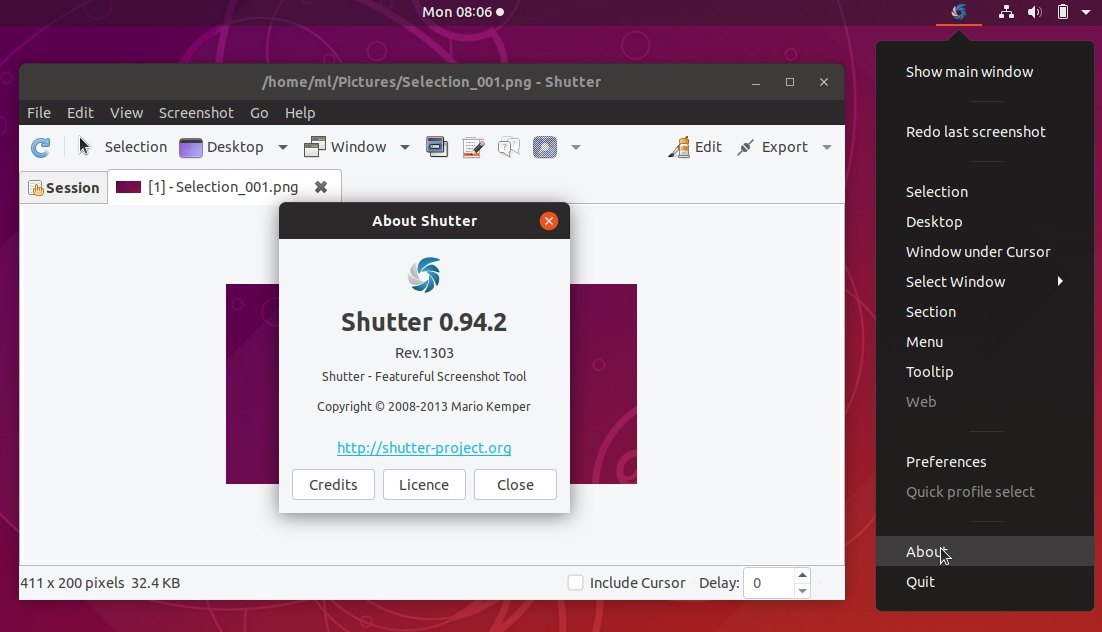
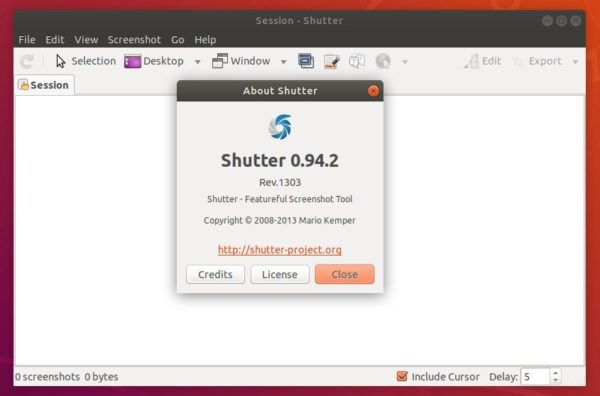
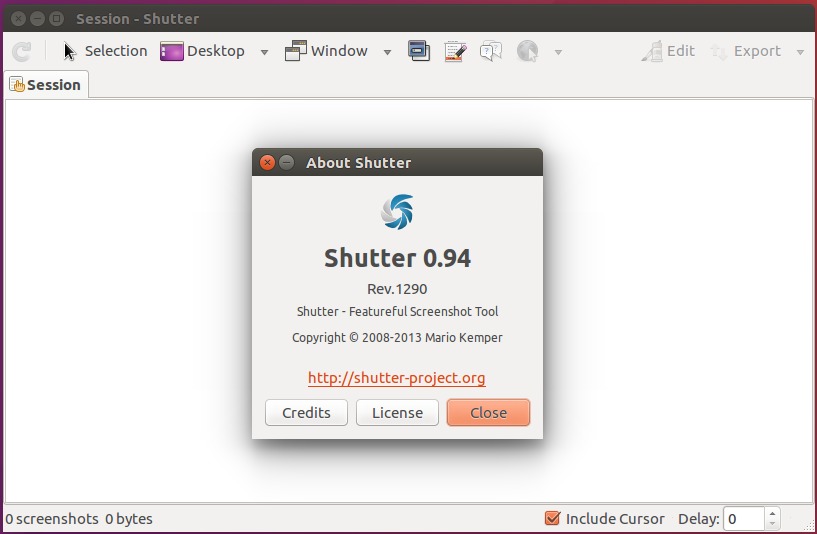
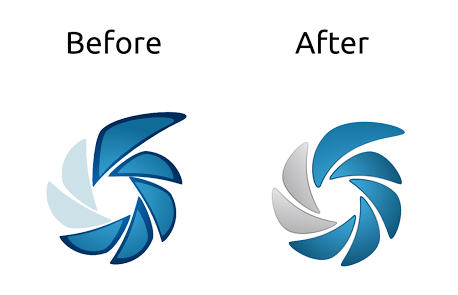
The latest Shutter 0.91 was released a few hours ago on June 14, 2014. It brings the updated application icon by Lucas Romero Di Benedetto.
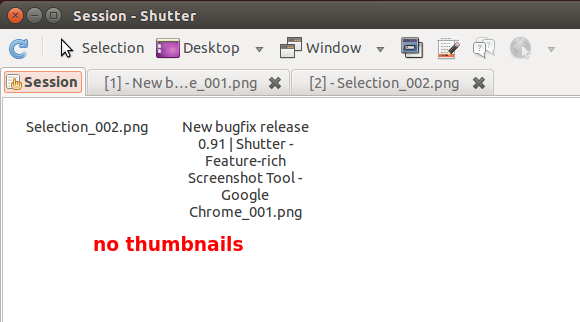
Also this release fixed the bug that session tab does not show thumbnails in Ubuntu 14.04.
Finally, Shutter remove uploading to imm.io because the hosting service has been officially shutdown.
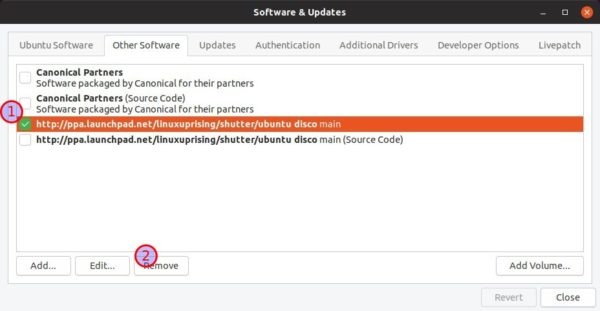
Install / Upgrade Shutter in Ubuntu:
Shutter 0.91 is available in its official PPA for Ubuntu 14.10, Ubuntu 14.04, Ubuntu 13.10, Ubuntu 12.04, Ubuntu 10.04 and their derivatives.
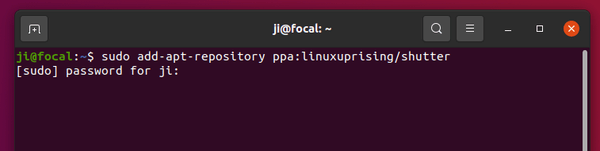
To add the PPA, press Ctrl+Alt+T on keyboard to open the terminal. When it opens, paste the command below and hit enter to run:
sudo add-apt-repository ppa:shutter/ppa
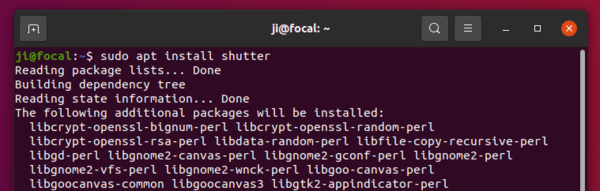
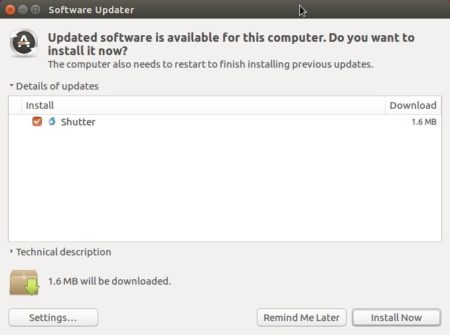
Then you can upgrade Shutter via Software Updater or Synaptic Package Manger after checking for updates. Or just run the command below to install it:
sudo apt-get update; sudo apt-get install shutter