Get-iplayer is a command line tool for downloading TV and radio programmes from BBC iPlayer. The tool features:
- Downloads TV and radio programmes from BBC iPlayer
- Allows multiple programmes to be downloaded using a single command
- Indexing of most available iPlayer catch-up programmes (not BBC Three, Red Button or iPlayer Exclusive)
- Caching of index with automatic updating
- Regex search on programme name
- Regex search on programme description and episode title
- Filter search results by channel
- Direct download via programme ID or URL
- PVR capability (may be used with cron or Task Scheduler)
- HTTP proxy support
- Perl 5.10.1+ required, plus LWP, LWP::Protocol::https, XML::LibXML and Mojolicious modules
- Requires ffmpeg for conversion to MP4 and AtomicParsley for metadata tagging
- Runs on Linux/BSD (Ubuntu, Fedora, OpenBSD and others), macOS (10.10+), Windows (7/8/10 – XP/Vista not supported)
Install get-iplayer
There are so far 2 ways to install the software package in Ubuntu. They include:
- Snap package – runs in sandbox environment.
- Native .deb package through Ubuntu PPA.
Choose either one that you prefer.
Option 1: Snap package
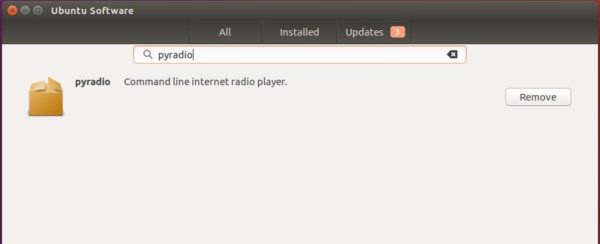
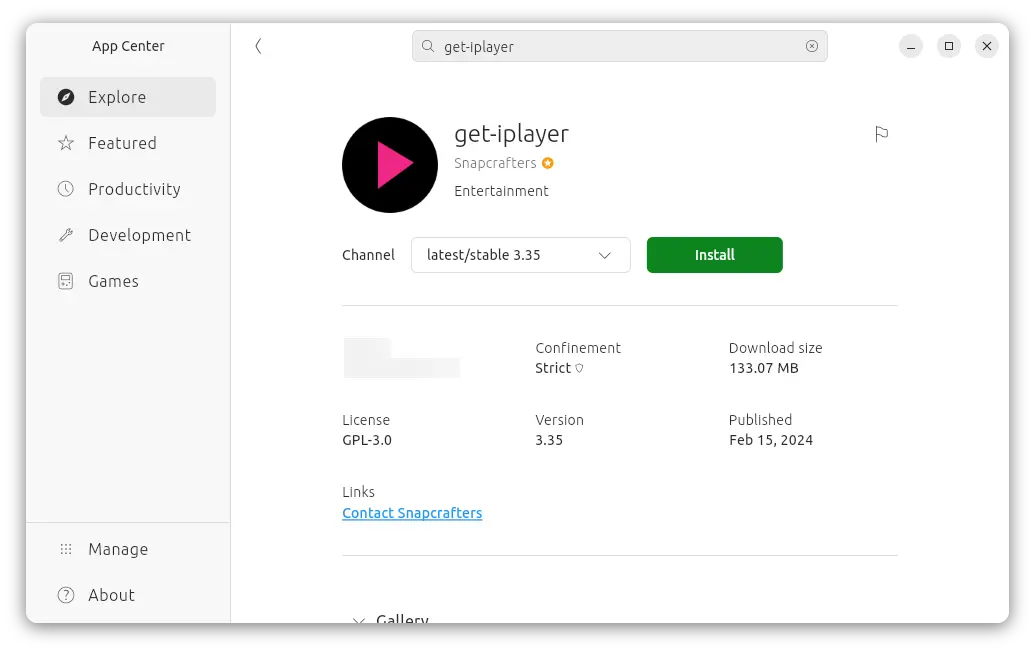
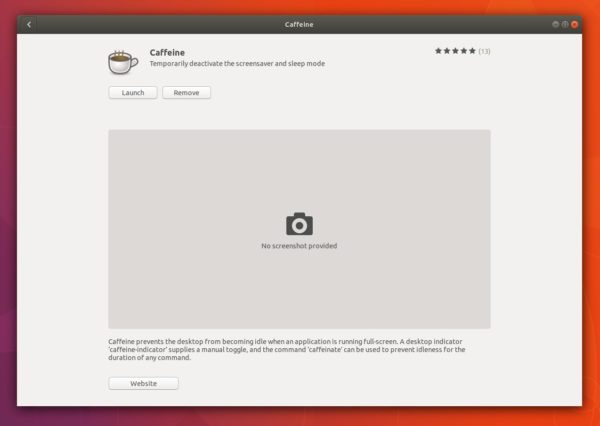
For the latest get-iplayer Snap package, either launch Ubuntu Software or App Center, then search & click install it.

get-iplayer in App Center
Or, you may also open terminal (Ctrl+Alt+T) and run the following command instead to install the snap package:
snap install get-iplayer
Option 2: Ubuntu PPA
For those who prefer the native .deb package, there’s an PPA repository that contains the most recent package for Ubuntu 24.10, Ubuntu 24.04, Ubuntu 22.04, and Ubuntu 20.04. Even the old Ubuntu 16.04 and Ubuntu 18.04 are also supported.
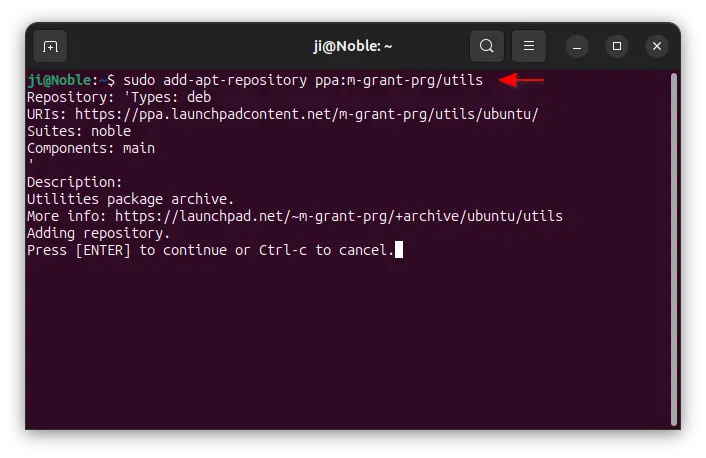
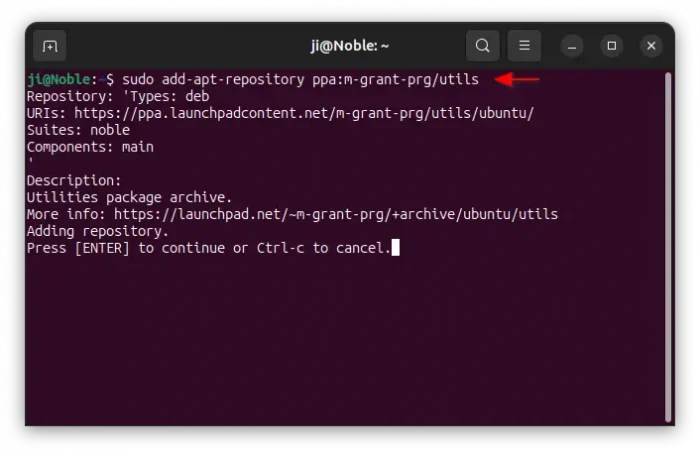
1. First, press Ctrl+Alt+T on keyboard to open terminal. When it opens, run command to add the PPA:
sudo add-apt-repository ppa:m-grant-prg/utils
Type user password when it asks (no asterisk feedback) and hit Enter to continue.
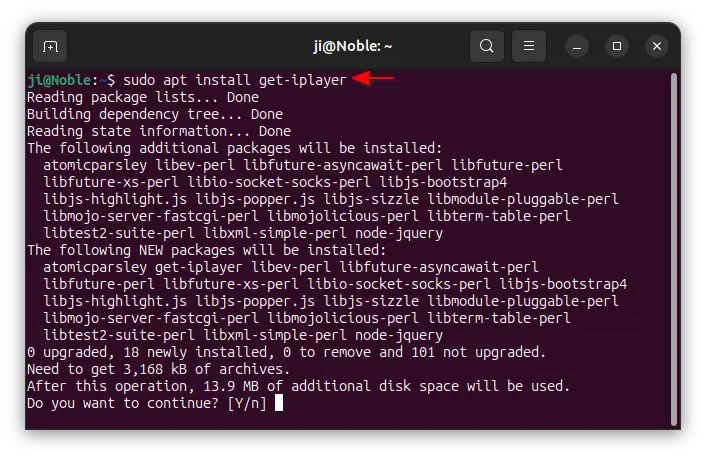
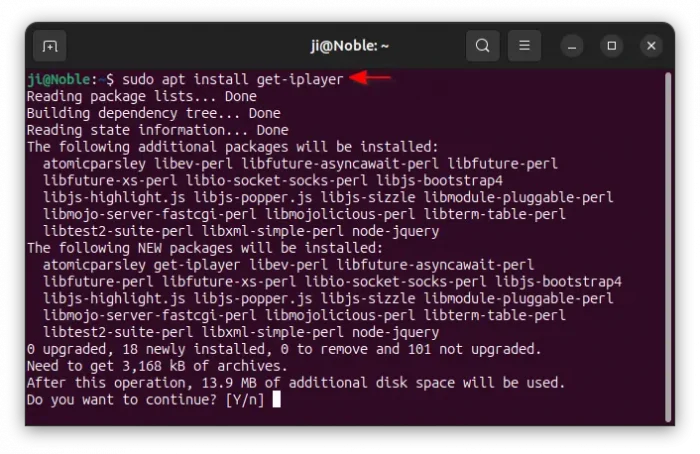
2. Then, install the .deb package via command:
sudo apt install get-iplayer
Linux Mint users may need to run sudo apt update first to manually refresh package cache, while this is done automatically while adding PPA in Ubuntu.
3. The PPA also contains many other software packages. You may run the command below to remove the PPA after installed get-iplayer in case of any package conflict.
sudo add-apt-repository --remove ppa:m-grant-prg/utils
For Linux Mint, also run sudo apt update to update cache.
Usage / examples:
As mentioned, this is a command line tool. You need to open terminal and run any command below to use it.
- List all TV programmes with long descriptions:
get_iplayer --long ".*"
- List all radio programmes:
get_iplayer --type=radio ".*"
- List all TV and radio programmes with “doctor who” in the name:
get_iplayer --type tv,radio "doctor who"
- List all BBC One programmes:
get_iplayer --channel="BBC One" ".*"
- List Radio 4 and Radio 4 Extra programmes with “Book at Bedtime” in the title:
get_iplayer --type=radio --channel="Radio 4" "Book at Bedtime"
- Record TV programme number 208 (index from search results) in HD, with SD fallback if HD not available:
get_iplayer --get 208
[default is to download best available]
OR
get_iplayer --get 208 --tvmode=best
- Record TV programme number 208 and download subtitles in SubRip (SRT) format:
get_iplayer --get 208 --subtitles
- Record multiple TV programmes (using index numbers from search results):
get_iplayer --get 208 209 210
- Record a TV or radio programme using its iPlayer URL:
get_iplayer http://www.bbc.co.uk/iplayer/episode/b01sc0wf/Doctors_Series_15_Perfect/
- Record a TV or radio programme using the PID (b01sc0wf) from its iPlayer URL:
get_iplayer --pid=b01sc0wf
Uninstall get-iplayer
For any reason, you may remove the get-iplayer .deb package by running command:
sudo apt remove --autoremove get-iplayer
Or, remove the Snap package using either Ubuntu Software / App Center, or the snap remove get-iplayer command.