![]()
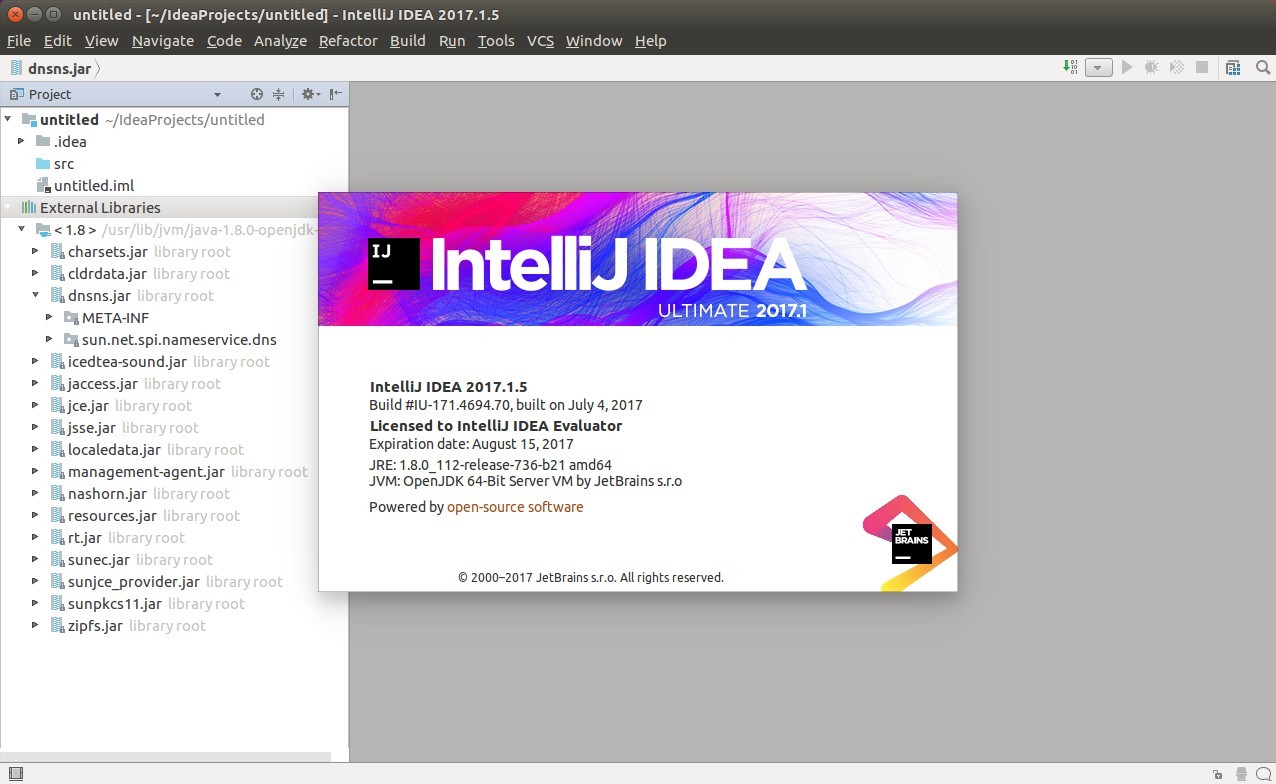
JetBrains’ IntelliJ IDEA IDE has reached the new massive 2017.2 release a few days ago with many new features, performance improvements and important bug-fixes.
IntelliJ IDEA 2017.2 features:
- Smarter code completion and control flow analysis
- New inspections and refactorings
- Java 9 module diagrams
- Debugger: filtering arrays, collections, and maps
- Kotlin 1.1.3 support
- Groovy 2.5.0 support
- VCS: reverting and rewording commits, formatting commit messages
- native look and feel in Windows 10
- Better HiDPI support for multiple display setup on Windows
- JavaScript and TypeScript improvements and more.
- See announcement for details.

Download IntelliJ IDEA 2017.2:
The official Linux binaries are available for download at the link below:
Extract the tarball, run idea.sh from bin folder to launch the IDE, and you may manually create an application launcher for it.
Install IntelliJ IDEA 2017.2 in Ubuntu via PPA:
An installer script, originally created by Marcel Kapfer, is available to automatically download the source tarball, extract to /opt, and create application launcher.
All you need to do is open terminal (Ctrl+Alt+T) and run following commands one by one:
sudo add-apt-repository ppa:ubuntuhandbook1/apps

sudo apt-get update

sudo apt-get install intellij-idea-community
replace intellij-idea-community in the code with intellij-idea-ultimate for ultimate version.
For those who don’t to add the PPA, grab the installer script from the link below:
intellij-idea-community_xxx.xx_all.deb
intellij-idea-ultimate_xxx.xx_all.deb
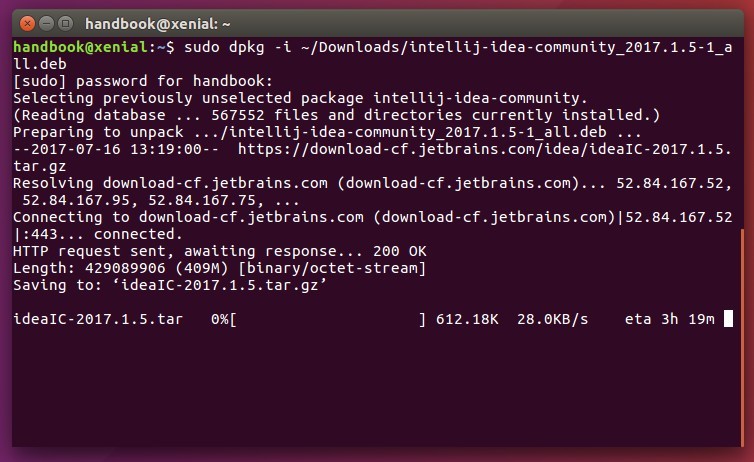
Then install it via Gdebi package manager or using dpkg command:
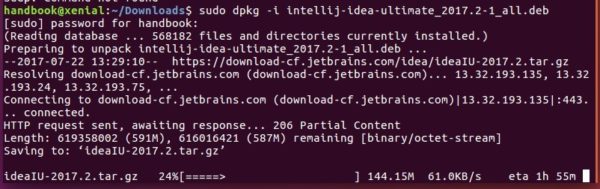
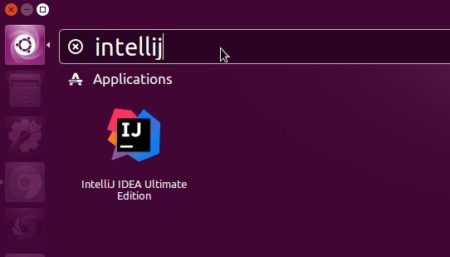
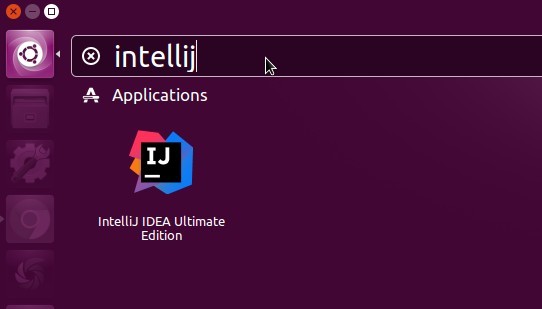
Once installed, launch the IDE from Unity Dash, Gnome launcher, or other app launcher and enjoy!