Laptop Mode Tools, power saving tool for Linux laptop, got a new release two days ago. Here’s how to install/upgrade it in Ubuntu 15.10, Ubuntu 15.04, and Ubuntu 14.04.
This is a point release of Laptop Mode Tools 1.68 that updates details about runtime-pm in manpage, reverts “Drop out reload” feature, offers a more descriptive log error, repairs issues with stdout descriptor, and brings a couple of bug-fixes.
Install Laptop Mode Tools 1.68.1:
NOTE: Laptop Mode Tools conflicts with TLP (they are doing the same thing). You have to remove TLP if installed before installing this software!
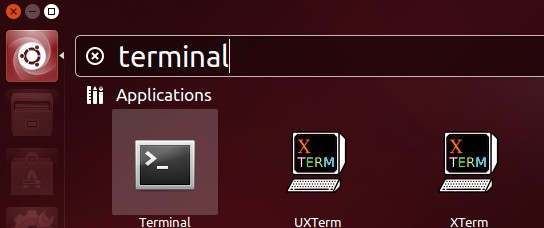
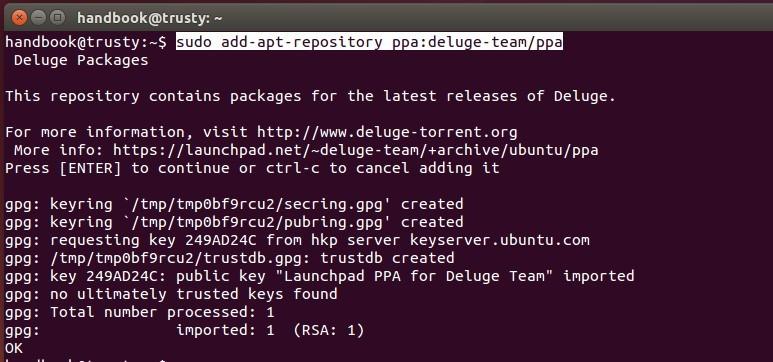
Besides building it from the source tarball, you may install the binary package from my personal PPA. Just open terminal from the Dash, Launcher, or via Ctrl+Alt+T key. When it opens, run below commands one by one:
sudo add-apt-repository ppa:ubuntuhandbook1/apps

sudo apt-get update

sudo apt-get install python-qt4 laptop-mode-tools
Or download the .deb installer (98K) directly from THIS PAGE.
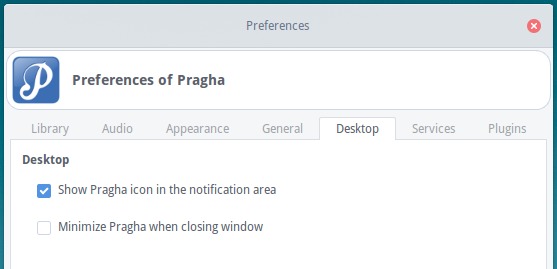
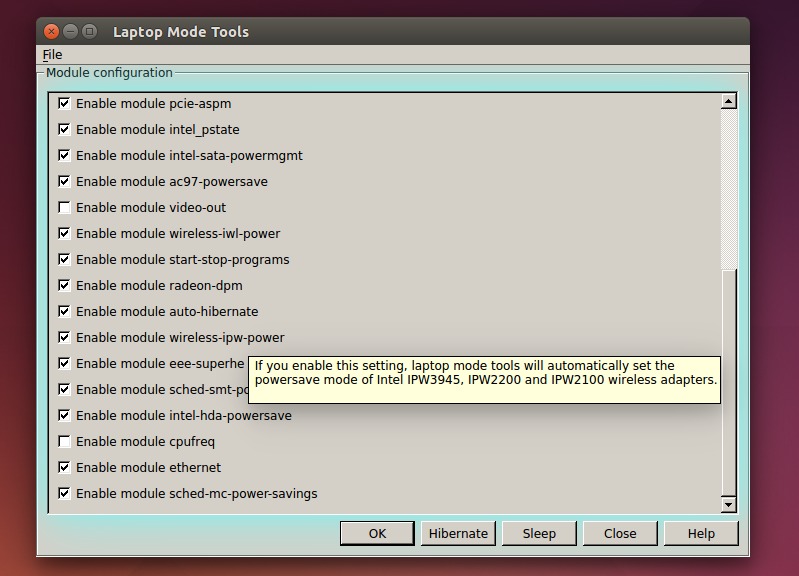
Once installed, run below command in terminal to launch the configuration UI (see above pic.):
gksu lmt-config-gui
Install gksu from Software Center if need. That’s it.