Archives For xfce4

This simple tutorial shows how to install or completely remove the XFCE4 desktop environment in Ubuntu 22.04 and/or Ubuntu 23.04.

XFCE4 is lightweight Linux desktop environment aims to be fast and low on system resources. To try it out, I’d recommend to install XUbuntu, Linux Mint, Linux Lite or other Linux with XFCE4 as default.

But for lazy men who don’t want to backup personal data, re-install and re-configure favorite applications again and again, install XFCE4 Desktop on top of the current Ubuntu system is a good choice. And, here’s how to do the job step by step.

Install XFCE4/XUbuntu Desktop in Ubuntu

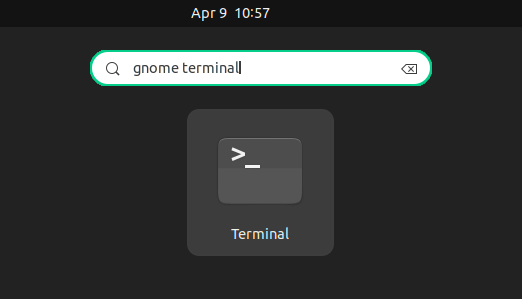
1. First, open terminal either by pressing Ctrl+Alt+T on keyboard, or by searching from ‘Activities’ overview.

2. When terminal opens, it’s recommended to first run command to update your system package index:

sudo apt update

3 Then, either install XFCE4 desktop, and core apps without changing startup animation, login screen, etc.

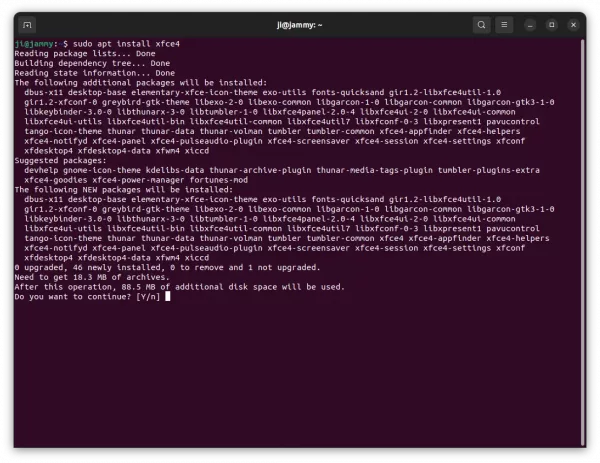
sudo apt install xfce4

As you can see in the screenshot, the installation only takes 88.5 MB disk space in my case.

Or, install the whole XUbuntu Desktop environment, to make your Ubuntu just look like XUbuntu

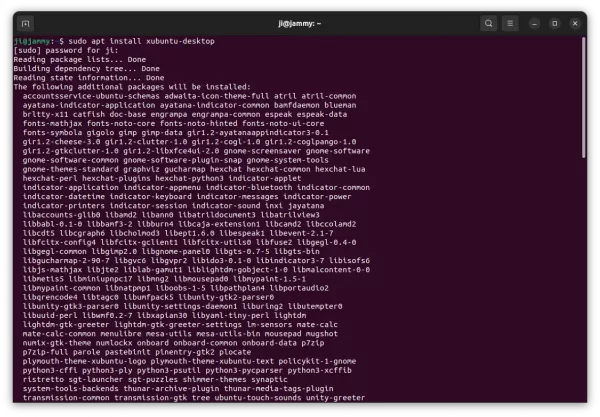
sudo apt install xubuntu-desktop

Though, it will install more packages and takes 550 MB disk space in my case.

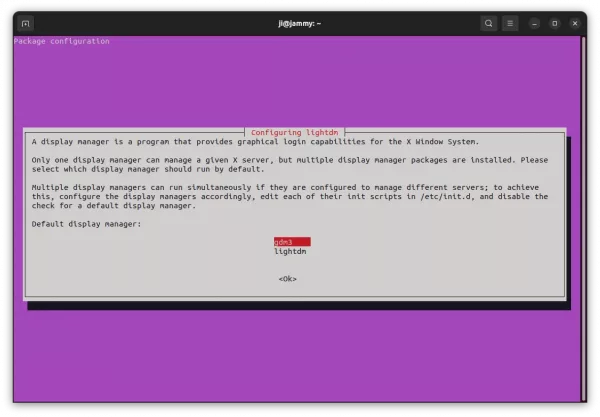
In the case, it also asks to choose which login screen interface to use (Display Manager). Either choose gdm3 to keep original login screen, or use lightdm to switch to the one that is default in XUbuntu. Finally, hit Tab to highlight OK and hit Enter.

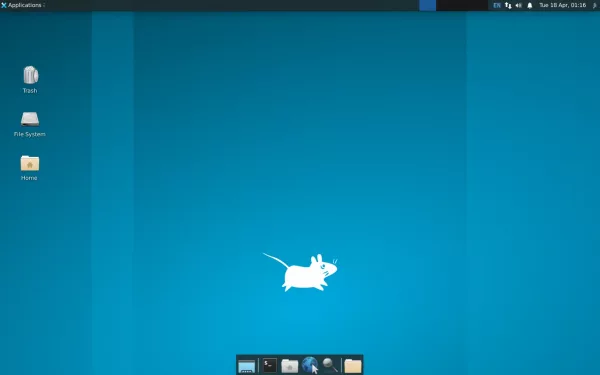
Log in XFCE4 Desktop

After installation, restart your computer!

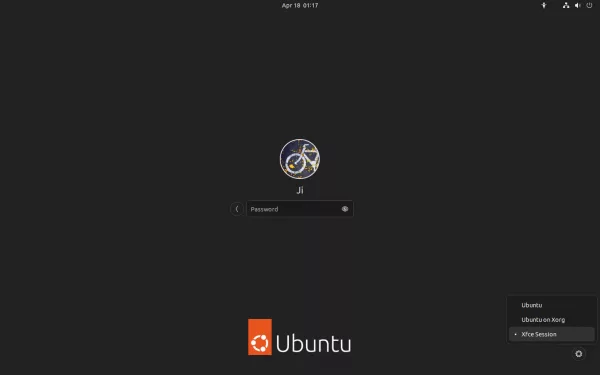
Depends on which display manager you chose in previous step, either select your user and choose “Xfce Session” via the bottom right gear button menu.

Or, directly choose user and type password to login, if you selected lightdm display manager.

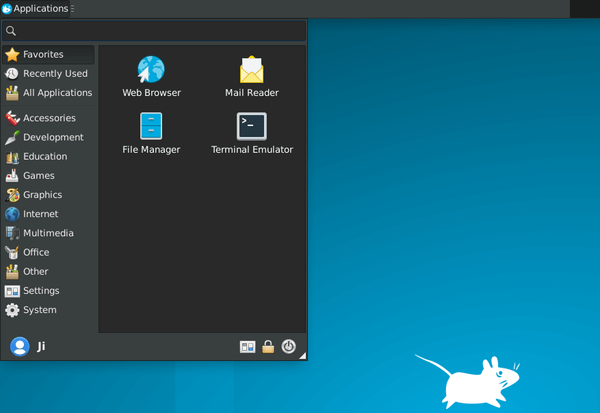
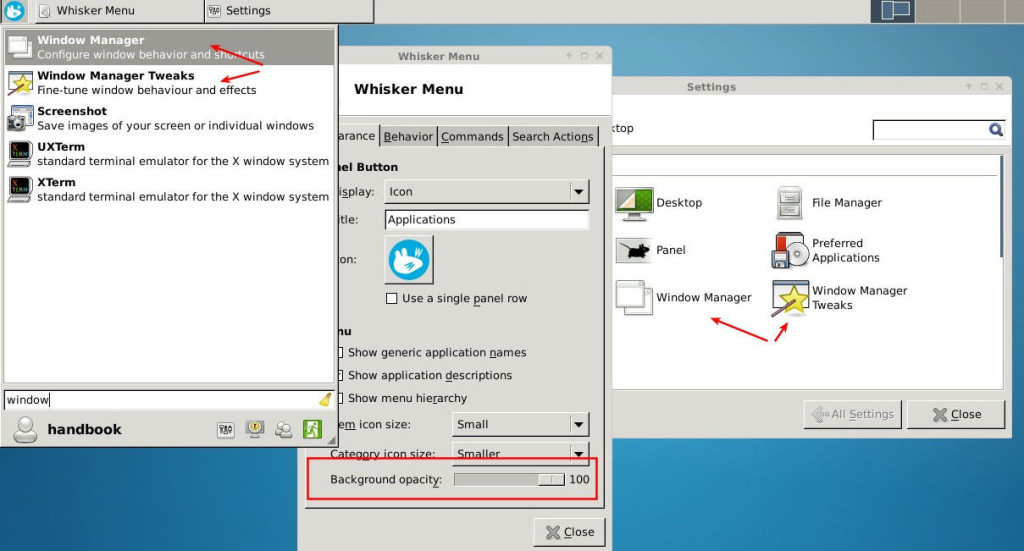
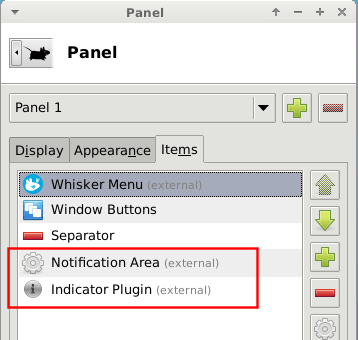
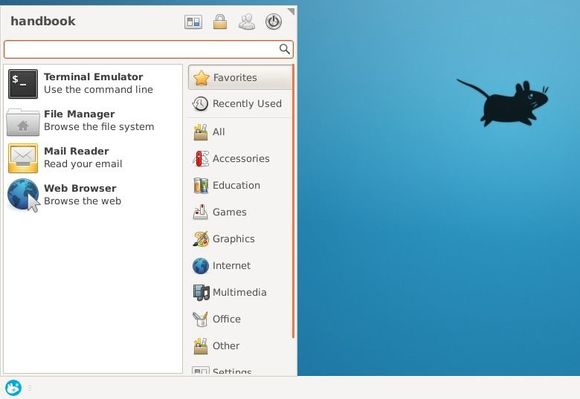
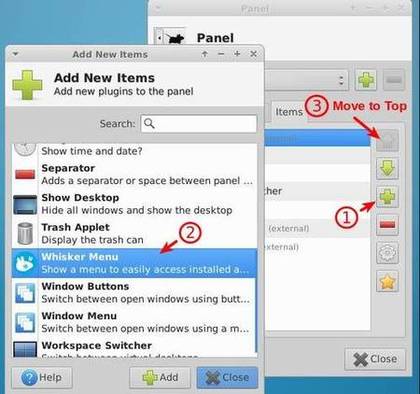
After login, you may want to tweak something. In my case, I’d like to right-click on top-panel and go to “Panel -> Add New Items”, then add Whisker Menu to replace the default application menu. In case you don’t see the widget in the list, run command to install it:

sudo apt install xfce4-whiskermenu-plugin

How to Completely Remove XFCE4/XUbuntu Desktop

1. If you installed the ‘xubuntu-desktop’ package and replaced the login screen, open terminal and run command to open the configuration again and choose “gdm3” to restore the original login screen:

sudo dpkg-reconfigure lightdm

2. Also, to restore the original startup animation screen, run command:

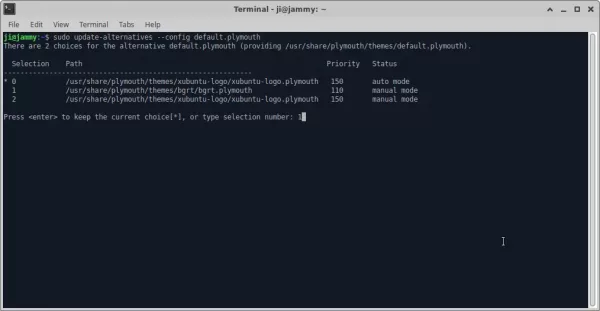
sudo update-alternatives --config default.plymouth

In terminal output, type the number for bgrt.plymouth theme and hit Enter.

3. Before removing the packages, it’s HIGHLY recommend to restart or log out, and choose either “Ubuntu” or “Ubuntu on Xorg” session to log in.

Finally, open terminal and run the single command to remove XFCE4 or XUbuntu Desktop packages:

sudo apt remove --autoremove xubuntu-desktop xfce4 xfce4-* libxfce4* espeak-data gnome-software-common libexo-common libgarcon-common thunar-data tumbler-common xiccd atril-common brltty-x11 wslu plymouth-theme-xubuntu* adwaita-icon-theme-full pinentry-gtk2 xterm mesa-utils lm-sensors libxapian30

This command will remove the most packages installed along with ‘xfce4’ or ‘xubuntu-desktop’ package. However, it’s recommended to keep an eye on terminal output to see which packages it’s going to remove, before typing ‘y’ to confirm.

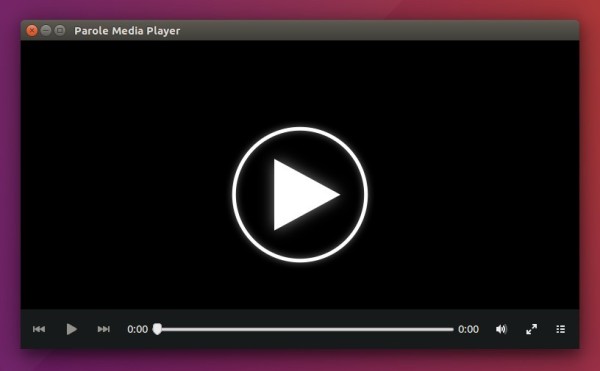
Parole, Xfce’s default media player, released version 4.15.0 a few days ago. Here’s how to install it in Ubuntu 20.04, Linux Mint 20, and Ubuntu 20.10.

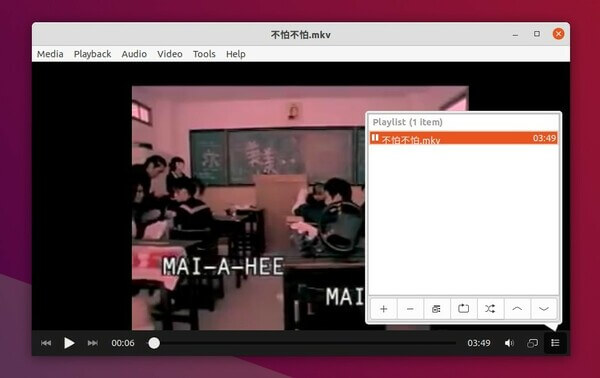
Parole 4.15.0 features a in-window popover Playlist instead of a slide-out panel. The shuffle functionality now utilizes a sort filter instead of randomly selecting the next track, making it possible making the playback history more accurate.

The new release also features improved DVD support, including a menu option to activate the subpicture menu, DVD menu load automatically if playback does not start successfully.

Other changes include:

  • Each dialog ported to CSD with some cleanup and default buttons marked as “suggested”.
  • Add new icon.
  • Fix build and missing-prototypes errors.
  • Play control improvements and translation updates.

How to install Parole 4.15.0 in Ubuntu:

The unofficial PPA has made the new release package for Ubuntu 20.04 and Ubuntu 20.10. Ubuntu 18.04 is not supported at the moment due to a compile issue.

1. Open terminal either via Ctrl+Alt+T shortcut key or by searching for “Terminal” from application menu. When it opens, run command:

sudo add-apt-repository ppa:ubuntuhandbook1/apps

Type user password (no asterisk feedback when typing due to security reason) when it prompts and hit Enter.

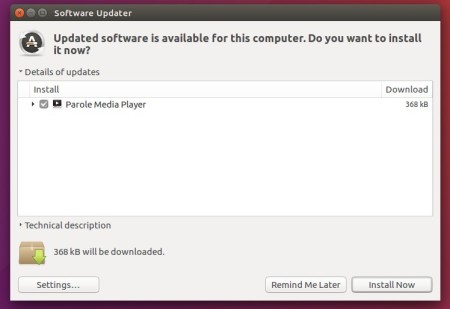
2. Then either upgrade the media player via Software Updater utility:

upgrade parole media player

or run following command to install / upgrade it:

sudo apt install parole

For those who don’t want to add PPA, grab the .deb package from HERE.

Uninstall:

Run following command to purge the PPA repository which also downgrade installed packages to the stock version in your Ubuntu:

sudo apt-get install ppa-purge && sudo ppa-purge ppa:ubuntuhandbook1/apps

Whisker Menu, an alternate application launcher for Xfce, released version 2.5.0 with updated icons and refactor code for the new Xfce 4.16 desktop.

Whisker Menu 2.5.0 release highlights:

  • Add option to show all applications by default
  • Rearrange sidebar buttons to match default category
  • Show panel button title as tooltip in icon-only mode
  • Always sort top-level categories
  • Vertically center contents of header
  • Use new Xfce action icons
  • Use new desktop ids for default programs
  • Rewrite to hide menu on focus out
  • Refactor code to use new Xfce functions
  • Refactor building translations
  • Translation updates

How to Install Whisker Menu in Ubuntu:

If you use Xubuntu QA Staging PPA, you’ll find Whisker Menu is available for updating along with Xfce 4.16 packages.

The software is also available in the developer’s PPA for Ubuntu 18.04, Ubuntu 20.04, Ubuntu 20.10, and Linux Mint 19.x, 20.

1. Open terminal from system application menu. When it opens, run command to add the PPA:

sudo add-apt-repository ppa:gottcode/gcppa

Type user password (no asterisk feedback) for sudo prompts and hit Enter to continue.

2. Then either run commands one by one to install the application menu:

sudo apt update

sudo apt install xfce4-whiskermenu-plugin

or upgrade the package via system package manager.

Uninstall:

To remove the PPA, run command:

sudo add-apt-repository --remove ppa:gottcode/gcppa

It’s not recommended to remove Whisker Menu on Xfce desktop unless you use another application menu. You can however purge the PPA, which will downgrade the app menu to the stock version:

sudo apt install ppa-purge && sudo ppa-purge ppa:gottcode/gcppa

Xfce’s Parole media player reached the 1.0 stable series earlier today! Here’s how to install it in Ubuntu 17.10 and Ubuntu 18.04.

Xfce 1.0.0 brings a new feature and following bug-fixes:

  • Added “Automatic” video output option. This uses the autoimagesink to provide the best available video sink for the environment, eliminating the dreaded ‘Could not initialise Xv output’ error.
  • Fixed 32-bit crashes when using the MPRIS2 plugin
  • Fixed crash on “Clear History” button press
  • Fixed appdata validation
  • Fixed full debug builds and resolved implicit-fallthrough build warning
  • Replaced stock icon by freedesktop.org compliant option

How to Install Parole 1.0.0 in Ubuntu 18.04, 17.10:

Ubuntu 18.04 includes the new release package in its main repository archive, just search for and install ‘parole’ in Ubuntu Software.

For Ubuntu 17.10, you can install or upgrade to the new release via an unofficial PPA. No updates for Ubuntu 16.04, since Parole now requires GTK+ >=3.20.

1. Open terminal via Ctrl+Alt+T or by searching for “Terminal” from app launcher. When it opens, run command:

sudo add-apt-repository ppa:ubuntuhandbook1/apps

Type in your password (no visual feedback when typing due to security reason) when it prompts and hit Enter.

parole ppa for zesty

2. Then upgrade the media player via Software Updater utility:

upgrade parole media player

or run following commands to install / upgrade it:

sudo apt-get update

sudo apt-get install parole

For those who don’t want to add PPA, grab the .deb package from HERE.

Uninstall:

Run following command to purge the PPA repository which also downgrade installed packages to the stock version in your Ubuntu:

sudo apt-get install ppa-purge && sudo ppa-purge ppa:ubuntuhandbook1/apps

xfce hotcorner plugin

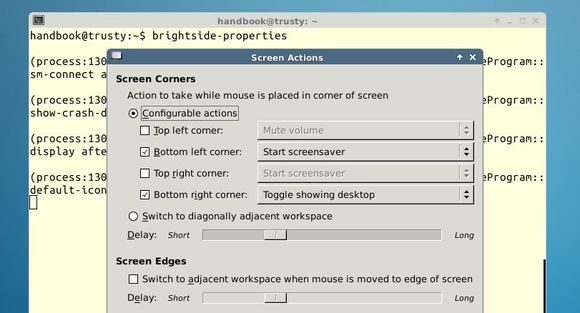
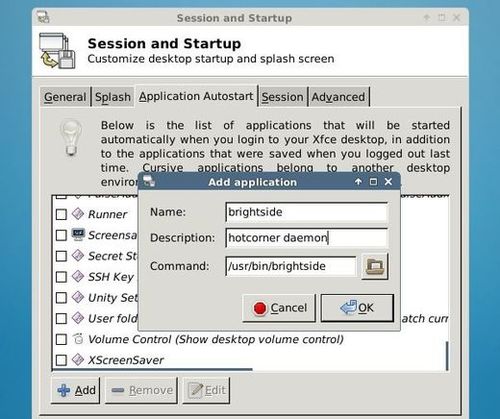
XFCE4 desktop now has a hot-corner panel plugin that provides an easy way for users to set hot corner action, though there’s already a Gnome app brightside works on Ubuntu with Xfce.

XFCE4 HotCorner Plugin is a new project created one week ago. It currently supports the following operation in primary display:

  • xfdashboard
  • toggle desktop
  • start screensaver
  • turn off monitor
  • run custom command

It also provides an option to disable hot corner when active window is fullscreen.

hotcorner plugin for xfce4 desktop

Install HotCorner Plugin in (X)Ubuntu:

Update: Thanks to Jackson Doak, the most recent packages have been made into Xubuntu Extras PPA. So far, Ubuntu 15.10, Ubuntu 15.04, and Ubuntu 14.04 (Xfce 4.12 is not required) are supported.

To install the HotCorner plugin and receive future updates, run below commands one by one in a terminal emulator:

sudo add-apt-repository ppa:xubuntu-dev/extras

sudo apt-get update

sudo apt-get install xfce4-hotcorner-plugin

For those who don’t want to add PPA, grab the .deb package from launchpad page.

This plugin requires XFCE 4.12. For (X)Ubuntu 14.04 and (X)Ubuntu 15.04 and Mint 17 users who are still running with old Xfce desktop, you may first read this guide to upgrade to Xfce 4.12

To install the plugin, select download one of below packages that matches your OS type (32-bit=i386 or 64-bit=amd64)

  • xfce4-hotcorner-plugin_0.0.2-0ubuntu1~15.10_amd64.deb
  • xfce4-hotcorner-plugin_0.0.2-0ubuntu1~15.10_i386.deb

from the ppa packages download page:

download xfce4-hotcorner-plugin (.deb)

Then double-click to install the package via Software Center, or install it via dpkg command.

NOTE 1: the packages were built against Ubuntu 15.10 Wily, but they work on old Ubuntu releases (tested in 14.04) running with Xfce 4.12.

NOTE 2: Xubuntu Extras PPA also provides the packages for this plugin, but it’s an old release with bugs at the moment of writing this post.

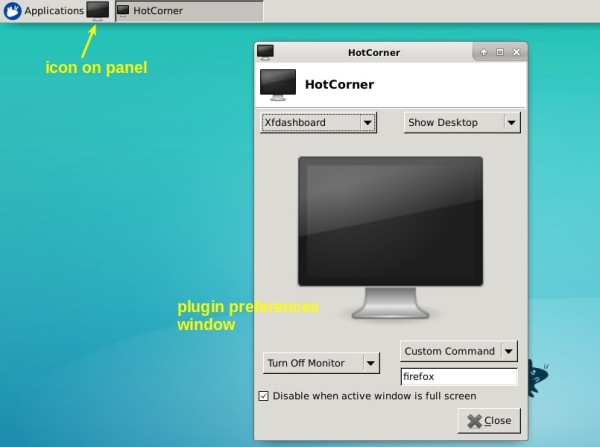
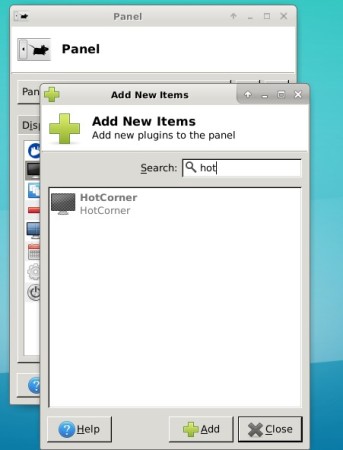
After installing the plugin, go to Xfce4 panel preference window and add HotCorner plugin to panel:

hotcorner-plugin

Finally set your hot corners actions from the plugin’s preference window and enjoy!