![]()
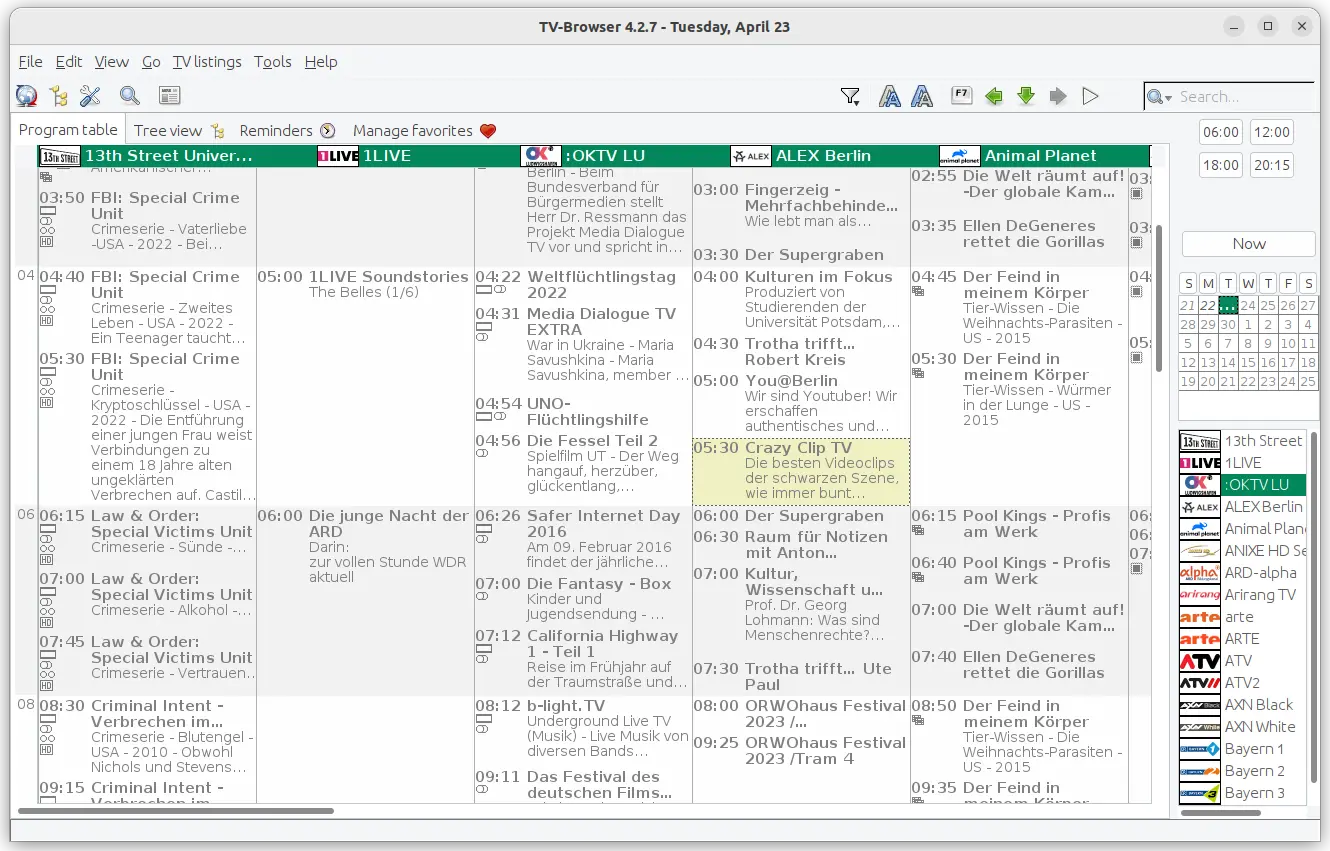
TV-browser is a free and open-source app which gets the daily TV program from the internet and shows it clearly arranged – like a printed TV guide. An internet connection is only necessary during the data update. It provides more than 1000 TV stations and 100 radio channels.
TV-browser works on Windows, Linux, MacOS, OS/2 with Java runtime minimum version 6.0. And, its features include:
- Electronic TV guide
- More than 1000 (mostly German and European) TV stations
- More than 100 radio channels
- Remote control of hard- and software
- Extensible with plug-ins
- Configurable with skins, icon sets and many options
The latest release at the moment of writing is ersion 4.2.7. According to the release note in its website. It’s a bug-fix release, also include a feature that it will now automatically keep Reminders for programs for which the start time has changed by a couple of minutes during a data update.
Install TV-browser in Ubuntu:
The app is easy to install in Ubuntu now, since it provides an official .deb package for Debian and Ubuntu users.
To download it, just go to the link below:
Select the latest version, then click download the package with .deb extension.
After downloaded the package, press Ctrl+Alt+T on keyboard to open up a terminal window, then use the command below to install it:
sudo apt install drag'n'drop-deb-file-here
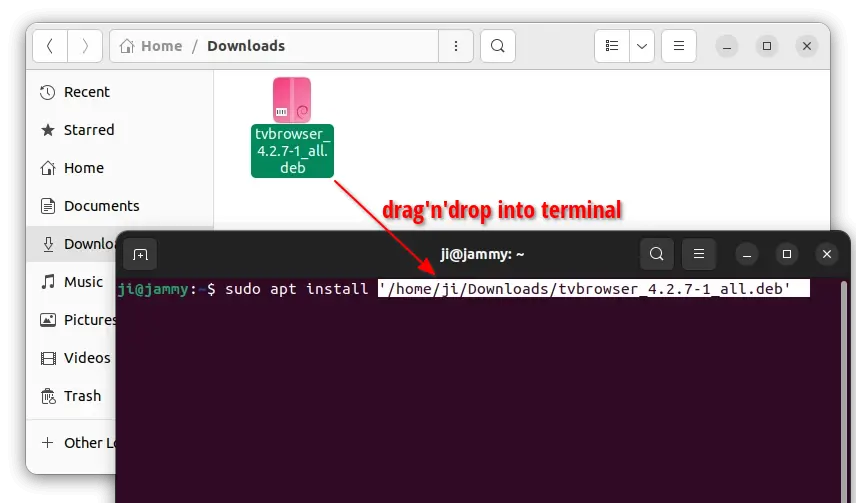
Once installed, search for and launch it from either start menu or GNOME’s overview screen. And, first time launching the app, you need to follow the wizard to download plugins that you need.
Uninstall TV-Browser
To uninstall the software package, also open terminal (Ctrl+Alt+T) and run command:
sudo apt remove --autoremove tvbrowser