![]()
Cover art browser plugin v2.0 for the pre-installed Rhythmbox music player was finally announced by the developer, available for Ubuntu 14.04 and later.
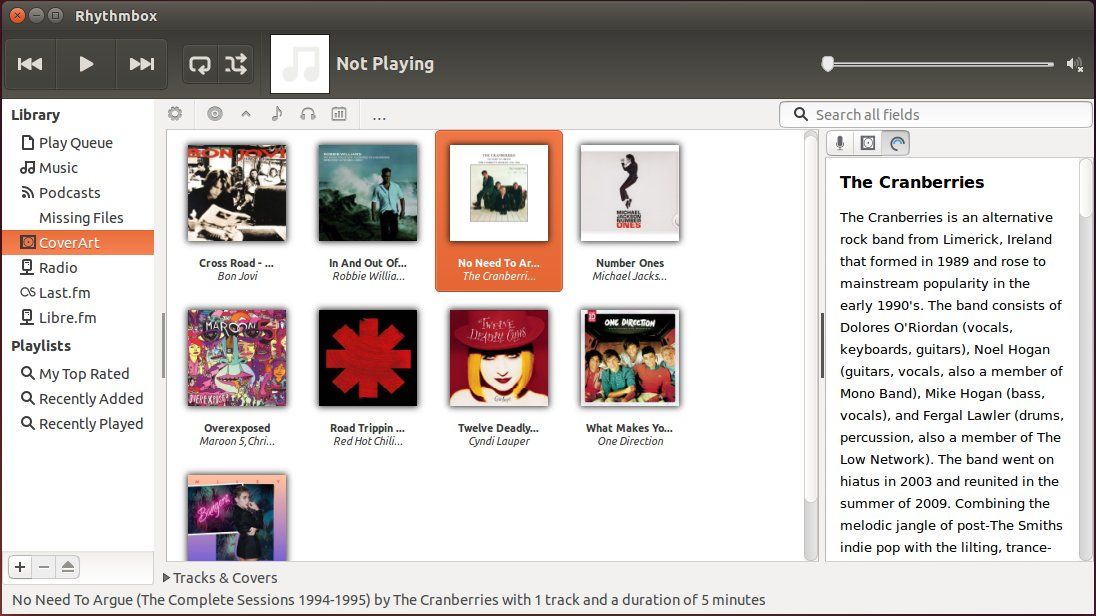
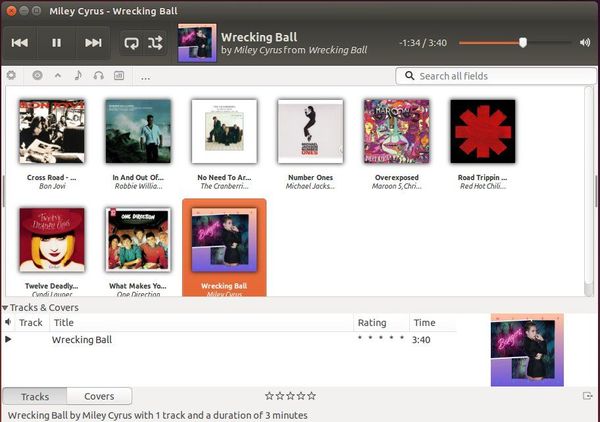
For the uninitiated, the CoverArt Browser plugin for Rhythmbox allows you to find, play and queue both albums & individual tracks through various views:
- Tile-View – a grid like view completely customisable – you can have a iTunes like layout, xnoise or any other media player grid layout.
- Flow-View – swipe through your albums using different types of flows
- Artist-View – list all album-artists graphically and find their albums
- Music Library View – deep integration with standard rhythmbox – move to the Track-based layout and back to the other views in the same way via a toolbar menu (“…”)
- Play Queue View – new to this release, further deeper integration – move to the Play Queue to see what you have manually queued.
Taken together, you no longer need the side-pane – press F9 to hide and enjoy the increased screen-space to view and play your albums.

Single click has improved in this release – play – pause – add albums with one click. For detailed changes, see the link at the end of post.
 |
 |
 |
Install Cover Art Plugin 2.0 in Ubuntu 14.04:
Press Ctrl+Alt+T on keyboard to open the terminal. When it opens, run the commands below one by one:
sudo add-apt-repository ppa:fossfreedom/rhythmbox-plugins

sudo apt-get update

sudo apt-get install rhythmbox-plugin-coverart-browser
The above will add the developer’s PPA, and install the cover art browser as well as CoverArt search providers from it.
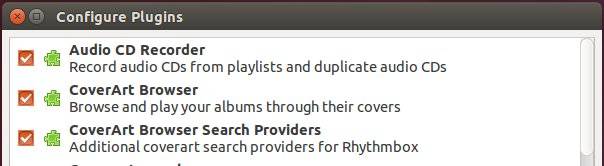
Once installed, re-open the Rhythmbox player and enable the two plugins from Tools -> Plugins …
Enjoy!
via: xpressubuntu