![]()
MPV media player has reached version 0.41.0. Here’s how to install it for those sticking to the classic .deb package format.
MPV does not provide official packages for Ubuntu Linux. It’s however easy to install the latest version via different sources.
Linux Mint 21/22 can directly search for and install MPV Flatpak package from software manager. And, Ubuntu can install the Snap package from Ubuntu Software. Though, both of them run in sandbox.
For those sticking to the classic .deb package, I’ve upload MPV 0.41.0 into this unofficial PPA. It supports Ubuntu 22.04, Ubuntu 24.04, Ubuntu 25.04 and 25.10 on both x86_64 and arm64/armhf CPU architecture types.
Install MPV 0.41.0 via Ubuntu PPA
NOTE: Ubuntu 22.04 has FFmpeg 4.4.2, but mpv now requires at least v6.1. So, the PPA package for 22.04 now has FFmpeg (7.0) built in bundle. Please leave comment below if there’s any issue due to this change.
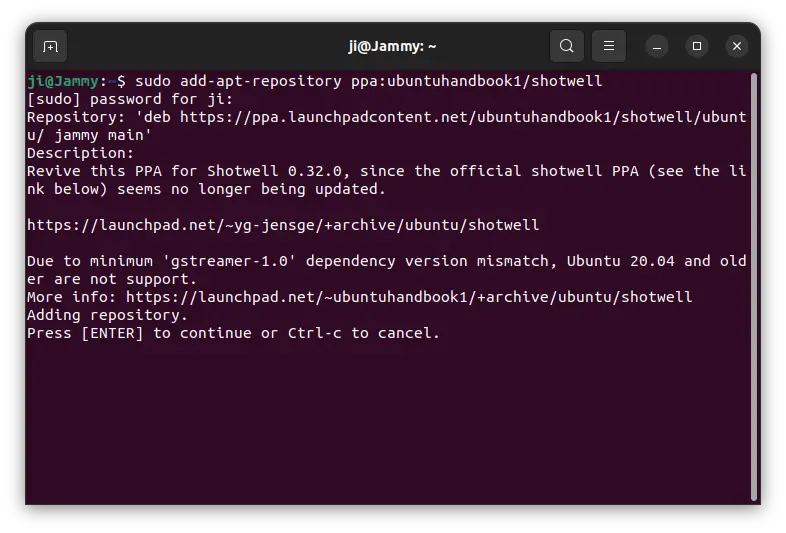
1. Add the PPA
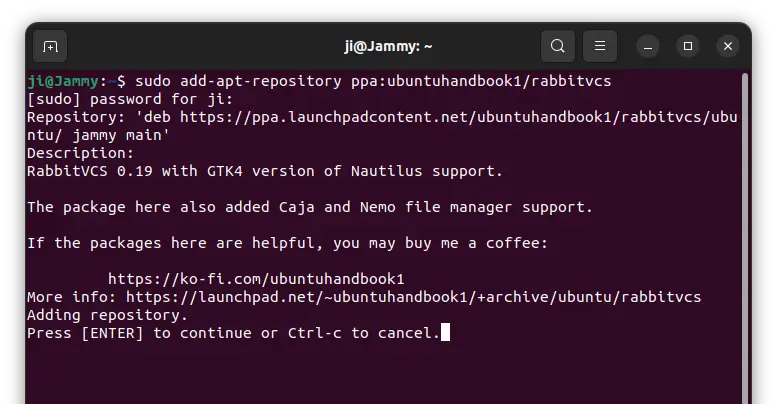
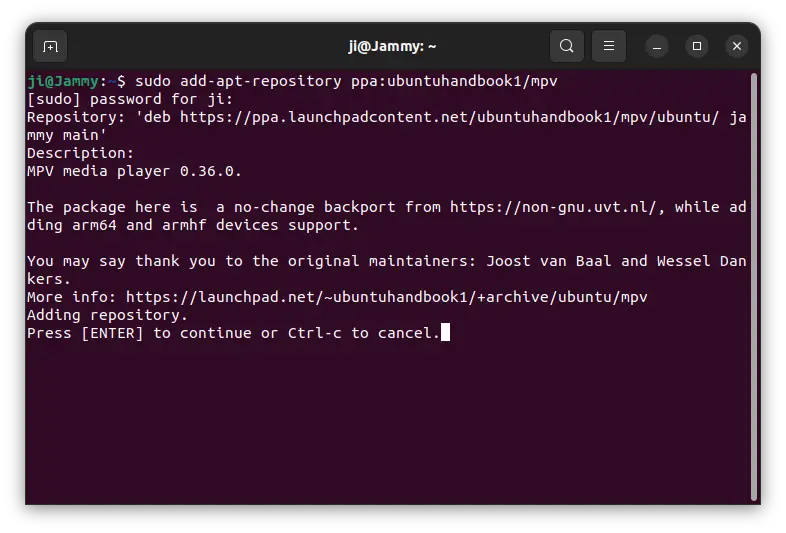
Firstly, press Ctrl+Alt+T on keyboard to open a terminal window. When it opens, paste the command below and hit run:
sudo add-apt-repository ppa:ubuntuhandbook1/mpv
Type user password (no asterisk feedback) when it asks and hit Enter to continue.
2. Update package cache
Since Ubuntu 20.04, it automatically updates the package cache while adding PPA. Though, Linux Mint user needs to do it manually.
To do so, run command in terminal:
sudo apt update
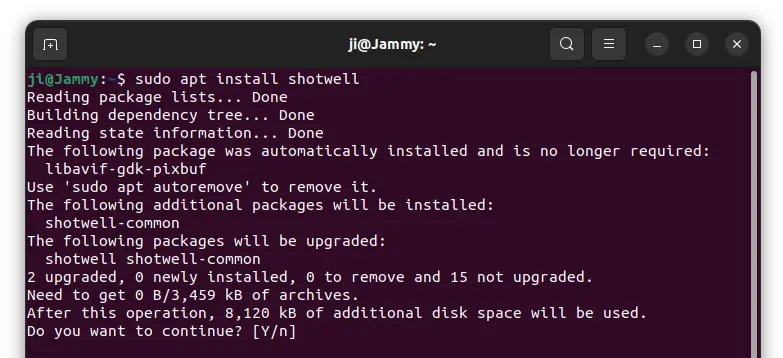
3. Install MPV 0.41.0
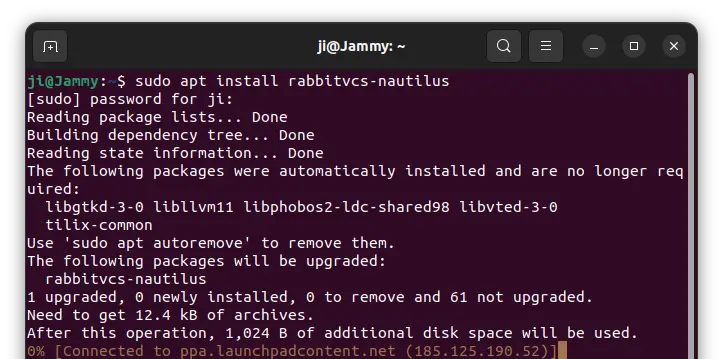
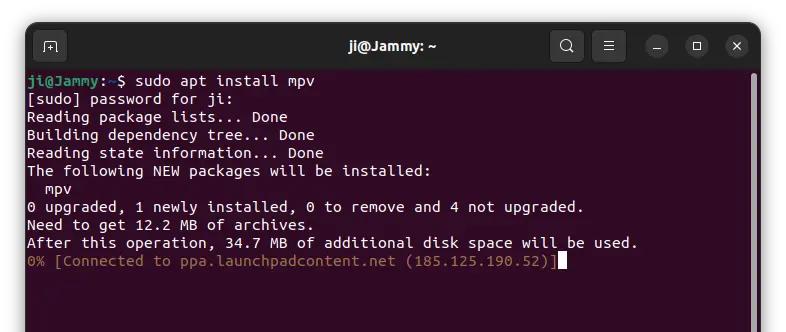
Finally, install mpv media player v0.41.0 by running command:
sudo apt install mpv
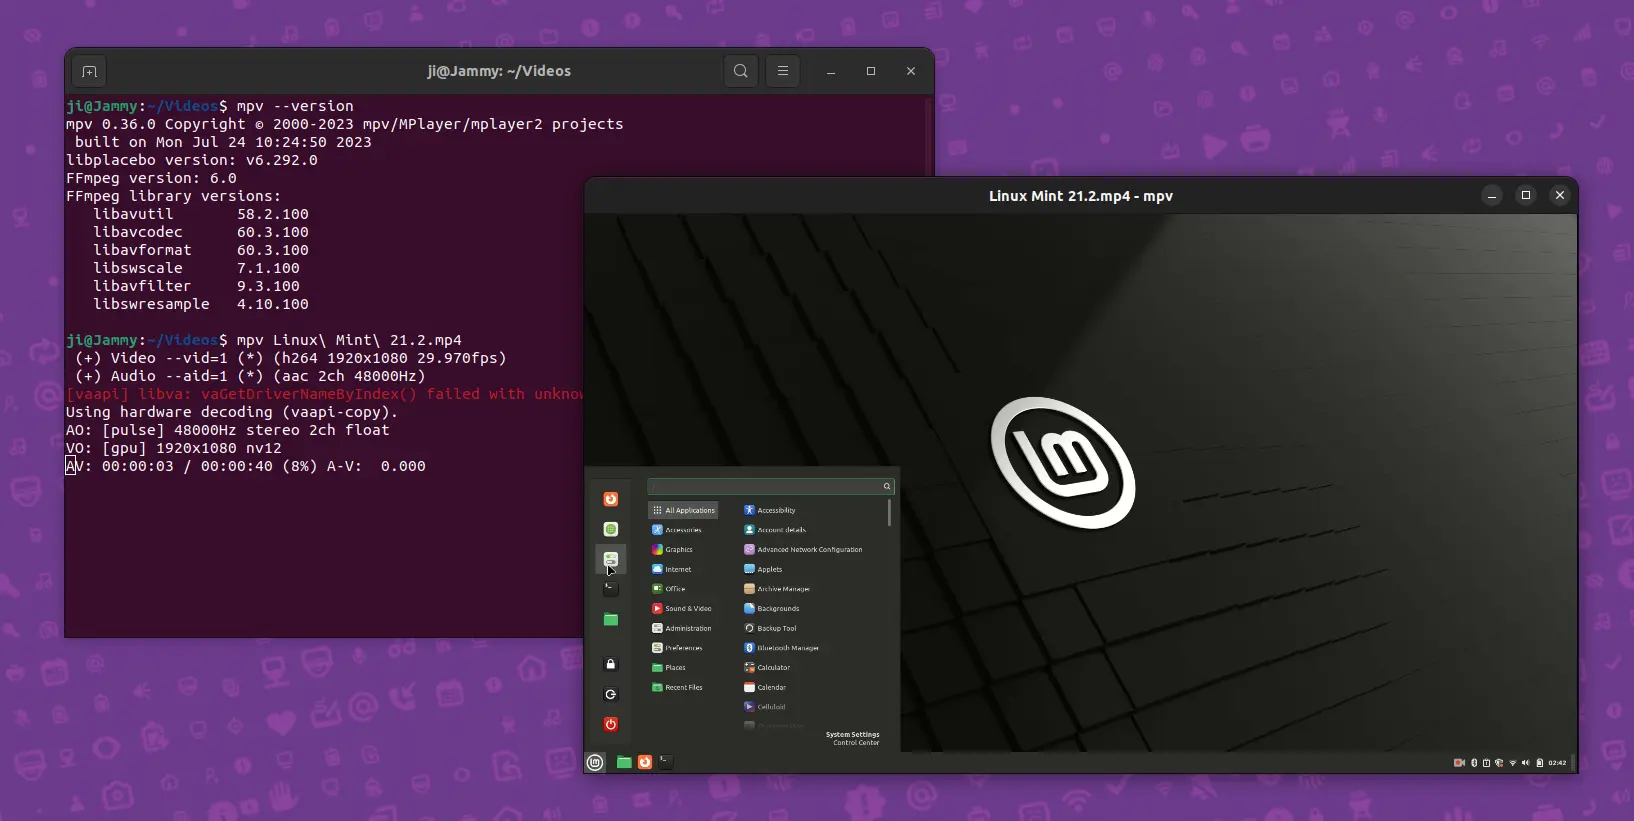
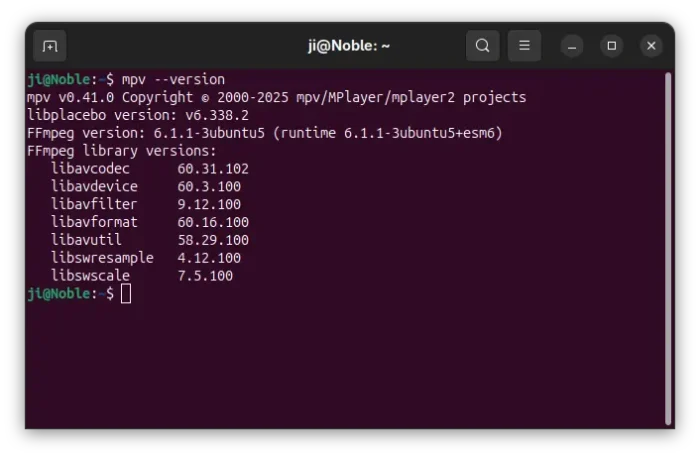
To verify, run mpv --version command in terminal.
Known Issues
Drag and drop files into mpv app window does not work, due to Wayland. Though, you may right-click on media file to open with mpv.
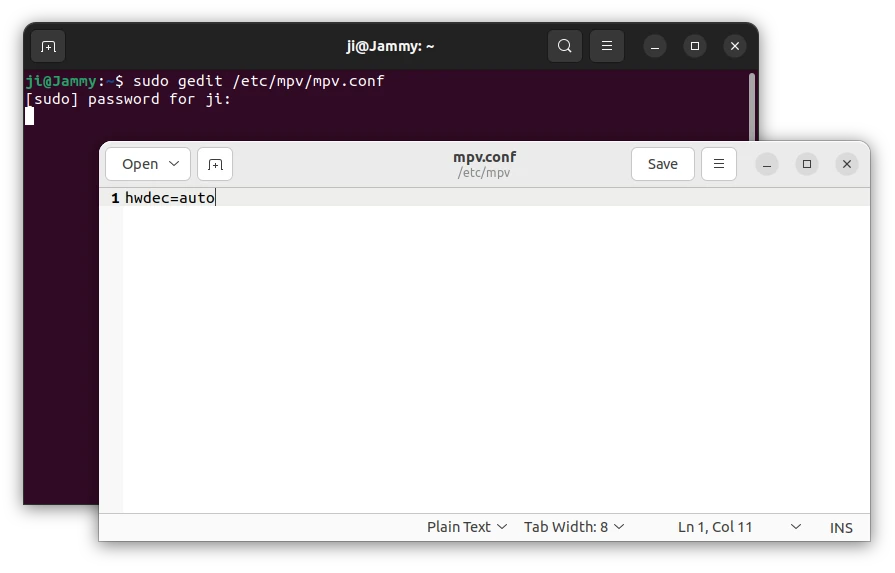
For hardware video acceleration, first make sure your graphics driver support it, then edit ‘/etc/mpv/mpv.conf‘ file and add hwdec=auto. And, enable classic header bar via gpu-context=x11egl.
For Ubuntu 22.04, system default Wayland version does no longer match MPV minimum requirement. So it’s built with Wayland feature disabled.
Uninstall:
You can choose to purge the PPA repository, which will also downgrade mpv to the stock version in system repository. To do so, open terminal and run command:
sudo apt install ppa-purge && sudo ppa-purge ppa:ubuntuhandbook1/mpv
Or, remove PPA by running command:
sudo add-apt-repository --remove ppa:ubuntuhandbook1/mpv
To remove the mpv media player, use command:
sudo apt remove --autoremove mpv