![]()
The Transmission BitTorrent client released version 4.1.0 a few days ago. Here’s PPA repository contains the package for Ubuntu 22.04, Ubuntu 24.04, Ubuntu 25.10, Linux Mint 21/22.
According to the release note, transmission 4.0 features new C++ and gtkmm code-base, with much less CPU and memory usage than before. It also adds support for using BitTorrent v2 and hybrid torrents, support for IPv6 blocklists, and more.
![]()
How to Install Transmission (4.1.0 updated) via Ubuntu PPA
I’ve built the new release packages into this unofficial PPA for Ubuntu 22.04 and higher. Ubuntu 18.04 is not supported due to dependency library version mis-match.
The new web user interface depends on NPM (Node.js package manager). It requires internet connection while building process, but launchpad build farm does NOT have. Meaning so far the PPA package does not include new web UI via JavaScript, but the old web user interface for remote control is stilling working in my case in Ubuntu 22.04.
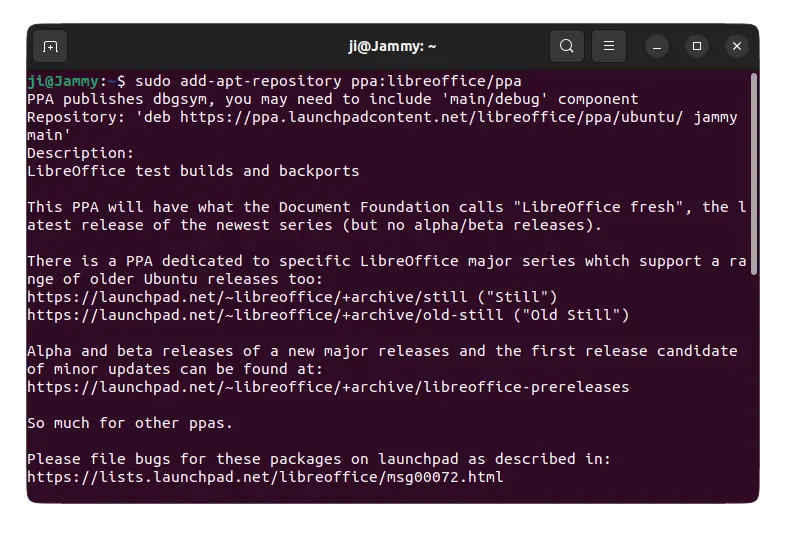
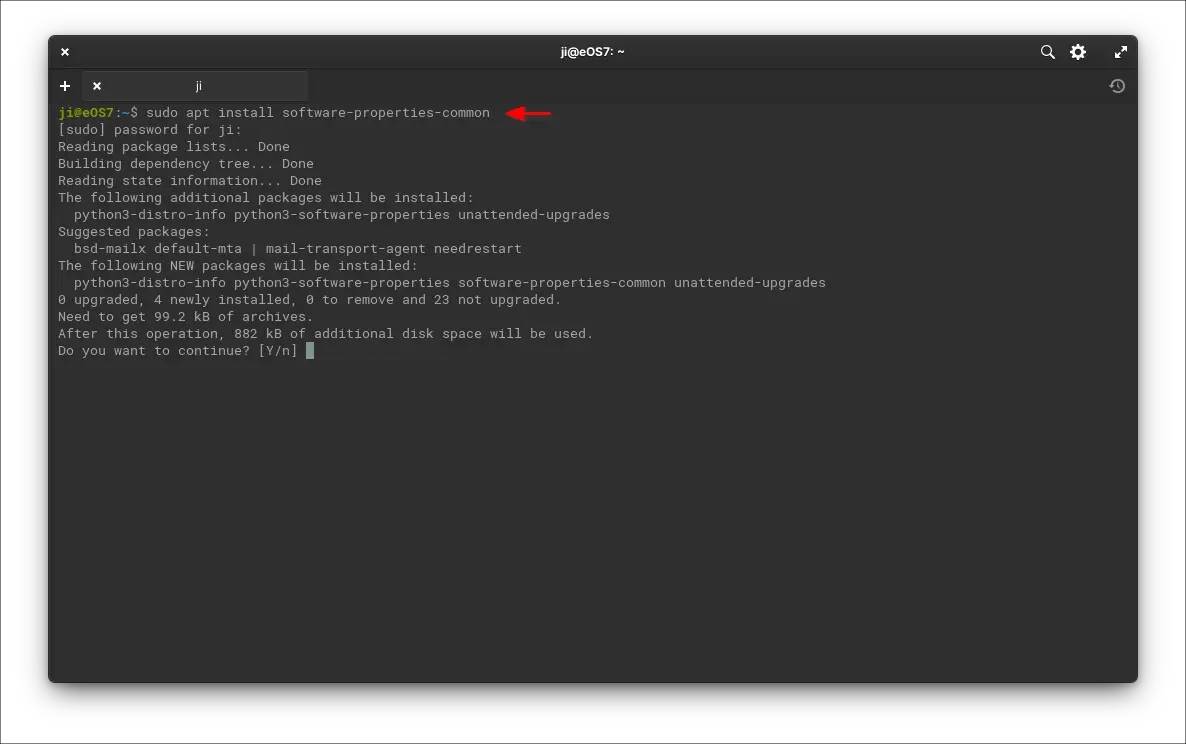
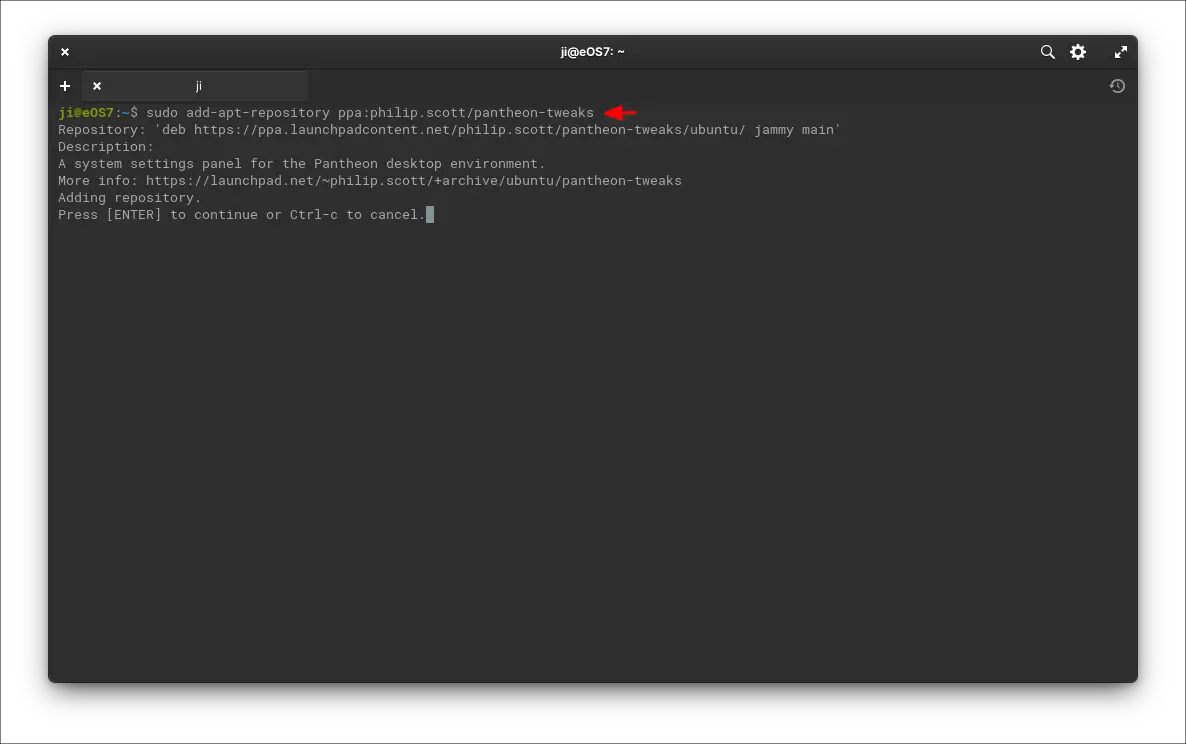
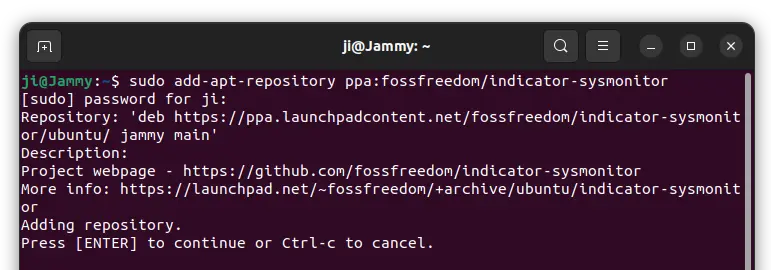
1. First, press Ctrl+Alt+T on keyboard to open a terminal window. When it opens, run command to add the PPA:
sudo add-apt-repository ppa:ubuntuhandbook1/transmission
Type user password (no asterisk feedback) when it asks and hit Enter to continue.
![]()
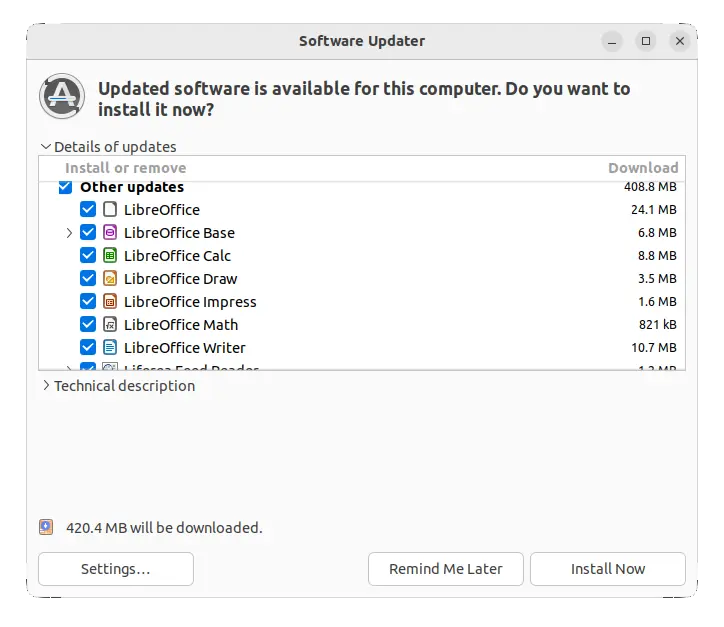
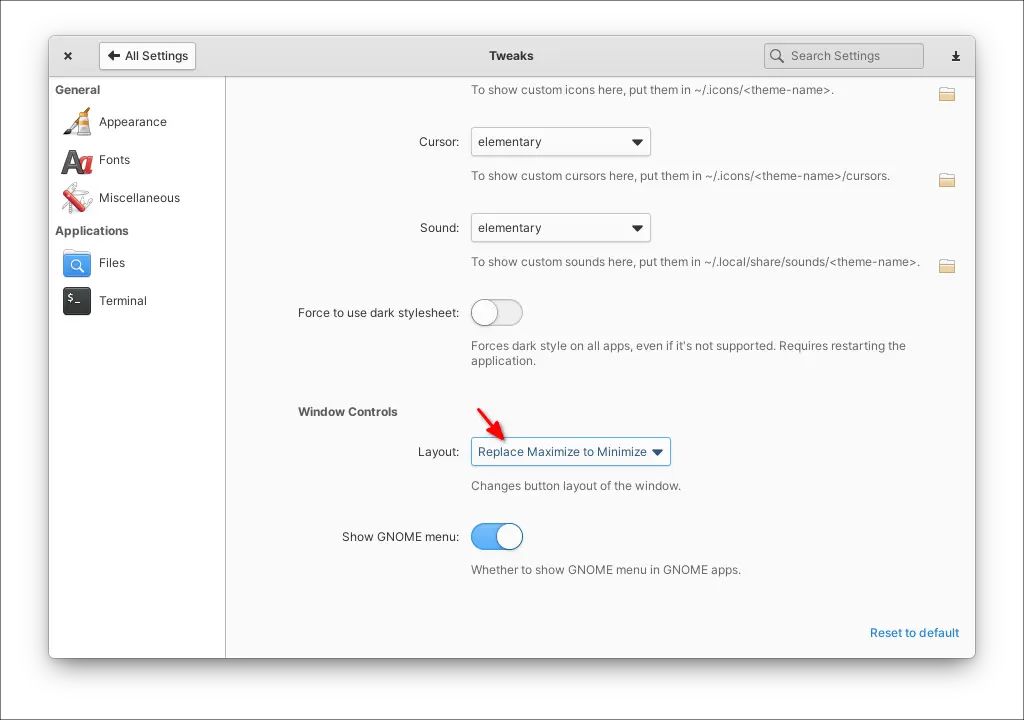
2. After adding the PPA, you can then launch Software Updater (Update Manager) and upgrade the system pre-installed transmission package to the new 4.1.0 release.
![]()
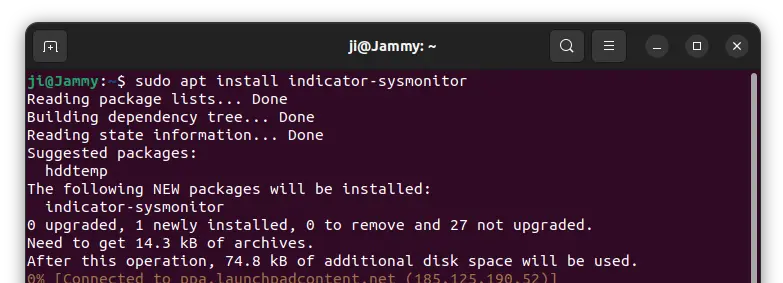
For Ubuntu based system without the BitTorrent client pre-installed, you may run command below to install it:
sudo apt update && sudo apt install transmission-gtk
You may replace transmission-gtk with (or add) following package:
transmission-qt– Qt user interface for KDE, LXQt, etc.transmission-cli– command line interface.transmission-daemon– the daemon for running in background, and access via webUI
Uninstall Transmission 4.1.0
You can choose to downgrade the BitTorrent client to system pre-installed version, by running command in terminal:
sudo apt install ppa-purge && sudo ppa-purge ppa:ubuntuhandbook1/transmission
Or, remove the software packages instead by running command:
sudo apt remove --autoremove transmission-gtk transmission-qt transmission-cli transmission-daemon
And remove the PPA repository either via “Software & Updates” tool by removing the source line under “Other Software” tab, or by running command:
sudo add-apt-repository --remove ppa:ubuntuhandbook1/transmission
That’s all. Enjoy!