HDRMerge is an open source tool that makes merging raw images really simple. It fuses two or more raw images into a single raw with an extended dynamic range. It can import any raw image supported by LibRaw, and outputs a DNG 1.4 image with floating point data. The output raw is built from the less noisy pixels of the input, so that shadows maintain as much detail as possible.
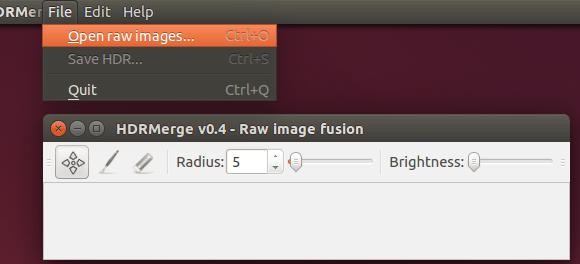
To use this HDRMerge, source images must be made with the same camera. Once the input images are loaded, the interface presents you with a 100% preview of the result. The selected pixels from each input image are painted with a different color. You can then pan the result to inspect it.
This tool also offers a bottom toolbar that allows to remove ‘ghosts’ from the resulting image. Once the preview is satisfactory, the Save HDR option of the File menu generates the output DNG file.
Install HDRMerge in Ubuntu 14.04:
Press Ctrl+Alt+T on keyboard to open terminal. When it opens, run the commands below one by one to install from PPA:
sudo add-apt-repository ppa:dhor/myway

sudo apt-get update

sudo apt-get install hdrmerge
Once installed, start the GUI via command:
hdrmerge
via: github page