Computer hibernate does not work in your Ubuntu? Here’s step by step complete guide shows how to enable this feature in Ubuntu 26.04, Ubuntu 24.04, or Ubuntu 22.04 LTS.
Similar to suspend, hibernate can be used to save your system work. It moves the content from RAM memory into swap area in hard disk, then shutdown your machine completely. Next time you boot the computer, it restores the system status exactly as it was.

NOTE: The hibernation feature does work with Secure Boot enabled or zram!
For non-GNOME desktop environments, you need to replace gnome-text-editor or gedit in following commands with your favorite text editor, or use the universal nano command line editor that works in most desktops (use Ctrl+S to save, Ctrl+X to exit).
Step 1: Check the ID of Swap Area & Create if NOT exist.
System hibernate feature saves data into swap area on disk. You need to first find out the ID or UUID of the swap device, so to know where to resume from hibernation.
a. Check Swap Area:
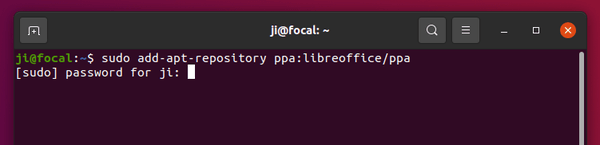
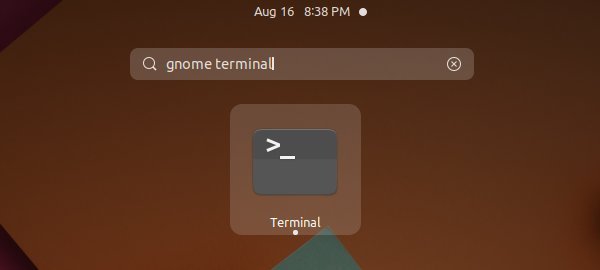
First, press Ctrl+Alt+T on keyboard to open terminal. When it opens, run command:
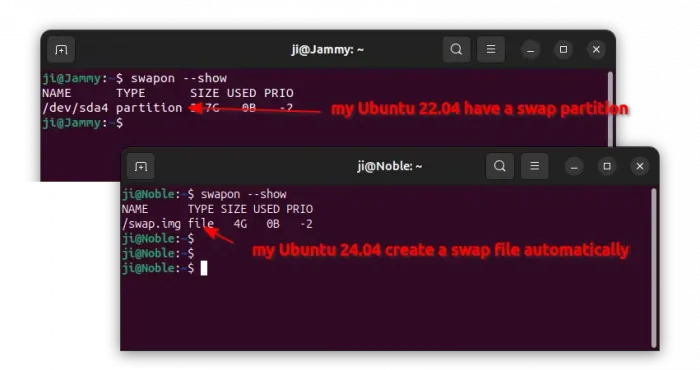
swapon --show
The command will output all enabled swap devices in your system, along with its name, type, size, priority, etc., information.
- If the TYPE is a partition, then you need to write down its name, which is usually ‘/dev/sdaX‘ or ‘/dev/nvme0n1px‘. Next go directly to step 2
- If it’s a file, then you need to go next step (b.) to find out the root partition (Ubuntu file-system) name, as well as the physical offset to locate that swap file.
NOTE: A Linux system may have multiple swap devices, go check the one with highest priority! If the swap name is “/dev/zram0”, then it does NOT support hibernation!!
b. Find root partition name and physical offset
So, if your system uses a file for swap area, then you need to find out the root partition name + physical offset to locate it.
To get the system partition name, run the command below, and check the one mounted on “/”:
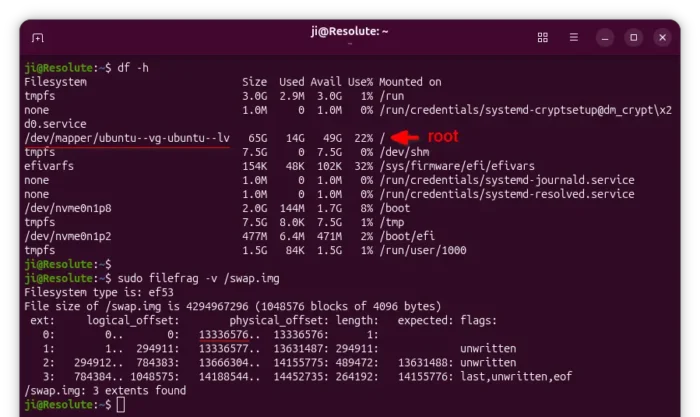
df -h
In my case, Ubuntu partition is encrypted. It’s /dev/mapper/ubuntu--vg-ubuntu--lv. If you don’t have Ubuntu encrypted, it will be something looks like /dev/nvme0nXpY or /dev/sdXY.
To get the physical offset of the swap file, use command:
sudo filefrag -v /swap.img
Here, replace /swap.img with yours swap file name (see swapon --show output). Then, copy the start number under physical_offset. It’s 13336576 in my case.
c. Create Swap File, if you don’t have Swap area:
Ubuntu now by default creates a swap file (usually /swap.img) when you don’t make a swap partition during the installation. Just in case, you may also follow the steps below to manually create one:
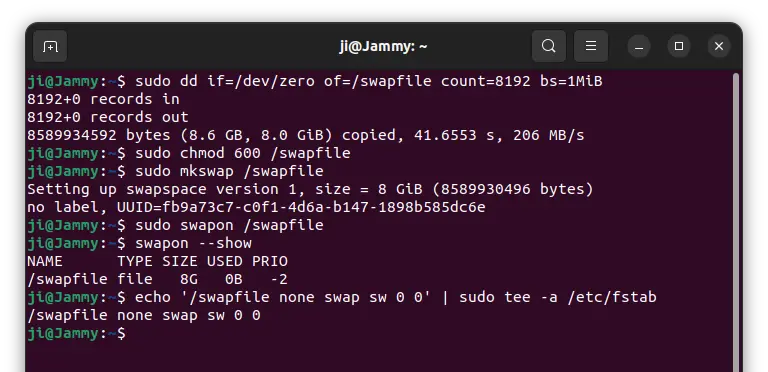
a.) Pre-allocate a disk place for a file via command:
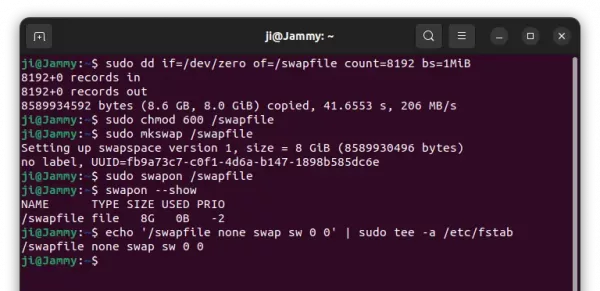
sudo dd if=/dev/zero of=/swapfile count=8192 bs=1MiB
Replace 8192 MB (8G) to your desired size. As large as RAM is recommended for swap.
b.) Change the file permission to that only root has read & write access:
sudo chmod 600 /swapfile
c.) Set the file as swap area:
sudo mkswap /swapfile
d.) Finally enable it by running command:
sudo swapon /swapfile
If you already have a swap space, and want to use this one with higher priority, run sudo swapon -p 100 /swapfile instead. Replace 100 with any number bigger than the existing swap.
And, if you already ‘swapon’ the swap, then you need to disable it via sudo swapoff /swapfile first, then swap-on with priority number with the command above.
e.) And write it into ‘/etc/fstab’, so Ubuntu will mount it automatically on startup.
echo '/swapfile none swap sw 0 0' | sudo tee -a /etc/fstab
When done, you may run step b. to find out the root partition name plus physical offset for this swap file.
Step 2: Enable Hibernate by adding Kernel Parameter
After step 1, you can now add kernel parameter in Grub boot-loader config file, to tell it to try resuming from the swap device on every boot.
To do so, press Ctrl+Alt+T to open terminal, and run command to edit the config file:
sudo gnome-text-editor /etc/default/grub
For Ubuntu 22.04 and earlier, replace gnome-text-editor with gedit. For non-GNOME desktop, use other text editor or nano that works for all.
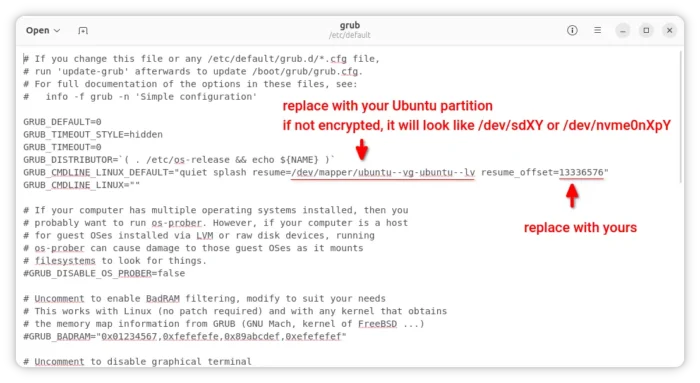
For Swap partition, add resume=/dev/xxx (do replace “/dev/xxx” to the Swap partition name you got in step 1) as value of “GRUB_CMDLINE_LINUX_DEFAULT”.
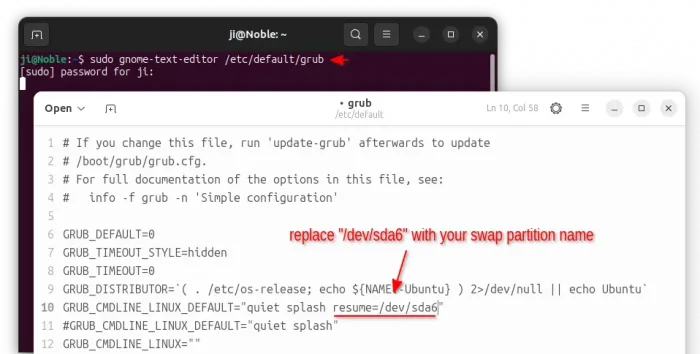
For Swap file, add resume=/dev/xxx resume_offset=xxx (also replace xxx with the root partition name and physical offset number according to step 1) instead for value of “GRUB_CMDLINE_LINUX_DEFAULT”.
Finally, save the file and apply changes by updating the Grub configuration via command:
sudo update-grub
Step 3: Regenerate initramfs
If your Ubuntu has swap on file, then you need to also do this step to tell kernel to resume from swap.
Firstly, open terminal (Ctrl+Alt+T) and run command to create a config file:
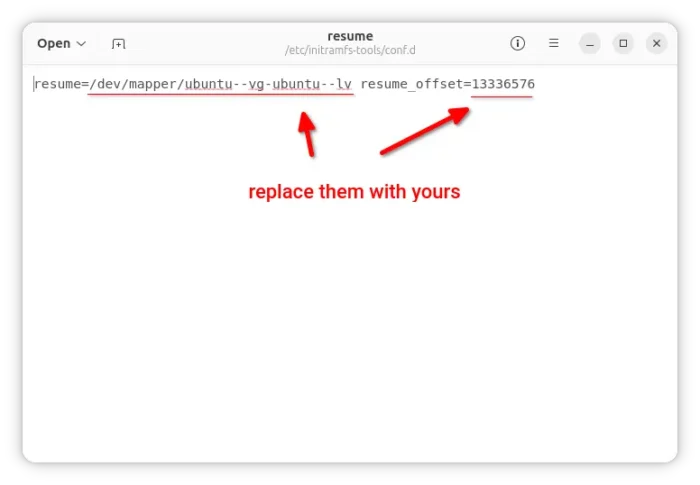
sudo gnome-text-editor /etc/initramfs-tools/conf.d/resume
Then paste the line “RESUME=/dev/xxx resume_offset=xxx” (replace xxx with correct partition name and offset number) and save it.
After saving the file, regenerate initramfs via command:
sudo update-initramfs -c -k all
Finally reboot and test hibernate function again.
Step 4: Check if hibernate works:
NOTE: The hibernation won’t work with secure boot!! You have to disable it in BIOS/EFI first. With secure boot enabled, you’ll get error:
“Failed to hibernate system via logind: Sleep verb “hibernate” not supported”.
To verify if the hibernation function works now, open terminal (Ctrl+Alt+T) and run command:
sudo systemctl hibernate
Save you work before running the command!! Then type user password when it asks. The command will turn off your computer/laptop. Next you can boot the machine again, and see if it restores your system status after login.
If hibernation works, go to Step 4 to enable ‘Hibernate’ option in shutdown menu. If NOT, then your computer may NOT support this feature or something has gone wrong.
Troubleshooting:
For Ubuntu 24.04 with swap file, there was a bug, that may cause “Call to Hibernate failed: Invalid argument” error when running the hibernate command. In the case, the hibernation may only work on first action.
The bug has been fixed in Ubuntu 24.04.1. And, here is just the note about the workaround:
- First, open terminal and run command
lsblk to get the MAJ:MIN value of the root partition. If you don’t know root name, use df -h to find the one mounted on “/”.
- Next, run command to create a tmpfiles.d config file:
sudo nano /etc/tmpfiles.d/hibernation_resume.conf
When file opens in terminal window, add the lines below:
#    Path                   Mode UID  GID  Age Argument
w    /sys/power/resume       -    -    -    -   259:6
Here, replace 259:6 according to MAJ:MIN value you got in last command. Then, press Ctrl+S to save file and Ctrl+X to exit.
This config file tells to write MAJ:MIN value to the /sys/power/resume automatically on system boot, so to workaround the bug until it was fixed.
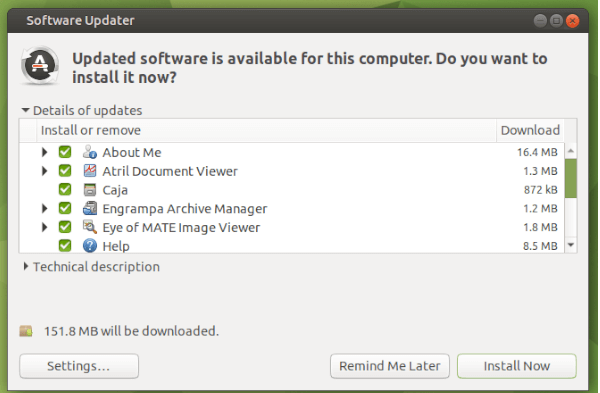
Step 5: Enable Hibernate option in Power-Off Menu:
After enabled the function, you can now add a menu option into the system tray shutdown menu.
Option 1: The legacy method for For Ubuntu 22.04 and earlier, though it still works in Ubuntu 24.04.
1.) First, open terminal (Ctrl+Alt+T) and run command to create the config directory, that’s not exist by default in Ubuntu 24.04:
sudo mkdir -p /etc/polkit-1/localauthority/50-local.d
2.) Thanks to @Joerg, Ubuntu 23.10 and Ubuntu 24.04 users need to install polkitd-plka package first:
sudo apt install polkitd-pkla
3.) Then, run command to create & edit a config file (replace gedit with gnome-text-editor for 24.04):
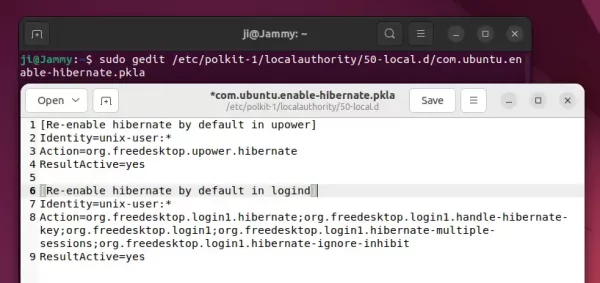
sudo gedit /etc/polkit-1/localauthority/50-local.d/com.ubuntu.enable-hibernate.pkla
When the file opens, paste following lines and save it.
[Re-enable hibernate by default in upower]
Identity=unix-user:*
Action=org.freedesktop.upower.hibernate
ResultActive=yes

[Re-enable hibernate by default in logind]
Identity=unix-user:*
Action=org.freedesktop.login1.hibernate;org.freedesktop.login1.handle-hibernate-key;org.freedesktop.login1;org.freedesktop.login1.hibernate-multiple-sessions;org.freedesktop.login1.hibernate-ignore-inhibit
ResultActive=yes
Option 2: Thanks to this thread, since Ubuntu 24.04, the new method to add hibernate menu option is to create config file under /etc/polkit-1/rules.d/ directory.
- First, run command to create a config file:
sudo nano /etc/polkit-1/rules.d/10-enable-hibernate.rules
- When file opens, paste the lines below and press Ctrl+S to save, finally press Ctrl+X to exit.
polkit.addRule(function(action, subject) {
    if (action.id == "org.freedesktop.login1.hibernate" ||
        action.id == "org.freedesktop.login1.hibernate-multiple-sessions" ||
        action.id == "org.freedesktop.upower.hibernate" ||
        action.id == "org.freedesktop.login1.handle-hibernate-key" ||
        action.id == "org.freedesktop.login1.hibernate-ignore-inhibit")
    {
        return polkit.Result.YES;
    }
});
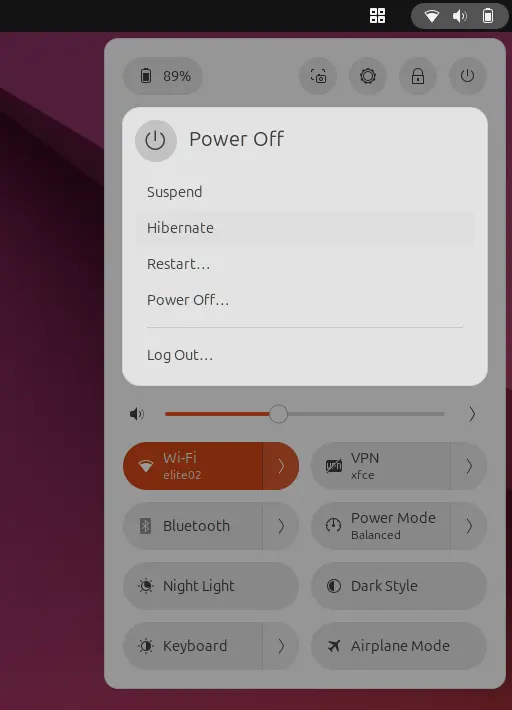
After doing either option above, your desktop (including MATE, XFCE, KDE, but exclude GNOME) should NOW have the “Hibernate” option in shutdown menu!
For GNOME up to v48, the default desktop in Ubuntu 24.04 and earlier, you need to do one more step to make the menu option visible:
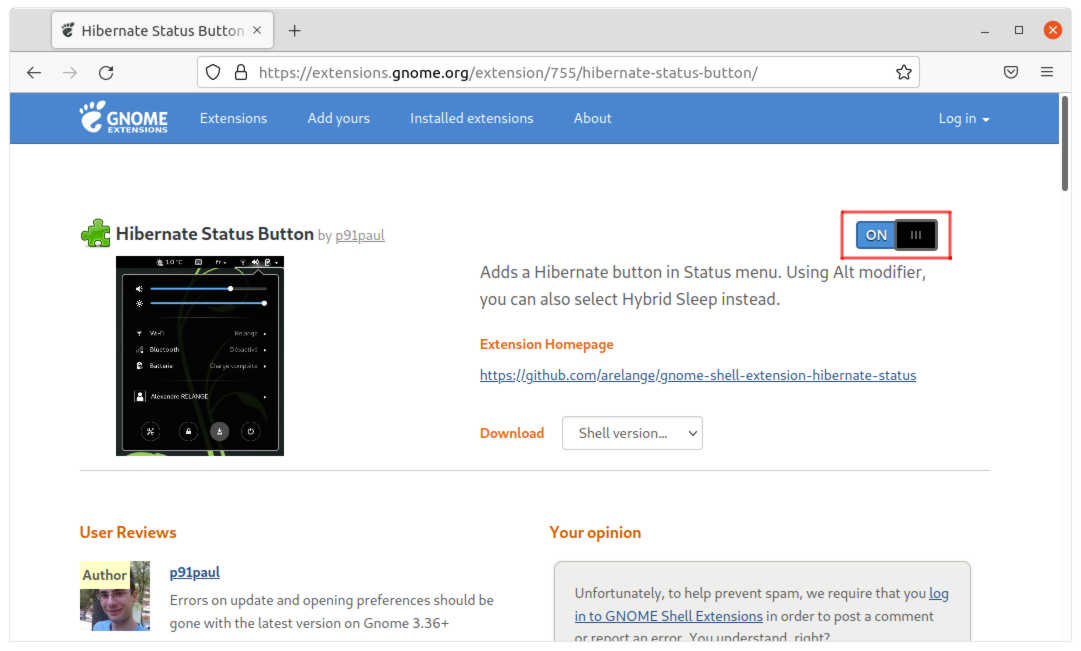
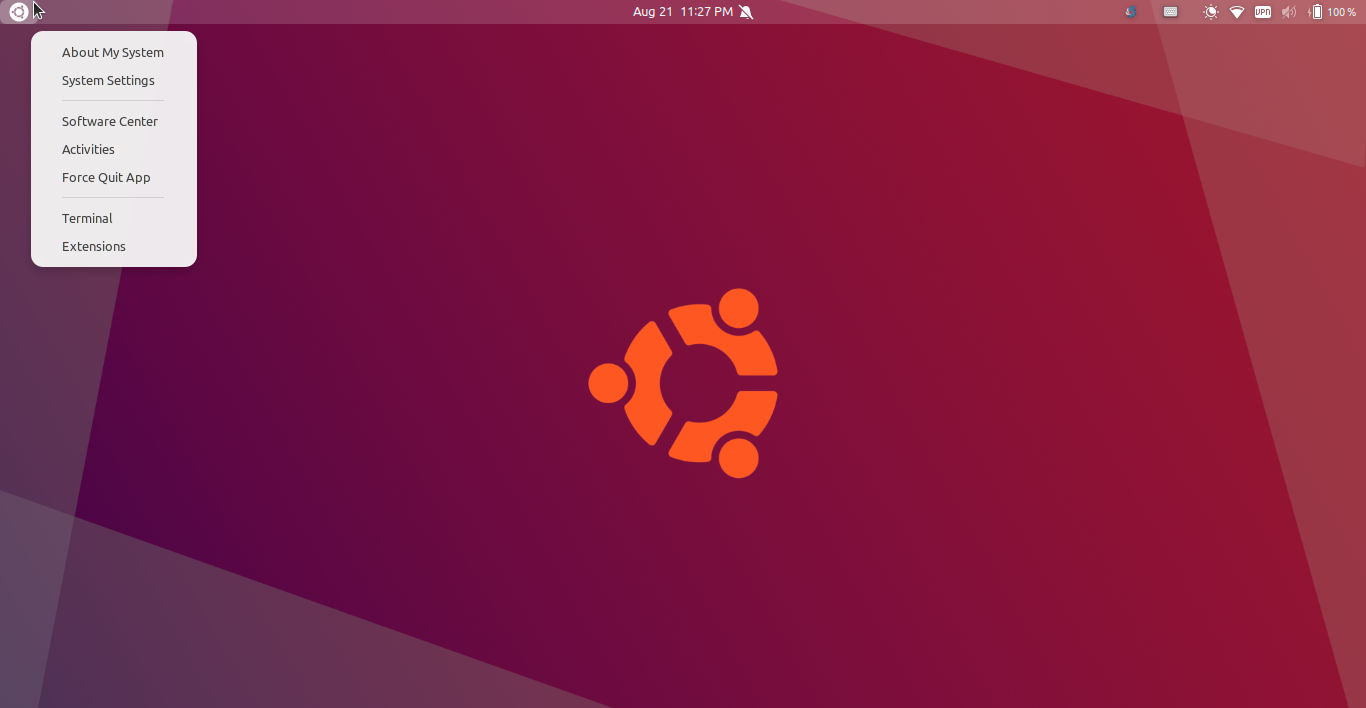
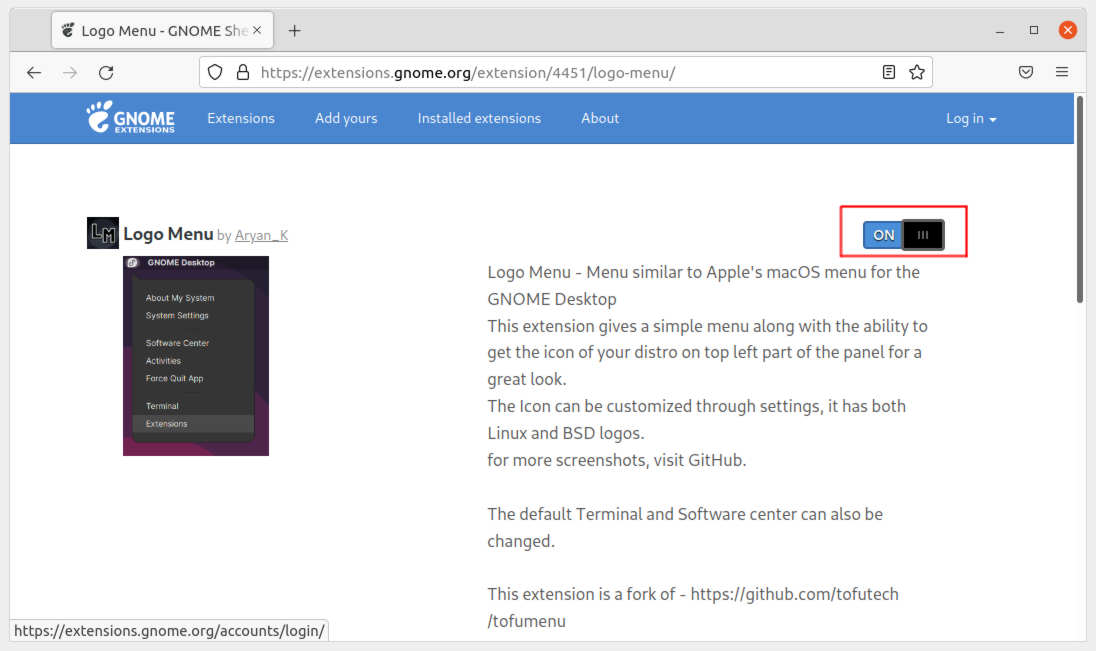
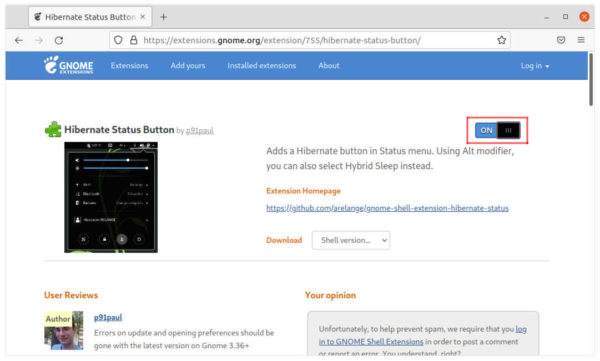
For default GNOME desktop, go to the link button below and install the extension for the menu option:
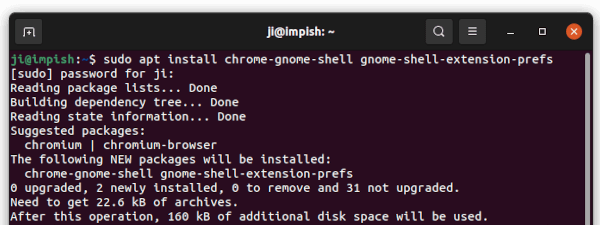
For those first time installing Gnome extension, you need to run command to install “chrome-gnome-shell” package first:
sudo apt install chrome-gnome-shell
And click the “click here to install browser extension” link in the extension page and refresh the page if you don’t see the toggle icon.
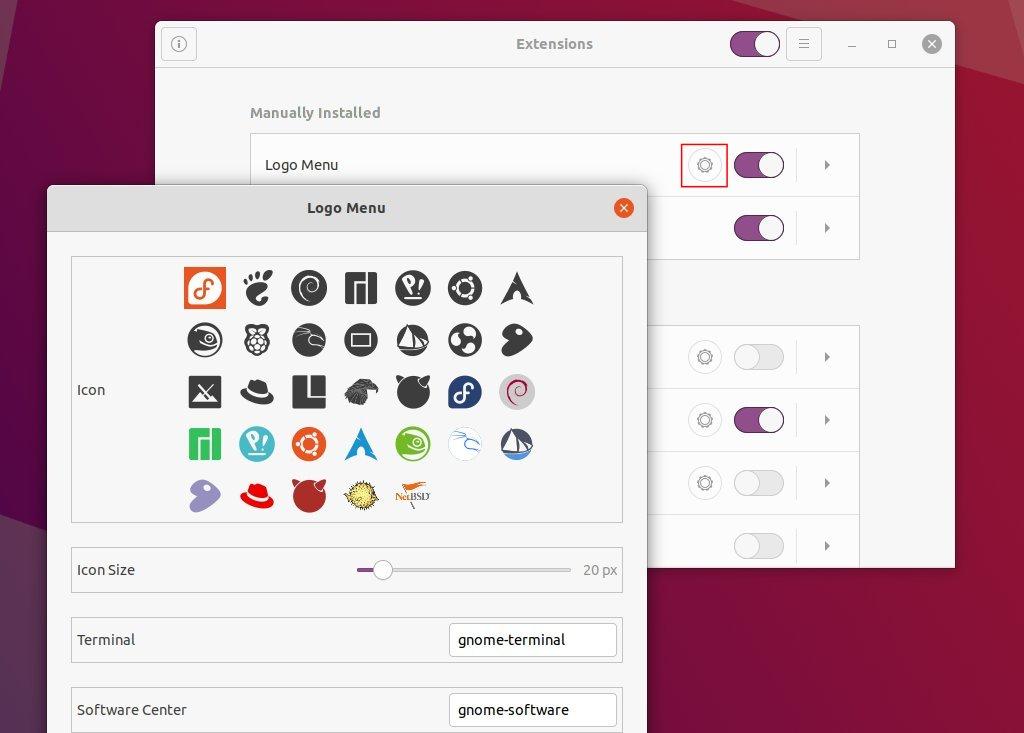
Or, search for and install “Extension Manager” from Ubuntu Software, and use the tool to search and install that extension:
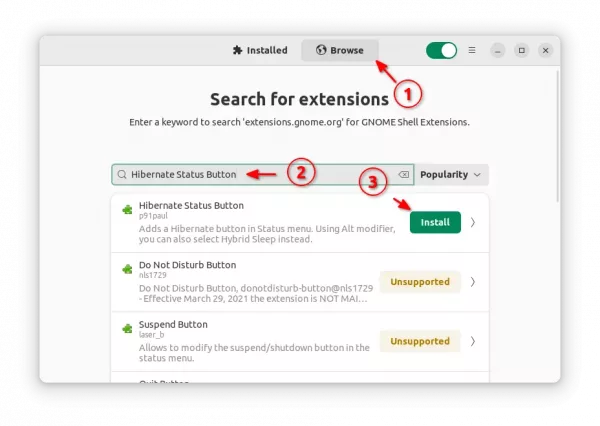
After installed the extension, go back “Installed” tab in Extension Manager window, and click configure the extension for showing/hiding power-off menu options (May need log out and back in).
Moreover:
If everything goes well after this tutorial, you can get more, including hibernate when lid is closed, and automatic hibernate on system idle.
Tips:
For users who upgraded Ubuntu from an old release (e.g, 22.04 -> 24.04, 24.04 -> 24.10), some report that screen turns on automatically 15s after hibernation (See this comment). Thanks to @Maarten Vergouwe, try upgrading the latest kernel may fix the issue.